

Preview
This is what we will be creating in this tutorial. 
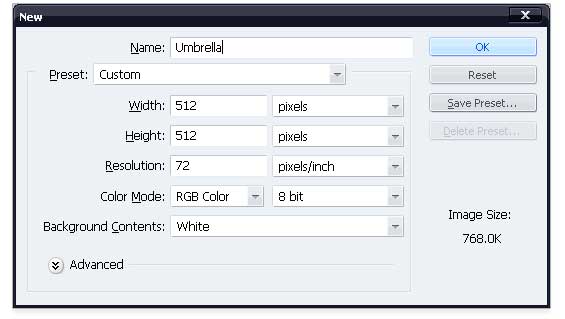
Step 1: Setup the document
Create a new 512px by 512px canvas and fill the Background layer with a shade of grey (#666666). Having a grey background will let us see our work better as opposed to the traditional white background.
 Tip: to help you draw symmetrical shapes and make perfect alignments, create two guides at center of the canvas.
Step 2: Create the umbrella handle shape
Select Pen Tool (P) from the Tools Panel and draw a handle-like shape as shown below. 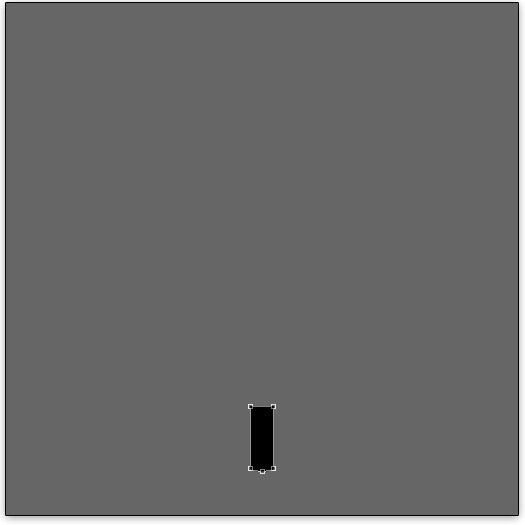 Give the umbrella handle some layer styles by double-clicking on its layer in the Layers panel to open the Layer Styles dialog box.
Add an Inner Shadow layer style with these settings: 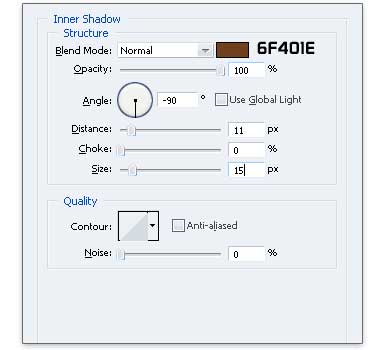 Continue to add an Inner Glow layer style with the suggested settings shown below.
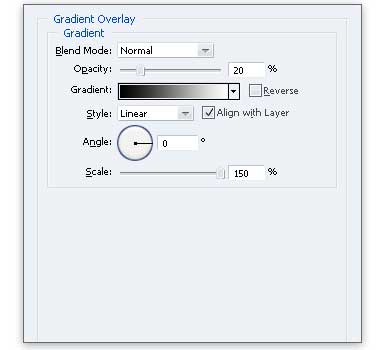
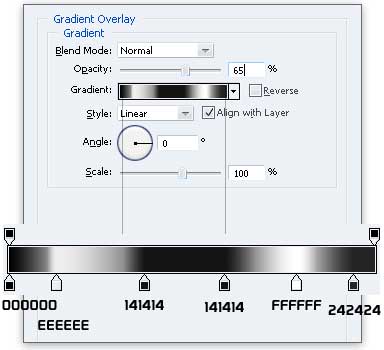
 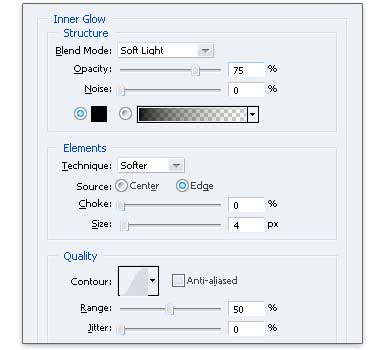 Next, add a Gradient Overlay that’s oriented horizontally—this will give the umbrella handle its wooden-textured, three-dimensional shape.
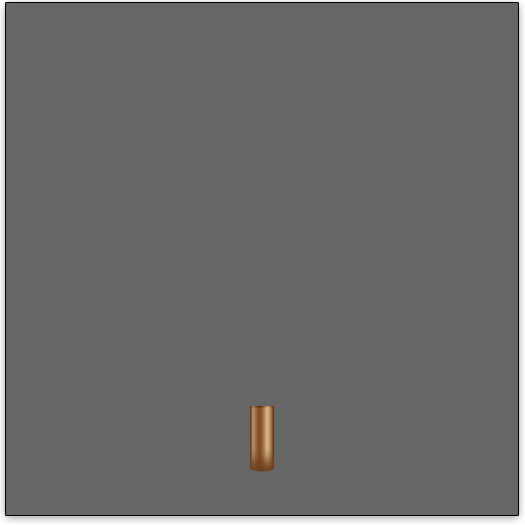
 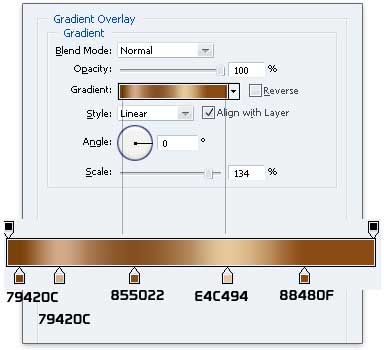 Here is our umbrella handle after adding the layer styles.
Step 3: Give the umbrella handle some stripes
Let us draw some details on the handle to make it look as close to a real umbrella as possible. We will create 1px horizontal stripes on the handle; many umbrellas have these stripes to help give its user a better grip on the handle. Create a new layer (Ctrl/Cmd + Shift + N) on top of the current layer.
Ctrl/Cmd + click on the handle shape layer to load a selection surrounding it. Move the selection 4px up with the Move Tool (V) and your keyboard arrow keys. Fill the selected area with black (#000000).
With the selection still loaded, press the Up arrow key on your keyboard to move the selection 1px up. Now, clear the area beneath the selection by hitting the Delete key. 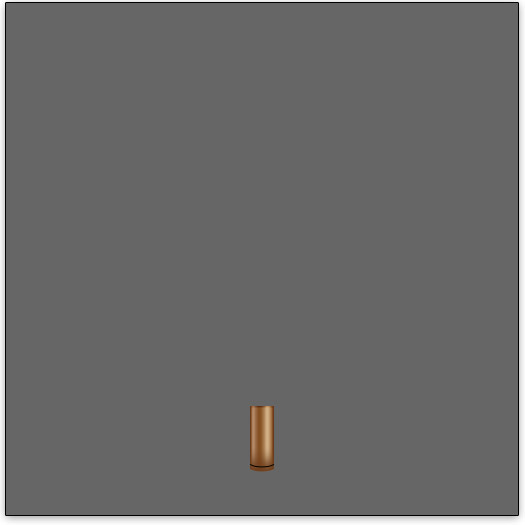 With the stripe still selected, copy it (Ctrl/Cmd + C) and paste (Ctrl/Cmd + V) it on the layer a few times to make more stripes, moving the copied stripes up the umbrella handle such that all of them are equally spaced from one another (about 5px between them is good).
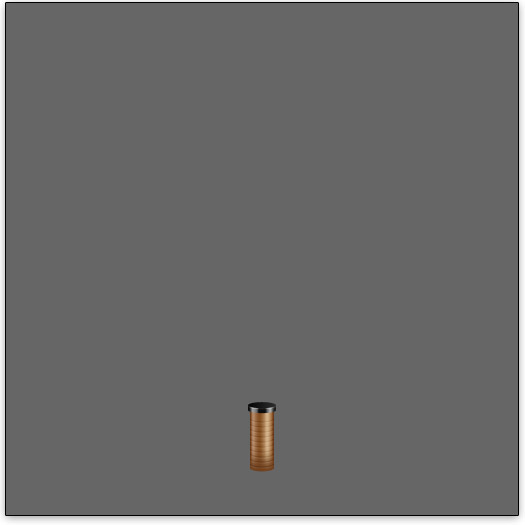
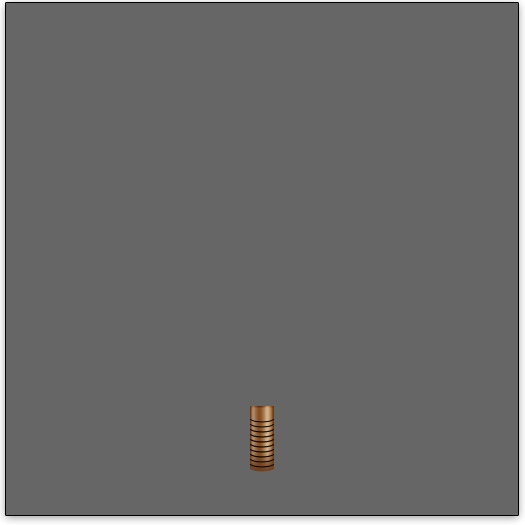 Change the blending mode of the stripes layer to Soft Light and reduce its opacity to about 30%.
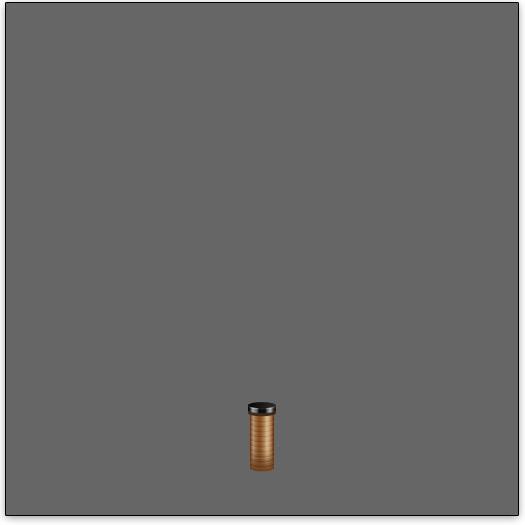
 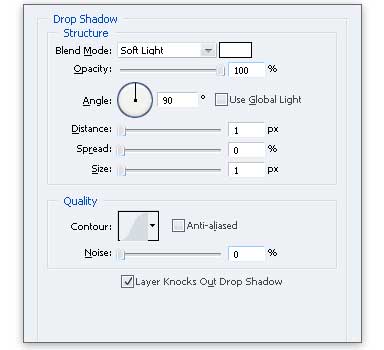 As an added touch, give the stripes a Drop Shadow layer style using the suggested settings below.
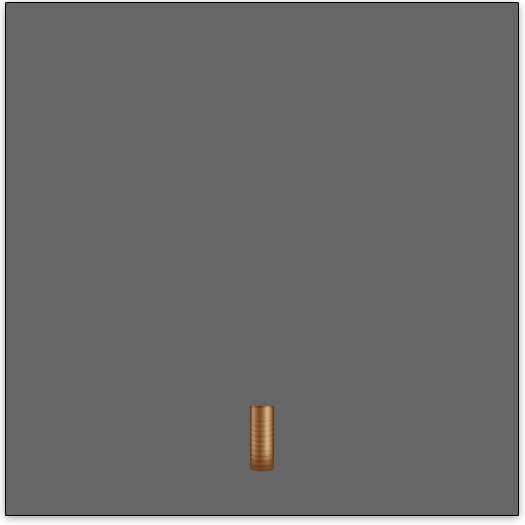
Step 4: Draw the top of the umbrella handle
Pick the Ellipse Tool (U) from the Tools panel and draw an oval on the top portion of the handle of our umbrella; make sure to set your foreground to black (#000000) before drawing the shape.
 Now, add a couple of layer styles by double-clicking the oval shape layer in the Layers panel to open up the Layer Styles dialog window. First, you can add a Drop Shadow layer style to give the shape some depth.
 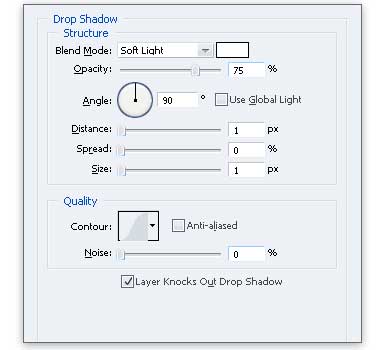 Then give the shape a Gradient Overlay to match the gradient of our handle.
 Create a new layer (name it “thick“, which I will refer back to later in this tutorial) and place it below the oval shape layer. Ctrl/Cmd + click on the oval layer to load a selection around it, and then move the selection 1px down using the Down arrow key. Now fill (Ctrl/Cmd + F5) the selection with a black color (#000000).
Without deselecting yet, move the selection 1px further down and fill it again with black. Keep doing this until you get a 5px-thick shape. 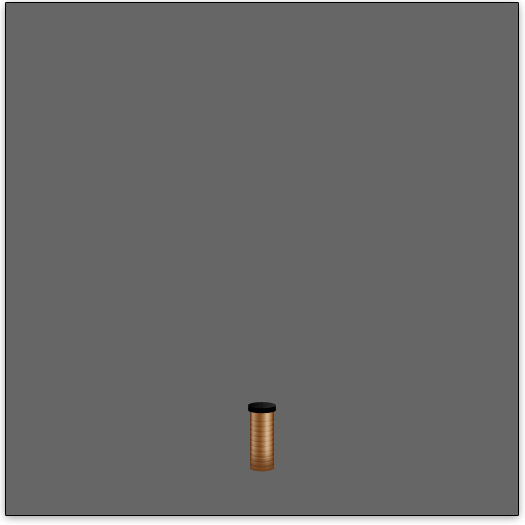 After creating the shape, give it a Gradient Overlay layer style using the suggested settings shown below to give the top portion of our handle a nice 3D look that matches the wooden handle.
Step 5: Give the top handle a subtle drop shadow effect
Create a new layer and place it below the “thick” layer. Ctrl/Cmd + click on the “thick” layer to make a selection around it then move the selection 2px down. Fill (Ctrl/Cmd + F5) the selected area with a very dark brown color (#1A0B00).
 Now apply a motion blur filter onto the layer (Filter > Blur > Motion Blur) at an Angle of 90o and with the Distance of 3px. Press Ctrl/Cmd + F (Filter > Last Filter) to reapply the same Motion Blur filter with same settings. Using Rectangular Marquee Tool (M) and remove the part of the layer that lies outside the handle. As you can see, we’ve given the top handle a bit of a shadow to make the lighting of our umbrella realistic—it is these details that truly make or break a drawing piece.

Step 6: Create the umbrella pole
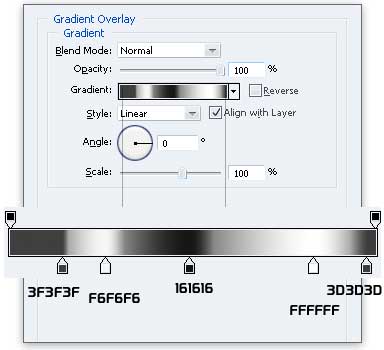
Select the Rectangle Tool (U) in the Tools panel and make a shape as shown below. Name this shape layer as “pole” (I’ll refer to it as such from this point on). 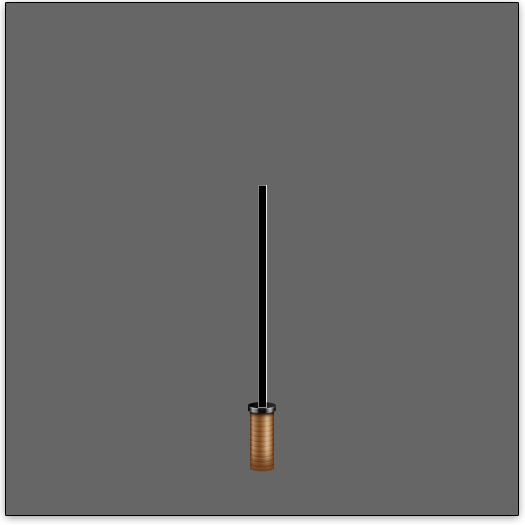 Give the “pole” shape layer a Gradient Overlay layer style that consists of dark shades.
 As you can see, a simple gradient overlay gives our pole a 3D metallic effect that is consistent with the umbrella’s handle.
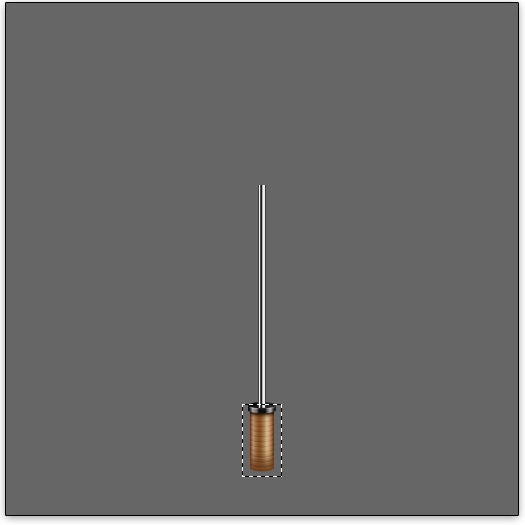
  With the “pole” shape layer selected, go to Layer > Add Layer Mask > Reveal All. Using the Rectangular Marquee Tool (M), drag a selection around the handle as shown, and fill it with a grey color (#828282).
 You can use different shades of grey to adjust the opacity of the selected part.
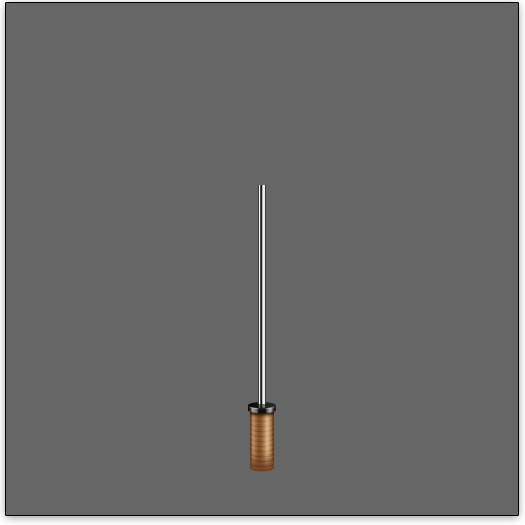
Step 7: Draw the canopy of the umbrella
The next step of our tutorial is the canopy (or “drapery”) of the umbrella—the part that shields you from the rain (or the sun depending on how you use umbrellas). For this tutorial, I am going to use five panels to complete the drapery of the umbrella.
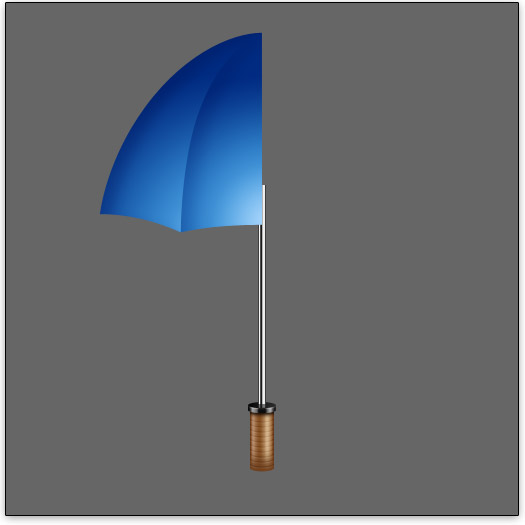
Start drawing the canopy by first creating a new layer group (Ctrl/Cmd + G) and naming it “drapery“. Draw a shape for the left-middle panel of our drapery as shown below using Photoshop’s Pen Tool (P). This is where your Photoshop guides can come in handy to help you draw the shape. 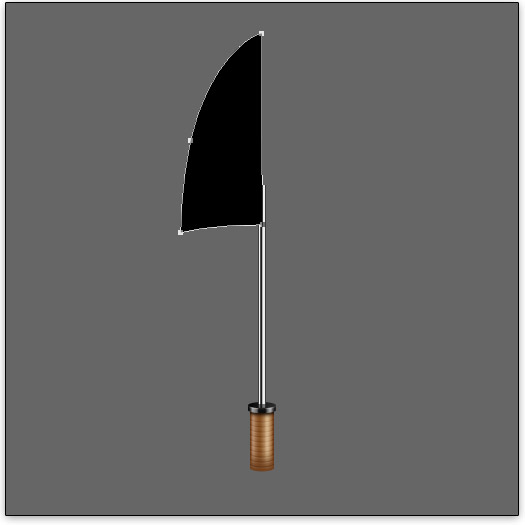 Next, we will color in our panel using two layer styles.
Let us give the panel a shadow inside it using an Inner Shadow layer style (suggested settings shown below). 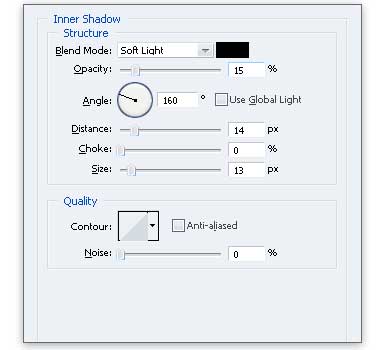 Next, we will give the panel its blue shades using a Gradient Overlay layer style with the following settings.
  When you add a Gradient Overlay with the Style option set to Radial, you’ll notice that the center of gradient radiance is positioned at the middle of the panel by default.
To fix that, while you are still in the Gradient Overlay dialog, click and hold on the panel in the canvas to move the center of the radial gradient; move it towards the right bottom of the drapery. Shown below is what the left-middle panel of our drapery looks like with the two layer styles we have applied above. 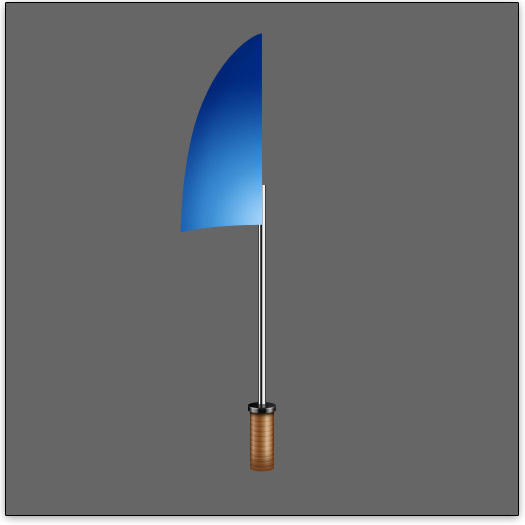
Step 8: Duplicate the panels of the canopy
Make two more panels using Pen Tool (P).
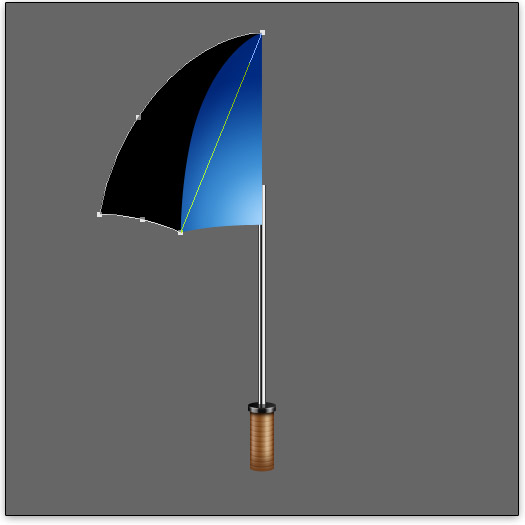
 The layer styles for each of the panels are flexible so play around with them until you get an effect that you like. For example, you can change the opacity of Inner Shadow and the position of radial Gradient Overlay as you see fit.
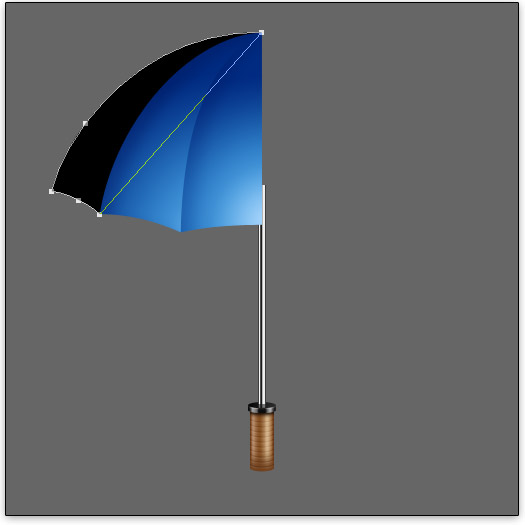
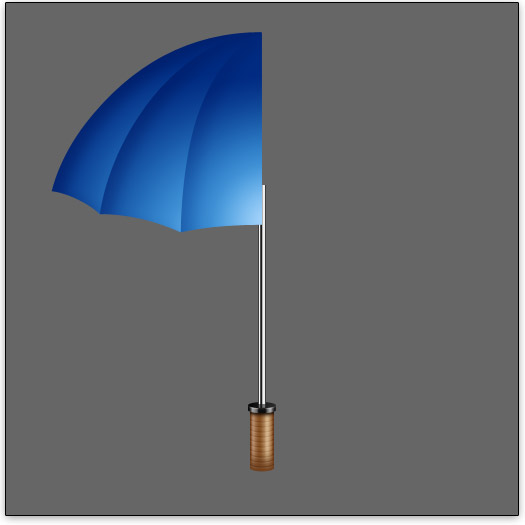 To complete the canopy, a flipped duplicate copy needs to be added on the right side of our canvas.
The layer group that we made for the left panels makes this job much easier. Instead of duplicating all three panel layers that we made on the left side, just right-click on “drapery” group and choose Duplicate Group from the contextual menu that appears. With the duplicate group selected in the Layers Panel, press Ctrl/Cmd + E to merge all its visible layers into single layer.
Now go to Edit > Transform > Flip Horizontal to reorient the duplicated panels, and then move them rightward to finish our canopy’s shape. 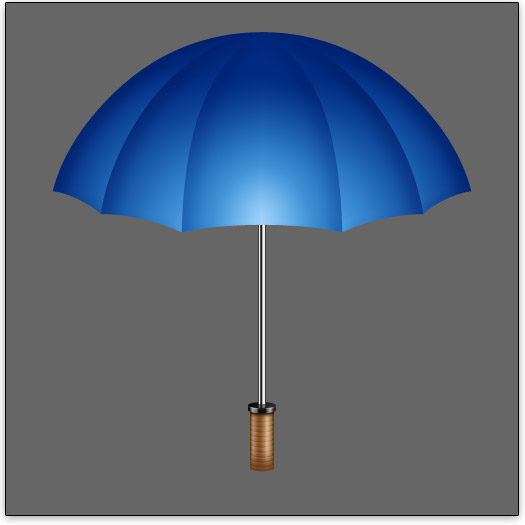
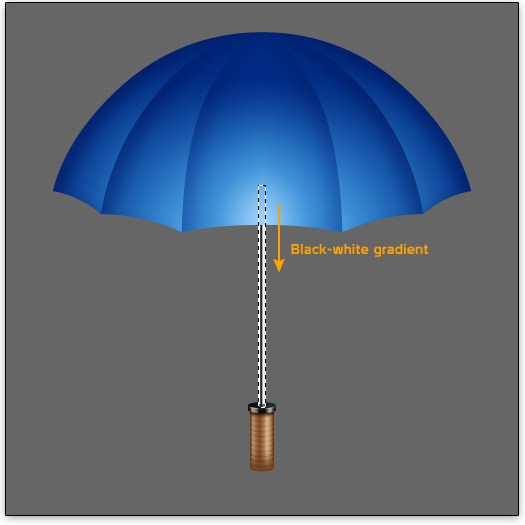
Step 9: Add a shadow to the pole
There is a need to add a shadow on the pole of the umbrella to make it seem like the canopy is casting a shadow on it. To add the shadow, create a new layer above the “pole” layer and Ctrl/Cmd + click on “pole” layer to load a selection around it.
Pick the Gradient Tool (G) from the Tools panel and then choose the Black, White gradient preset. Create the gradient as shown below, starting from the top. Set the blending mode of the layer to Multiply and reduce its opacity to 95%.

Step 10: Draw the canopy top
Create a new layer above the drapery and draw a small vertical rectangle on top of it. 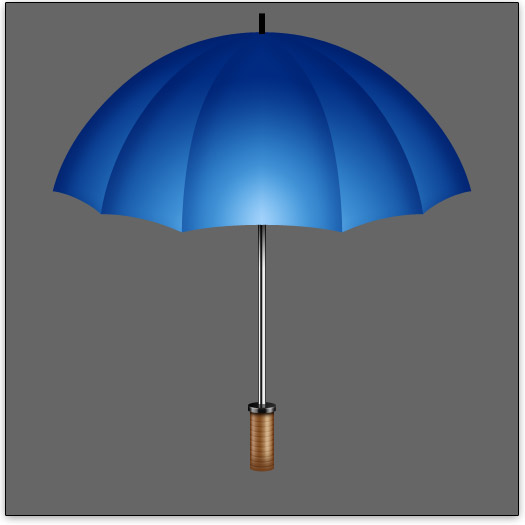 Give it the same Gradient Overlay that was used on the “pole” layer. A shortcut here would be to right-click on the “pole” layer and then picking Copy Layer Style from the contextual menu.
After copying the layer style from the “pole” layer, right-click on the layer where the rectangle was drawn, and then choose Paste Layer Style. 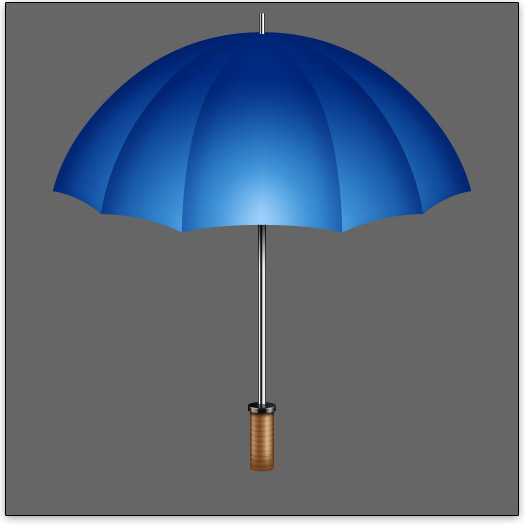 Create a new layer and then add a dark grey oval shape at top as presented below.
 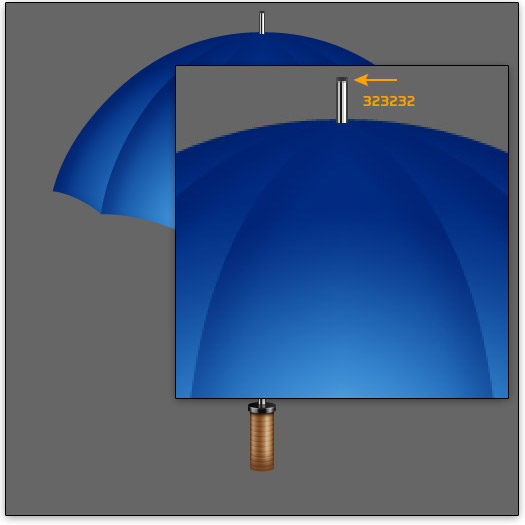 Create a new layer and draw a shape using Pen Tool (P) that will serve as the base of the canopy top.
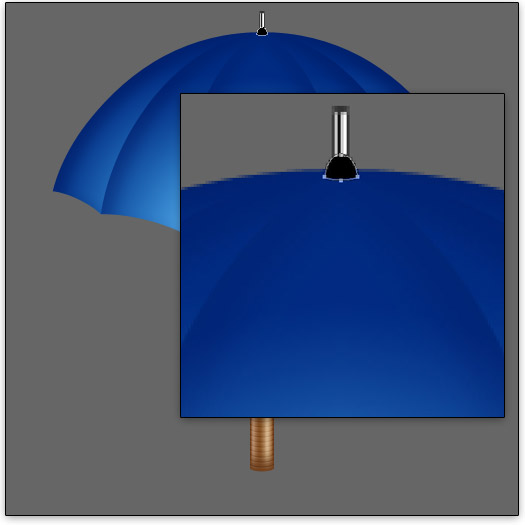 Give the base of the canopy an Inner Shadow layer style using the suggested settings below.
 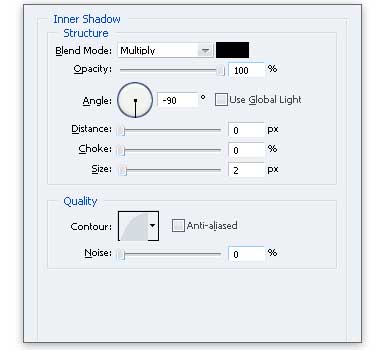 To finish up the base of the canopy, add another layer style to it—a Gradient Overlay with the settings shown below.
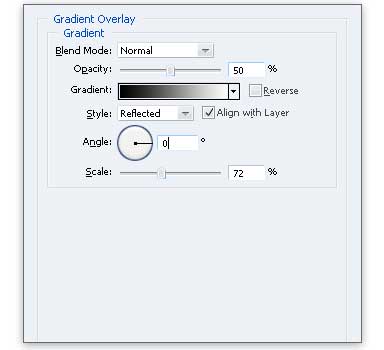
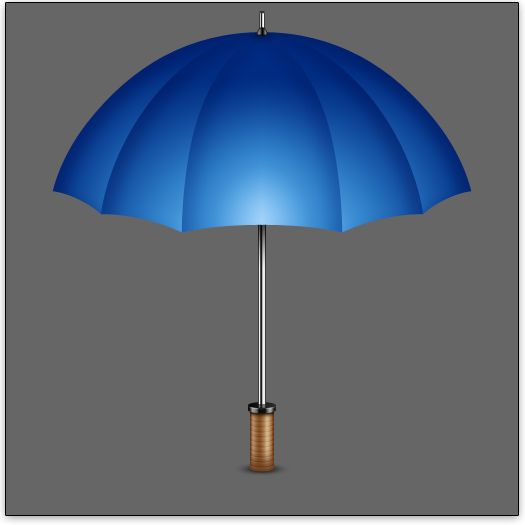
 Add a subtle drop shadow to keep the lighting consistent.

Step 11: Add a shadow to the base of the handle
Let us finish our drawing by giving the handle a nice detailing touch: a drop shadow. Create a new layer and place it below “handle” layer. Select Elliptical Marquee Tool (M) and fill the selection with black (#000000) as shown.
 Reduce the opacity of the layer to 70%. We will apply three filters onto this shadow layer:
- Filter > Blur > Motion Blur (Angle: 0, Distance: 30px)
- Filter > Blur > Motion Blur (Angle: 0, Distance: 30px)
- Filter > Blur > Gaussian Blur (Radius: 1.5px)
Conclusion
That’s it! In this tutorial, we drew an umbrella using some basic Photoshop shapes and the Pen Tool. We used many Layer Styles to color in our drawing.
We added some realistic lighting effects such as shadows using a variety of techniques. I hope you enjoyed the tutorial and learned something new from it. If this tutorial has inspired you, please share in the Design Instruct Flickr group pool.
Download Source Files
- 3d_umbrella_drawing (ZIP, 0.1 MB)
-
 Trevin serves as the VP of Marketing at WebFX. He has worked on over 450 marketing campaigns and has been building websites for over 25 years. His work has been featured by Search Engine Land, USA Today, Fast Company and Inc.
 -

WebFX is a full-service marketing agency with 1,100+ client reviews and a 4.9-star rating on Clutch! Find out how our expert team and revenue-accelerating tech can drive results for you! Learn more
Make estimating web design costs easy
Website design costs can be tricky to nail down. Get an instant estimate for a custom web design with our free website design cost calculator!
Try Our Free Web Design Cost Calculator
Table of Contents
- Preview
- Step 1: Setup the Document
- Step 2: Create the Umbrella Handle Shape
- Step 3: Give the Umbrella Handle Some Stripes
- Step 4: Draw the Top of the Umbrella Handle
- Step 5: Give the Top Handle a Subtle Drop Shadow Effect
- Step 6: Create the Umbrella Pole
- Step 7: Draw the Canopy of the Umbrella
- Step 8: Duplicate the Panels of the Canopy
- Step 9: Add a Shadow to the Pole
- Step 10: Draw the Canopy Top
- Step 11: Add a Shadow to the Base of the Handle
- Conclusion
- Download Source Files
Share this article


Web Design Calculator
Use our free tool to get a free, instant quote in under 60 seconds.
View Web Design CalculatorMake estimating web design costs easy
Website design costs can be tricky to nail down. Get an instant estimate for a custom web design with our free website design cost calculator!
Try Our Free Web Design Cost Calculator


