- Home
- Blog
- Web Design How To Use DALL-E for Blog Images (+ 3 Tips for Success)
How To Use DALL-E for Blog Images (+ 3 Tips for Success)
-
 Published: Dec 5, 2022
-
 8 min. read
-
 Abbey Stephan
 Lead Editor
- Abbey is a digital marketer, copywriter, and lead editor. She has worked on over 200 client campaigns and WebFX, and she specializes in marketing strategy analysis and industry-specific digital marketing plans. Outside of writing and editing, you’ll likely find her taking pictures of her cat, making a new playlist, or tending to her houseplants.
Images can take your blog post to the next level. 40% of consumers appreciate photos and images more than most other elements in web design. But how can you have unique photos with no photographer or design team?
DALL-E lets you generate quality, unique images that you can use for your pages. In this post, we’ll break down the basics of the DALL-E image generator and give tips to help you master the tool.
How much does it cost to build the website of your dreams?
Use our FREE website design cost calculator to get an idea!
Web Design Cost Calculator

What is DALL-E?
DALL-E is an online artificial intelligence (AI) tool that uses machine learning to create realistic images from a description. DALL-E 2 is the most recent version, which includes higher-resolution images, better matching, and filters to prevent harmful or adult photos.
DALL-E 2 is part of a collection of AI research and tools from OpenAI. OpenAI is an AI research laboratory that aims to make AI accessible to everyone through helpful tools and programs like the DALL-E image generator.
Is DALL-E free?
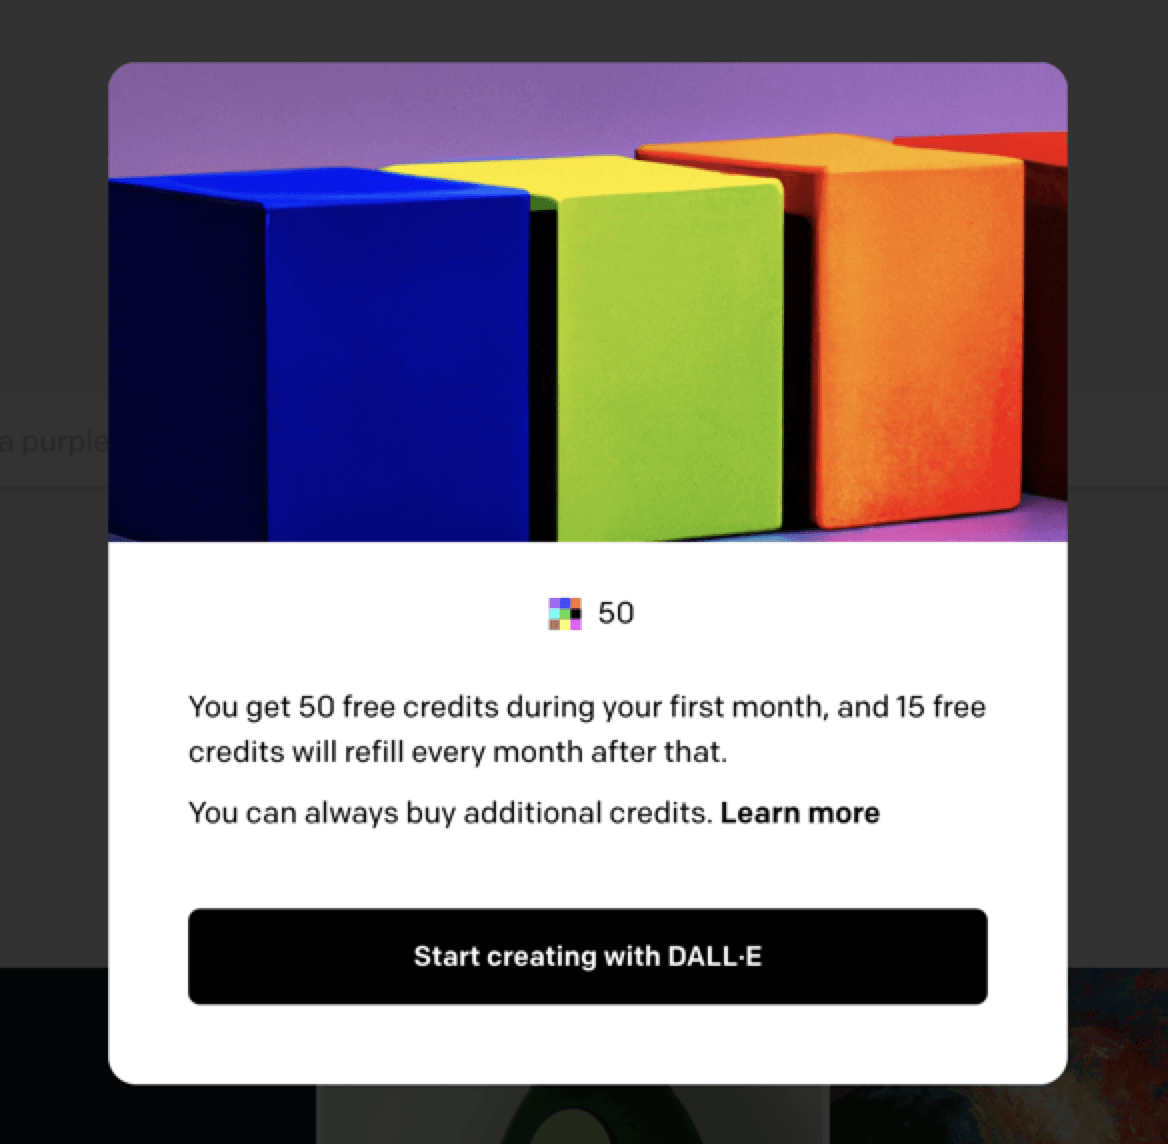
DALL-E 2 is partially free. You get 50 free credits when you open an account and 15 more every month following. Depending on how often you need images, you could only use the free DALL-E 2 credits, which do not roll over monthly.
If you create a lot of images, you can pay $15 for 115 credits, which roll over each month for 12 months.
DALL-E and copyright
Copyright law in the U.S. is catching up to AI developments. Let’s cover the basics of copyright for AI before learning how to use DALL-E online.
Can I use copyrighted material in DALL-E?
In short, no. When uploading images to DALL-E, be sure not to include any copyrighted images. Even though you modify them with AI, they can still create copyright infringements.
Can I copyright my DALL-E images?
No. In the U.S., you cannot claim ownership of any piece of art not made by a human being, based on previous cases with the U.S. Copyright Office.
Who owns AI-generated images?
When you sign up for OpenAI, they automatically claim ownership over any art you make using the software. You can do whatever with your creations, but other people could also take your images and use them if they want.
How to use DALL-E online
Follow the steps below to activate your account, create an image, and upload it to your blog.
1. Create an account
Start by creating an OpenAI account. It’s free to sign up, and if you already have an account, you can log in with your existing credentials.
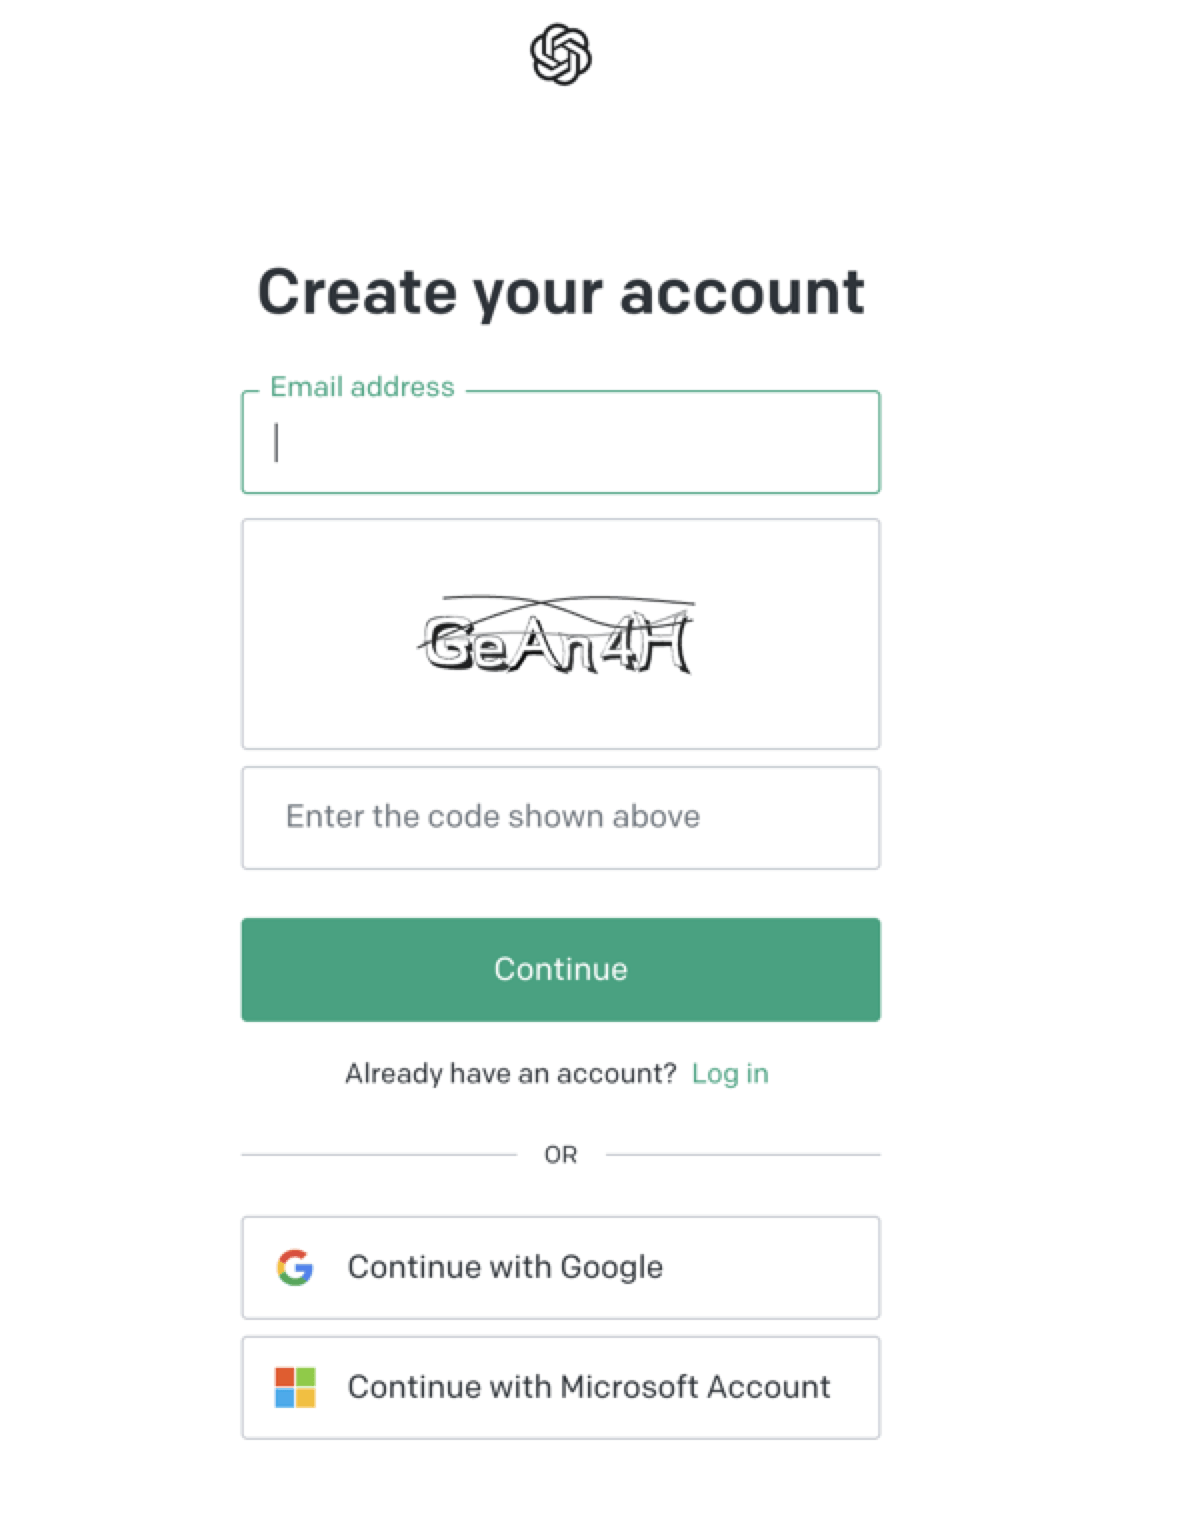
You’ll set up a password and verify your email address and phone number before continuing. Once you confirm your information and sign in, you’ll receive the following prompt.
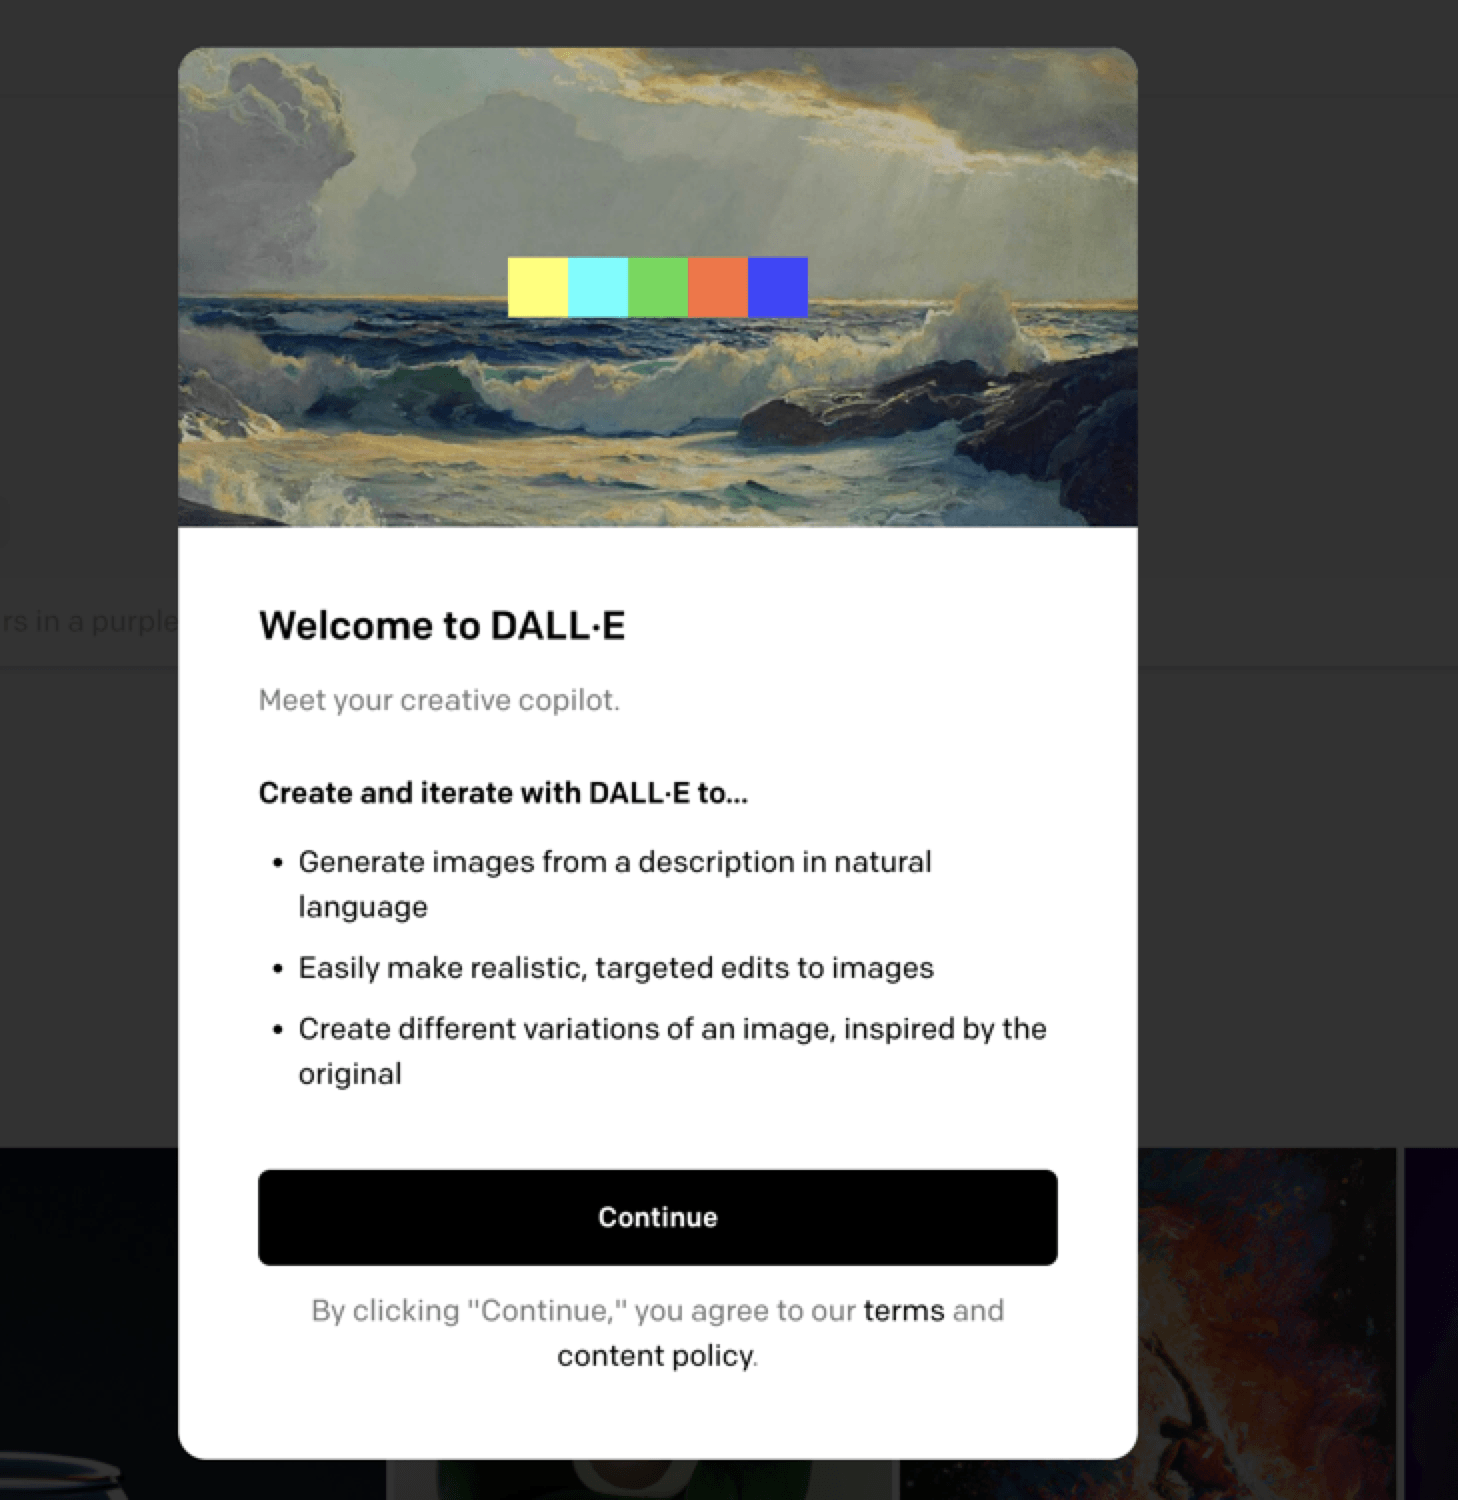
From there, you will come to the homepage and receive your 50 free credits. Each credit is good for one input, whether you download the image or not.
2. Input your text
You can type your text directly into the search bar or use the “surprise me” button to generate a random image.

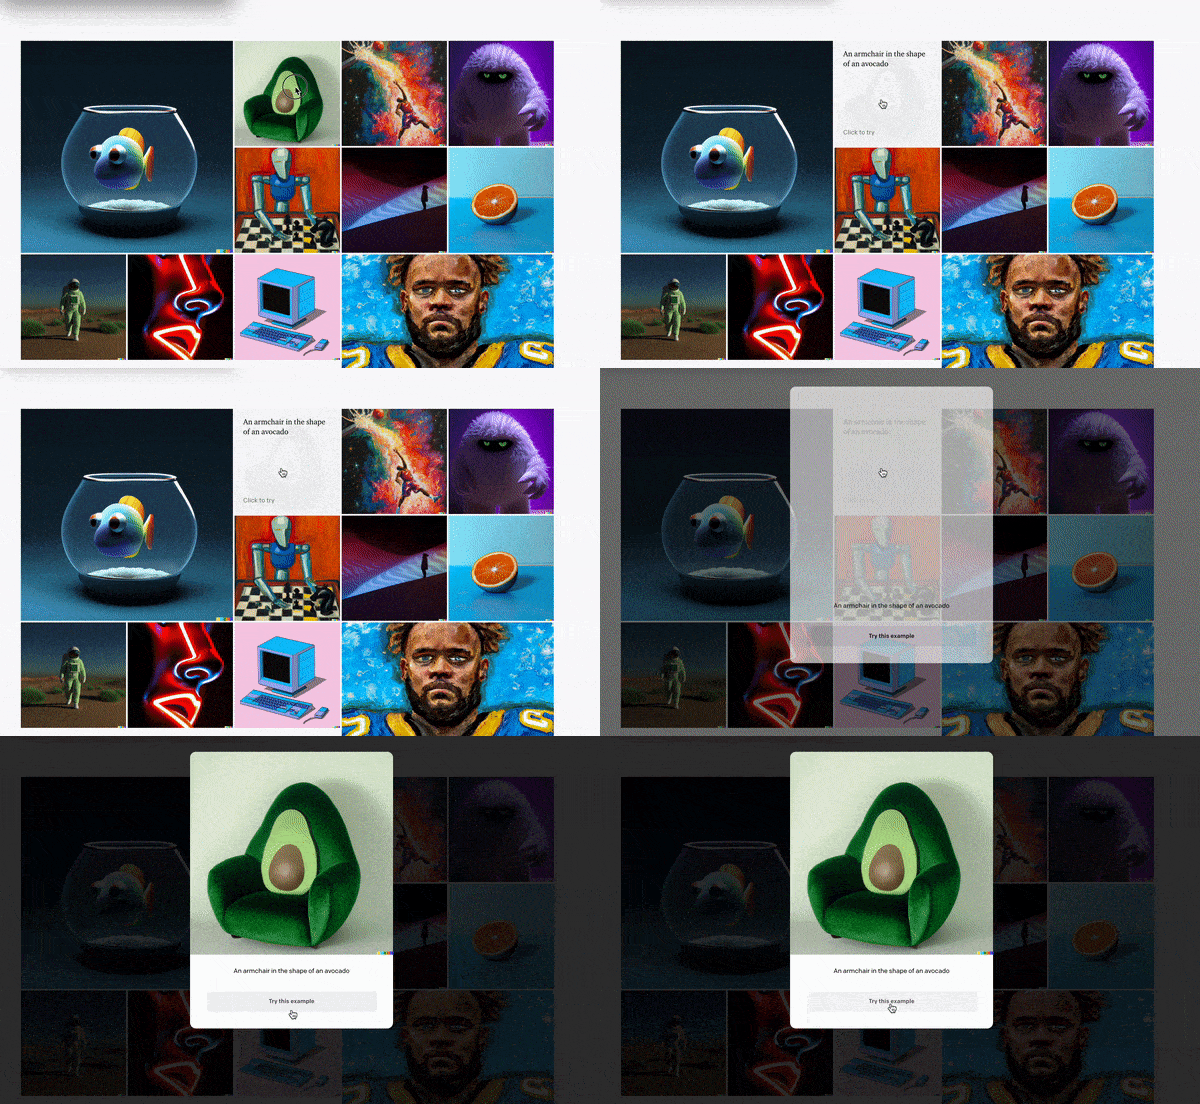
If you scroll down, you can see several examples.
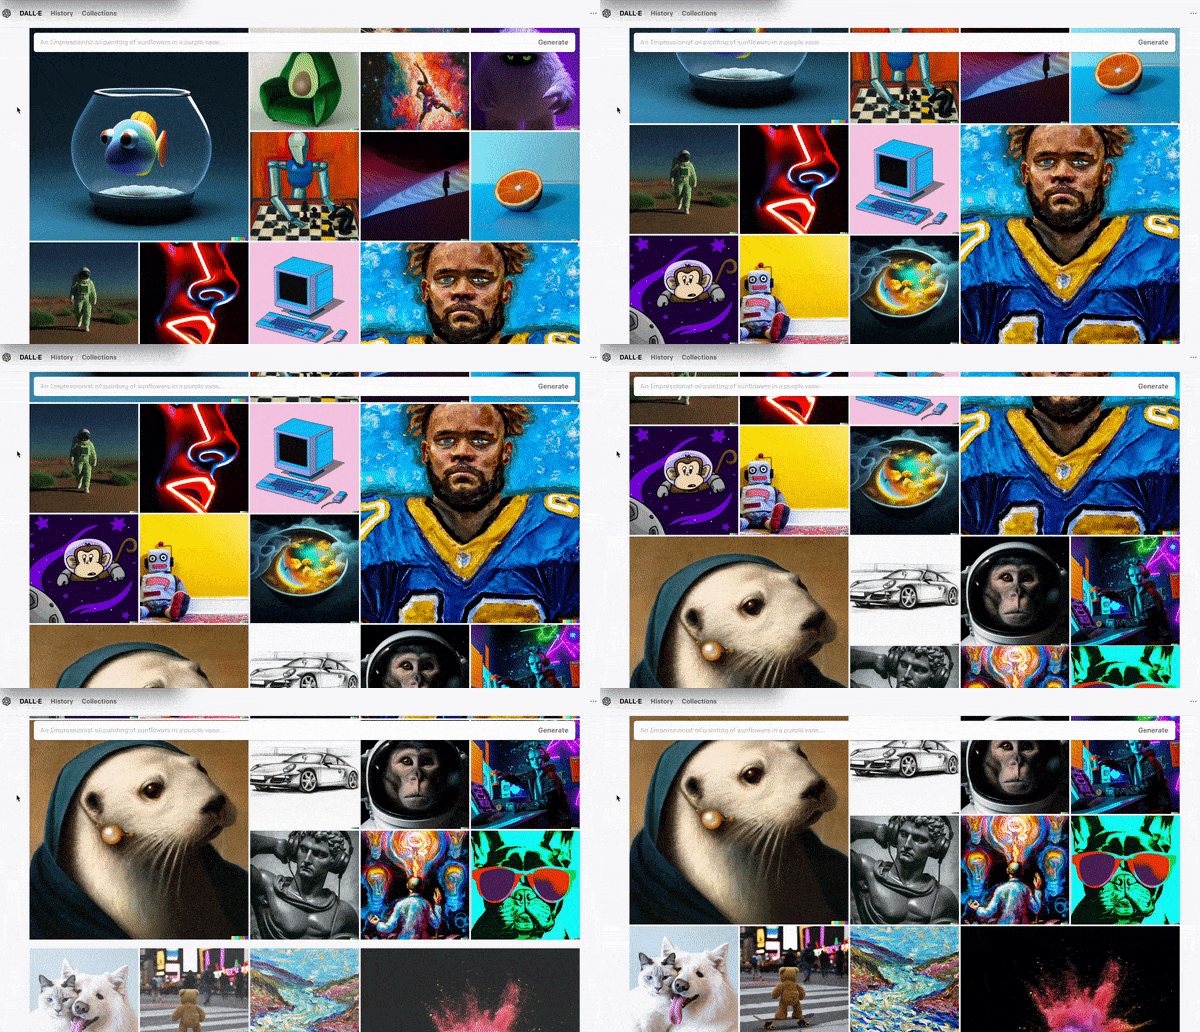
Hover over them and click the dialogue to see how the example would look if you used the description provided.
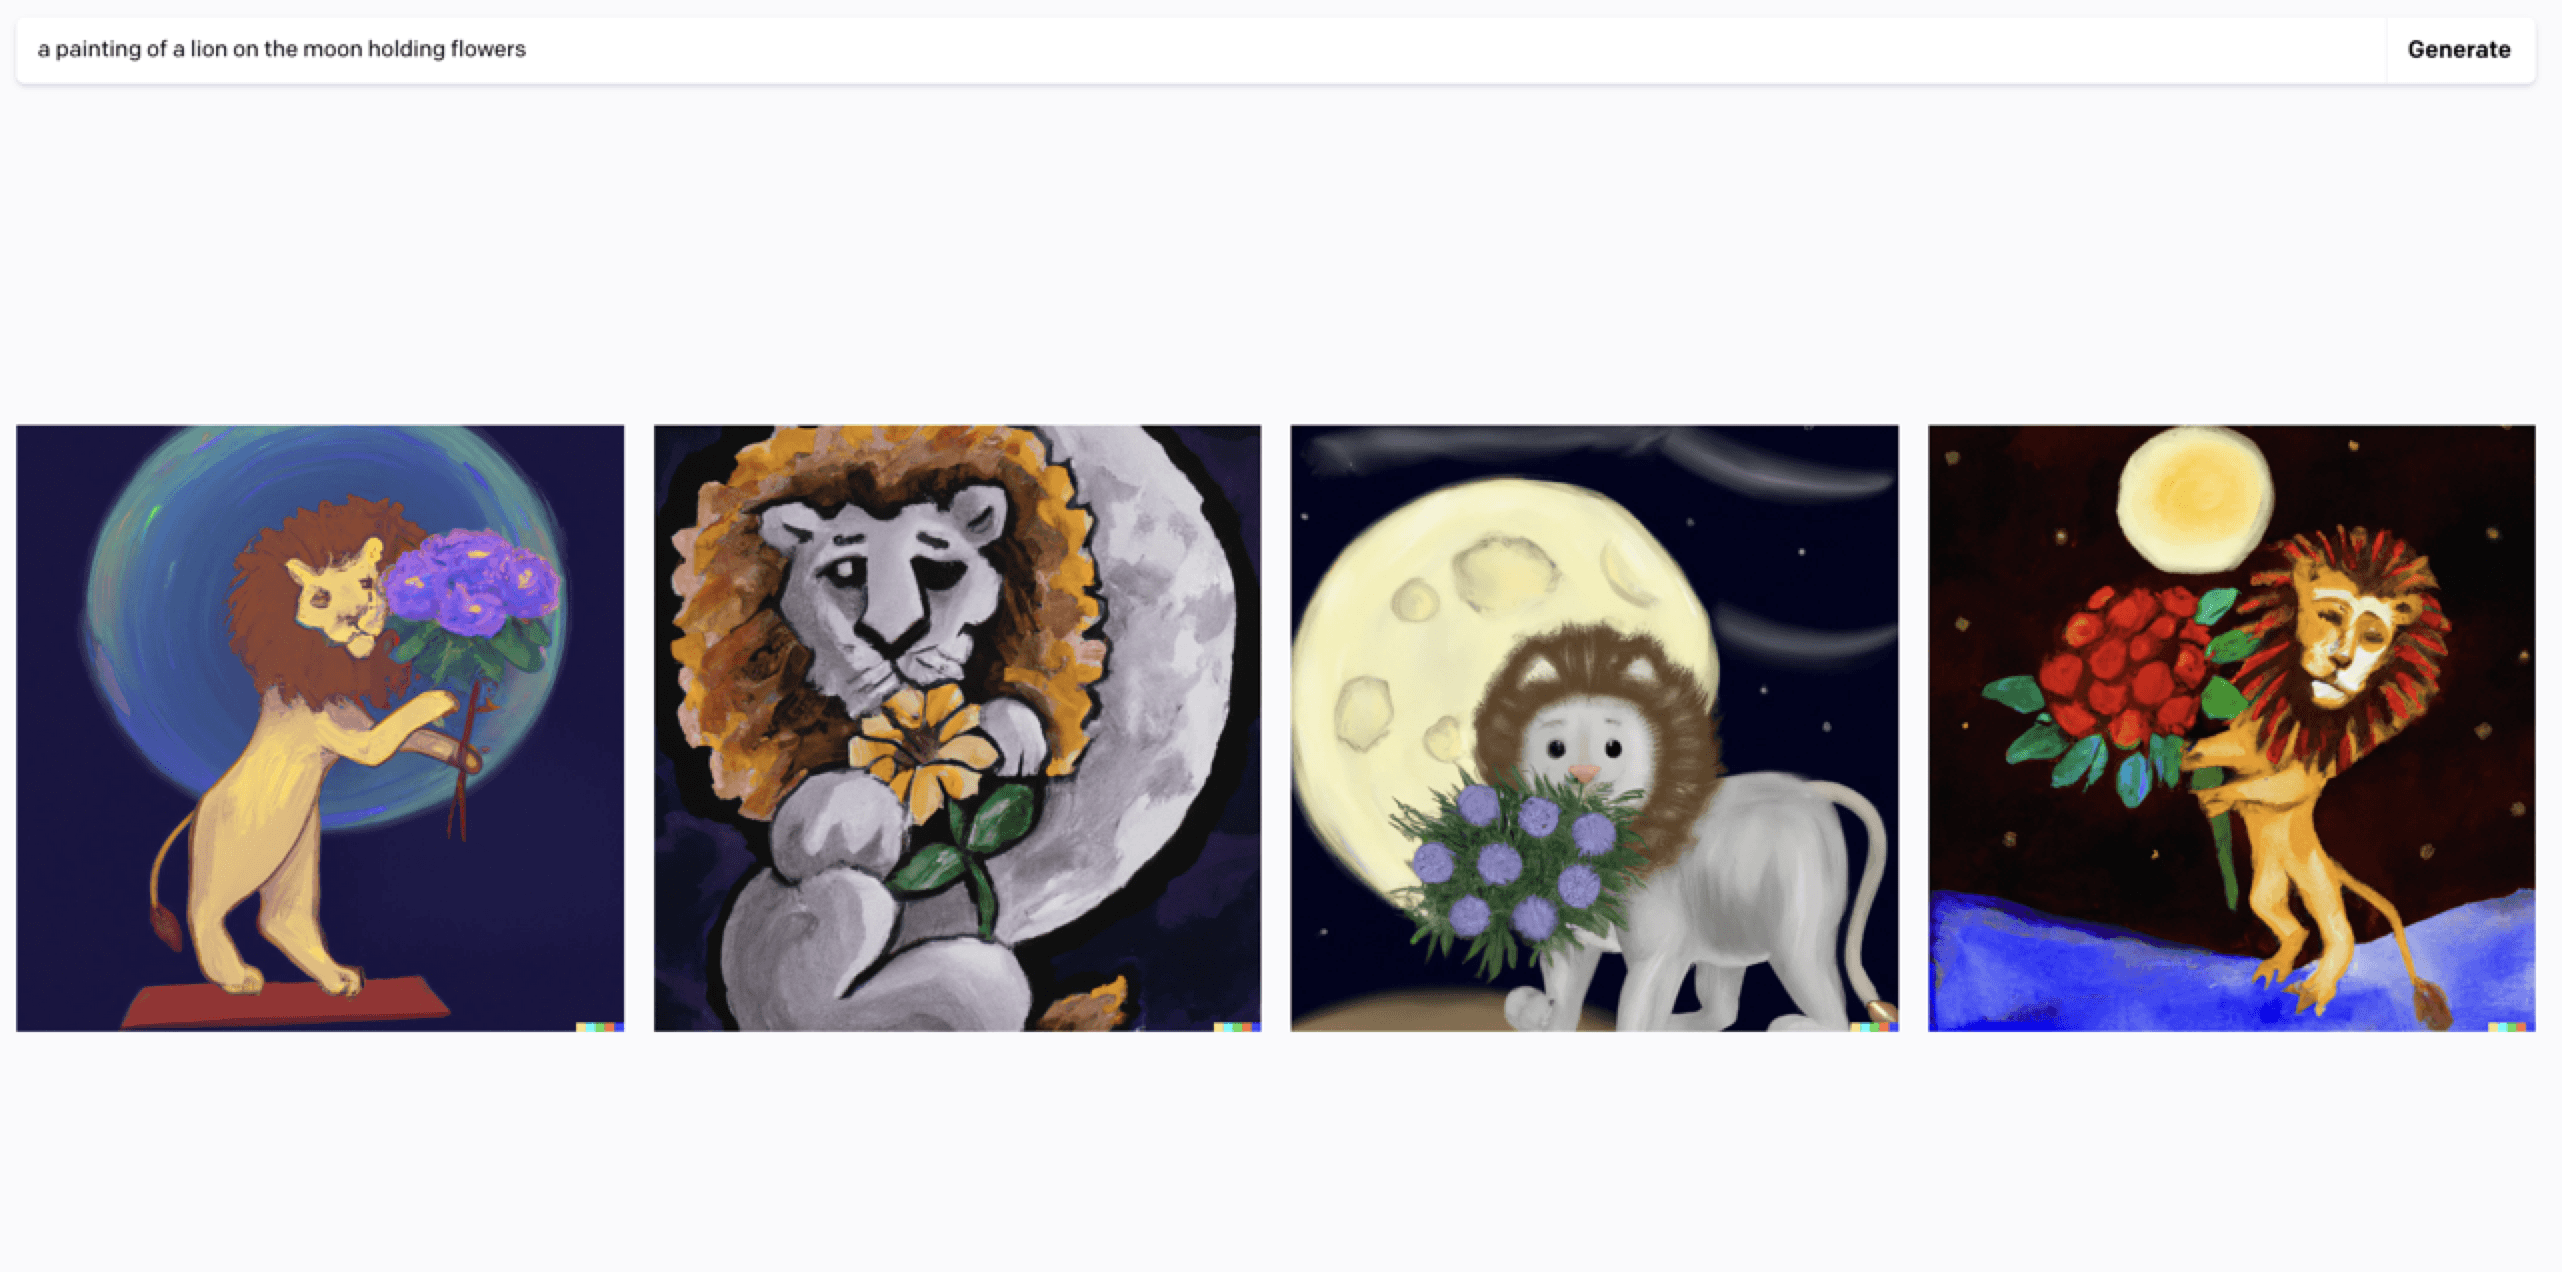
Now, let’s enter some text into the search box. For this example, I used the description “a painting of a lion on the moon holding flowers.”
3. Browse your results
Once you type in your text, DALL-E will give you some results. You can tweak your search if necessary. If you like one option best, you can use that as the basis to generate other possibilities.
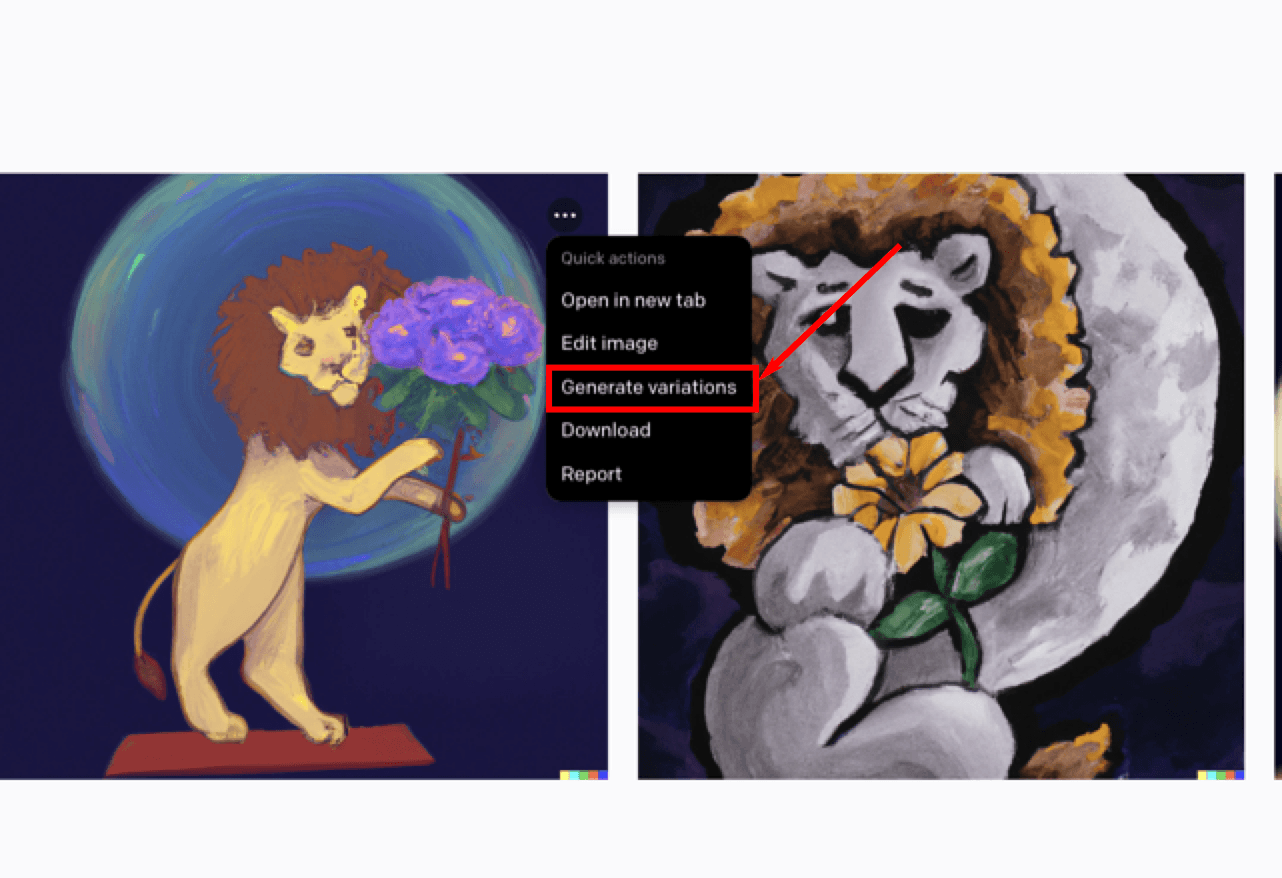
Hover over the image you like and click on the three dots in the top right corner. Then, click “generate variations.”
4. Adjust your selection
Once you have a photo you like, you can edit it in the photo editor. In the same menu, click “edit image,” which will bring you to this editor.
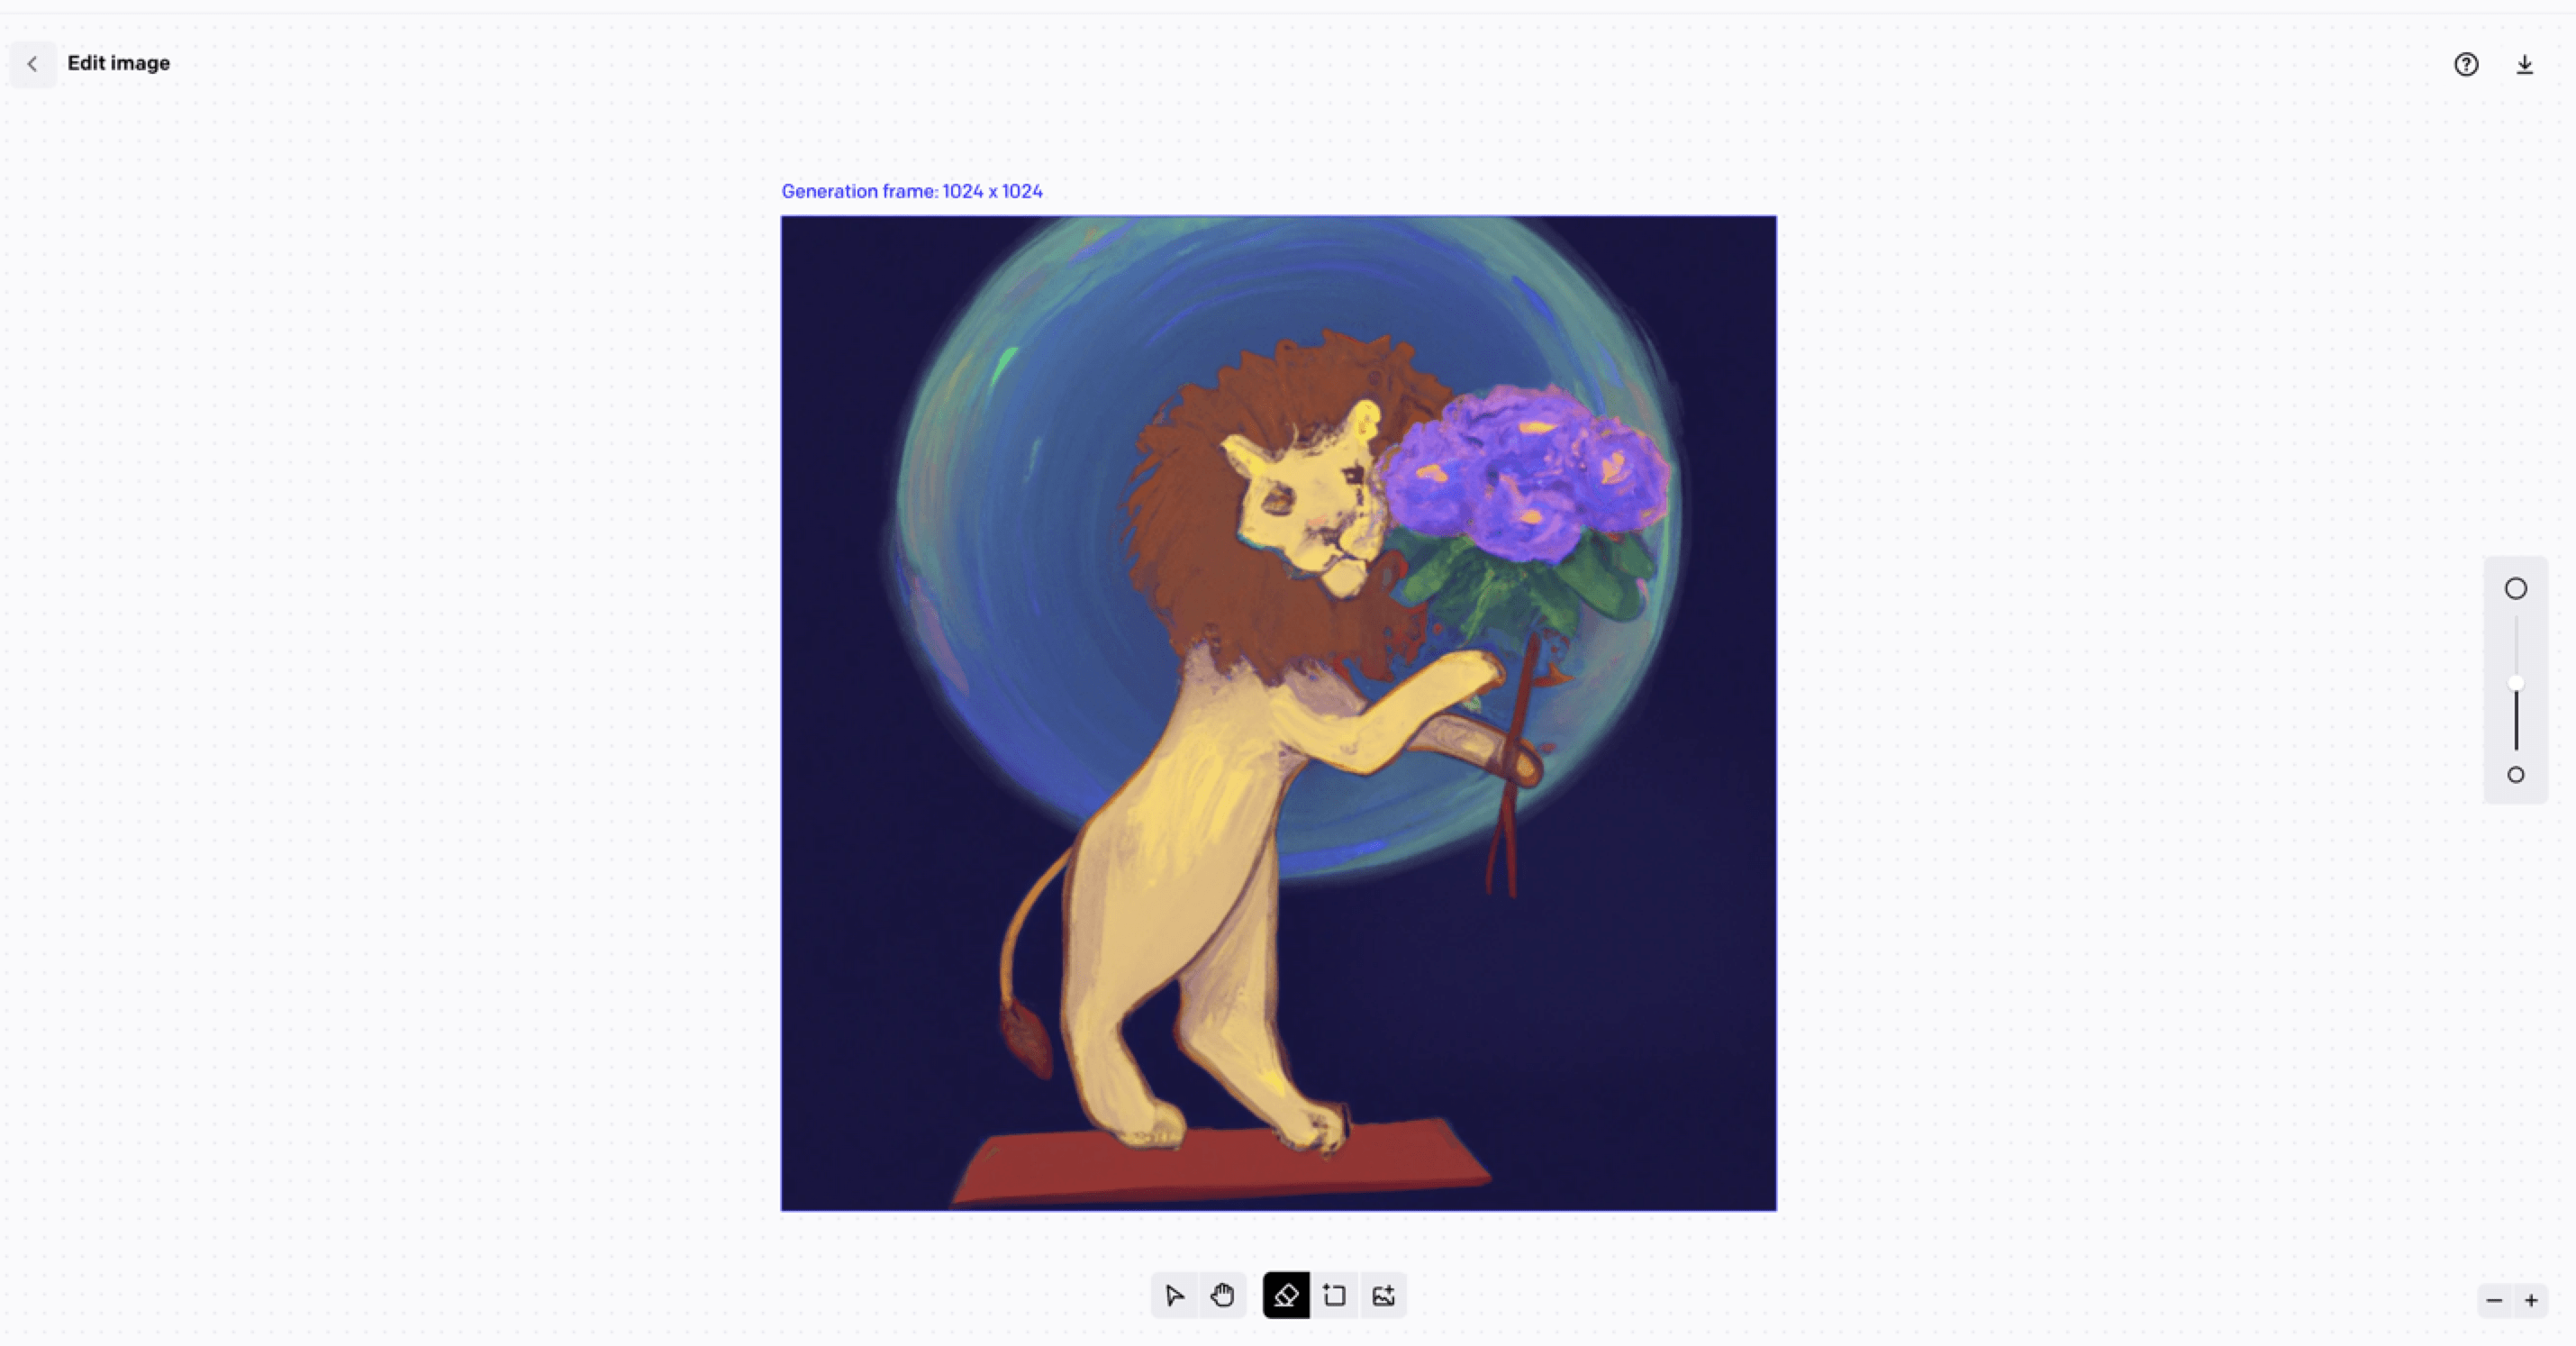
You can erase sections from the image, upload a photo to work with, and use AI to extend the image.
Click this icon to add and place a generation frame.
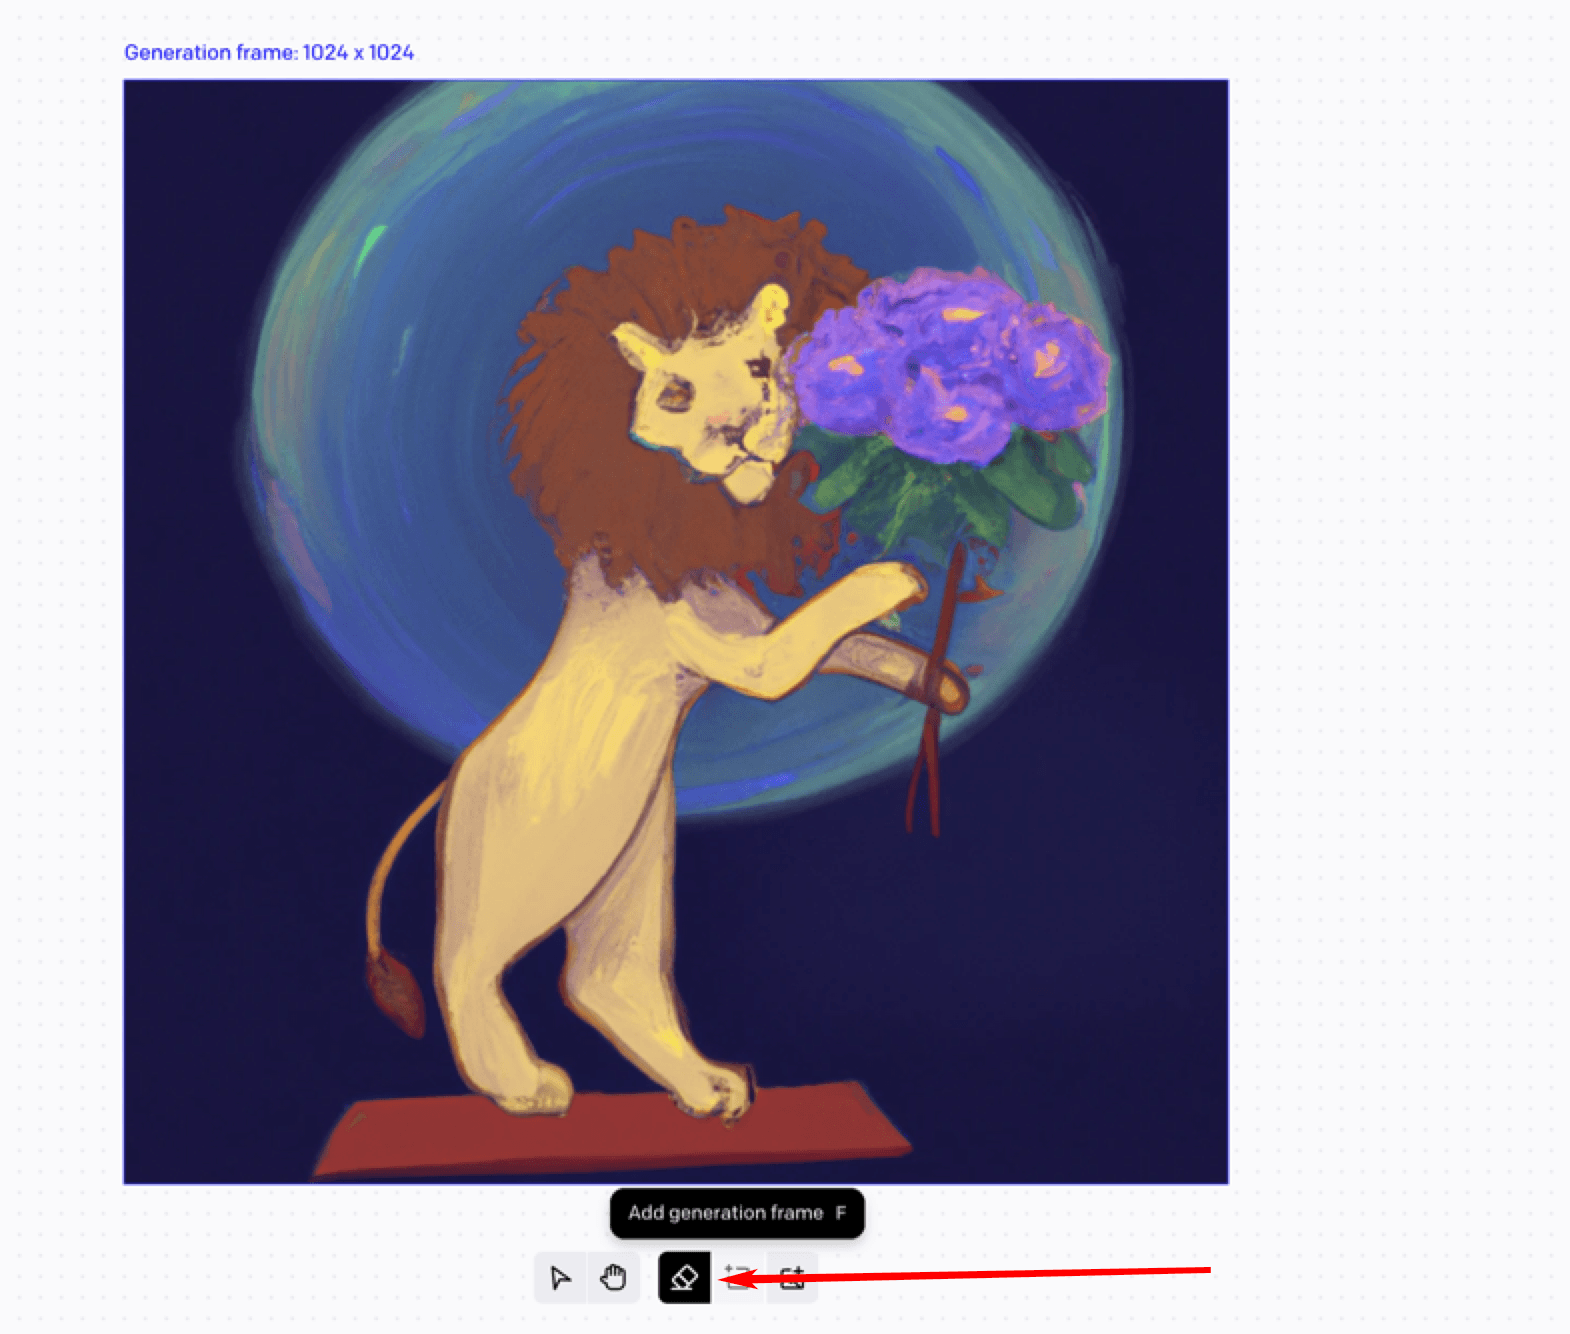
Once you place the frame, enter a description at the top of the page. I used “oil pastel stars in the night sky” and extended my image upwards.
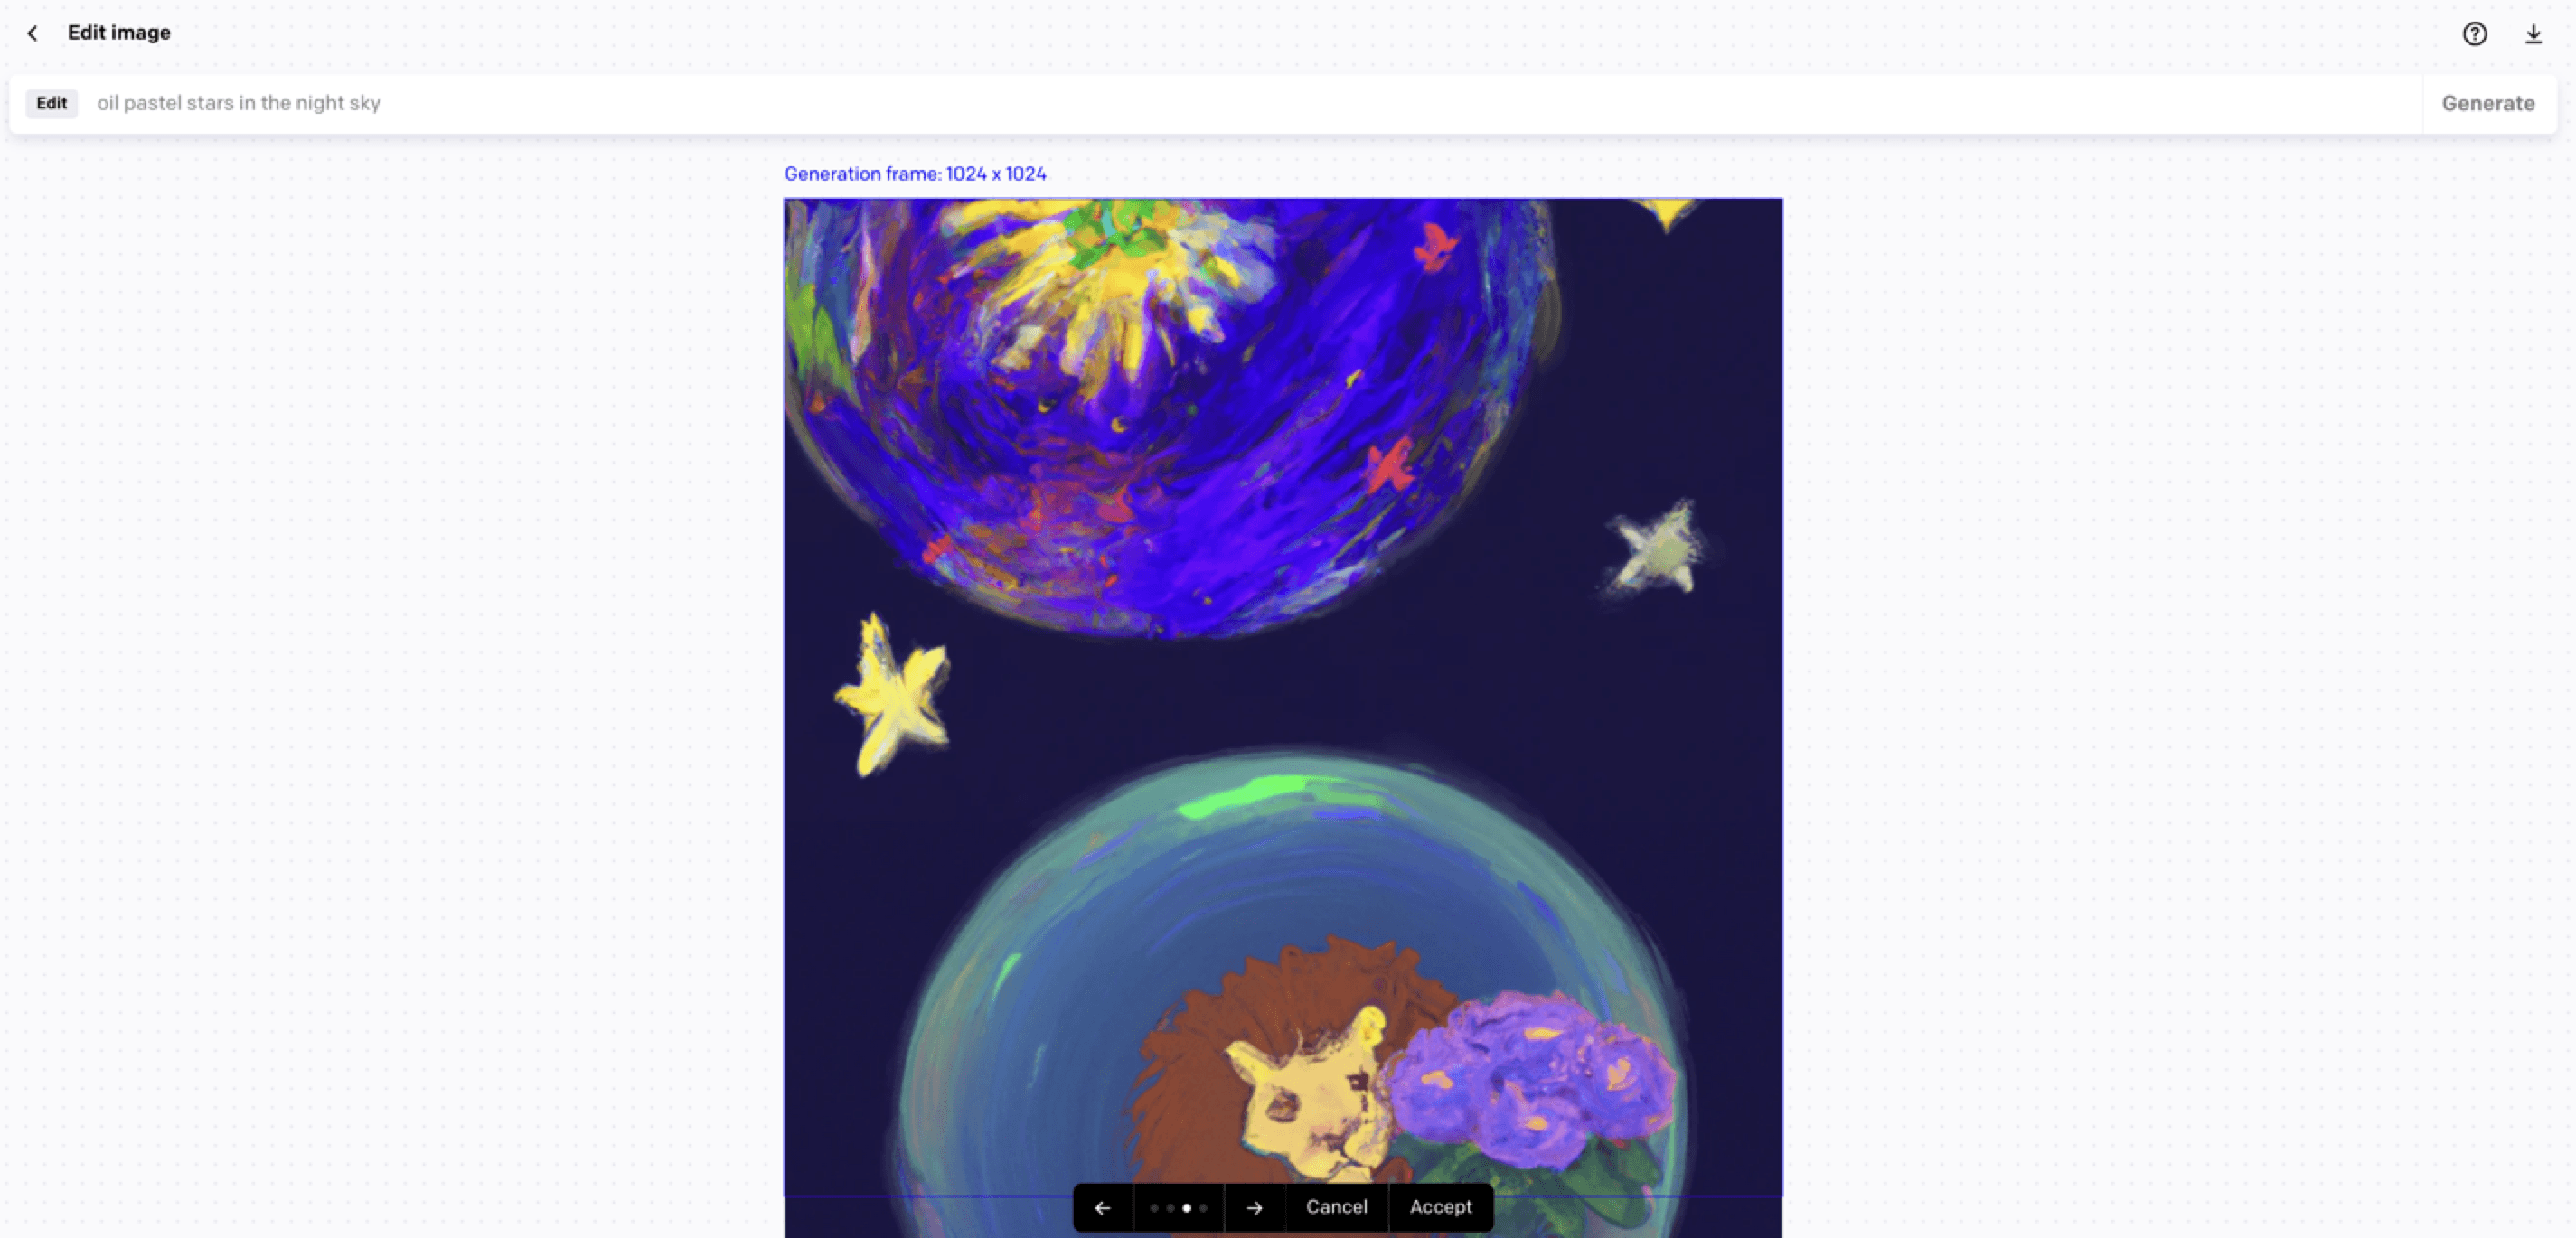
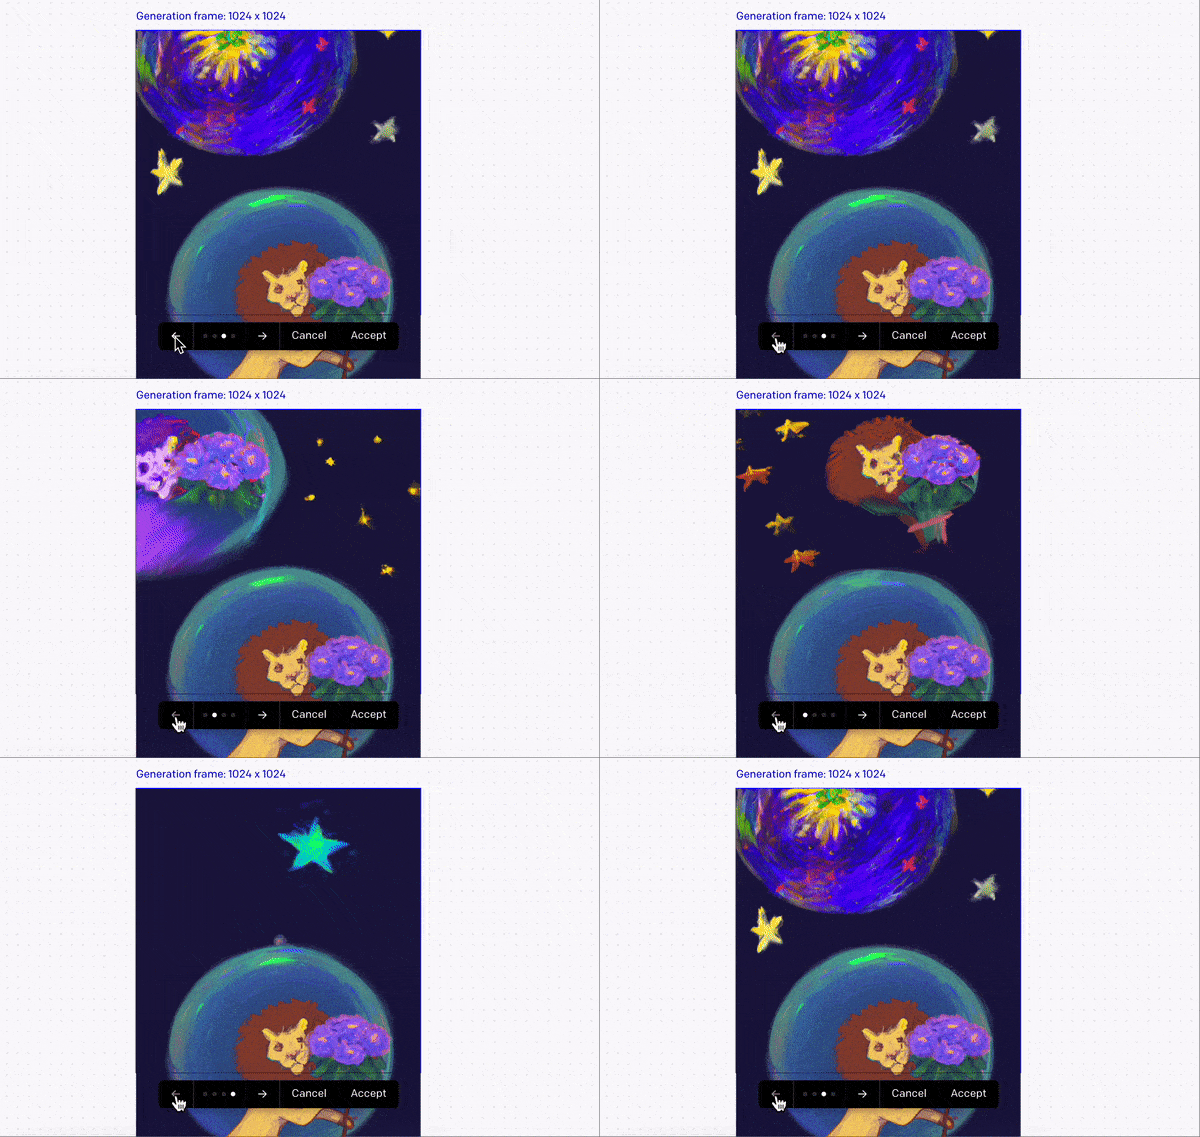
Use the arrow keys above the toolbar to scroll through different examples.
Either right-click the image to save it or download it in the editor by clicking this icon.

5. Implement images on your blog
Once you download the image, you can start crafting posts! Use these images on your blog to:
- Create visual headers.
- Break up large blocks of text.
- Separate blog posts by image in your catalog.
- Create infographics with text overlays.
Tips for using DALL-E
Learning how to use DALL-E online is half the battle — accessing its full capabilities takes some time and practice. Remember these tips as you start creating images for your blog.
1. Try outpainting
Outpainting — adding onto an existing image with AI — is a great way to spice up any photos you have. As we demonstrated in the tutorial above, you can outpaint through the editing platform, and you don’t need to find your image before starting.
Use outpainting to:
- Extend images so they can fit your blog dimensions.
- Add more depth to an image while considering the texture, shadows, and contrast.
- Repair cropped sections or missing pieces.
2. Use detailed descriptions
The more details you give DALL-E, the better. You can get down to the nitty-gritty with your description and see your image come to life.
Remember the following aspects:
- Background: What do you want the backdrop of your image to be? Get creative or include a colored background.
- Number of subjects: Specify how many characters, objects, or people you want in your image.
- Art style: You can specify the art style, such as cartoon, fiber art, or graphic design.
- Colors: Add colors to your descriptions to reflect your brand or concepts.
3. Add images intentionally
Visuals, even AI-generated ones, are a great way to elevate your web design and make your page more complex. When placing images on your blog, don’t add them all over the place. Choose the locations wisely.
Here are a few quick tips:
- Remember to include white space: Readers don’t want to work around a ton of visuals to get to the page’s message.
- Optimize your images: Almost 40% of users stop interacting with a page if the images fail to load, so make sure you optimize your images by compressing the file size and giving them alt tags that users can read if the images themselves don’t show up.
- Create connections: Your pictures should highlight your points, so try to enhance your text with supporting images instead of distracting, irrelevant ones.
For more inspiration, check out these tips for implementing images in your web design!
in a variety of industries.We don’t want to tell you about the work we do, we want to SHOW you.
View Our Portfolio 
We’ve built over
Websites
Tackle image creation with WebFX
Still trying to figure out how to optimize your blog for images? We can help!
WebFX offers professional web design services to give you the website you want that will drive leads. Our team can create personalized web content using your images to attract users in need of your business.
Our results speak for themselves. To get started on your website, call 888-601-5359 to speak with a strategist today!
-
 Abbey is a digital marketer, copywriter, and lead editor. She has worked on over 200 client campaigns and WebFX, and she specializes in marketing strategy analysis and industry-specific digital marketing plans. Outside of writing and editing, you’ll likely find her taking pictures of her cat, making a new playlist, or tending to her houseplants.
 -

WebFX is a full-service marketing agency with 1,100+ client reviews and a 4.9-star rating on Clutch! Find out how our expert team and revenue-accelerating tech can drive results for you! Learn more
Make estimating web design costs easy
Website design costs can be tricky to nail down. Get an instant estimate for a custom web design with our free website design cost calculator!
Try Our Free Web Design Cost Calculator


Web Design Calculator
Use our free tool to get a free, instant quote in under 60 seconds.
View Web Design CalculatorMake estimating web design costs easy
Website design costs can be tricky to nail down. Get an instant estimate for a custom web design with our free website design cost calculator!
Try Our Free Web Design Cost Calculator

