
Preview
Click the image below to see the final result in full scale. 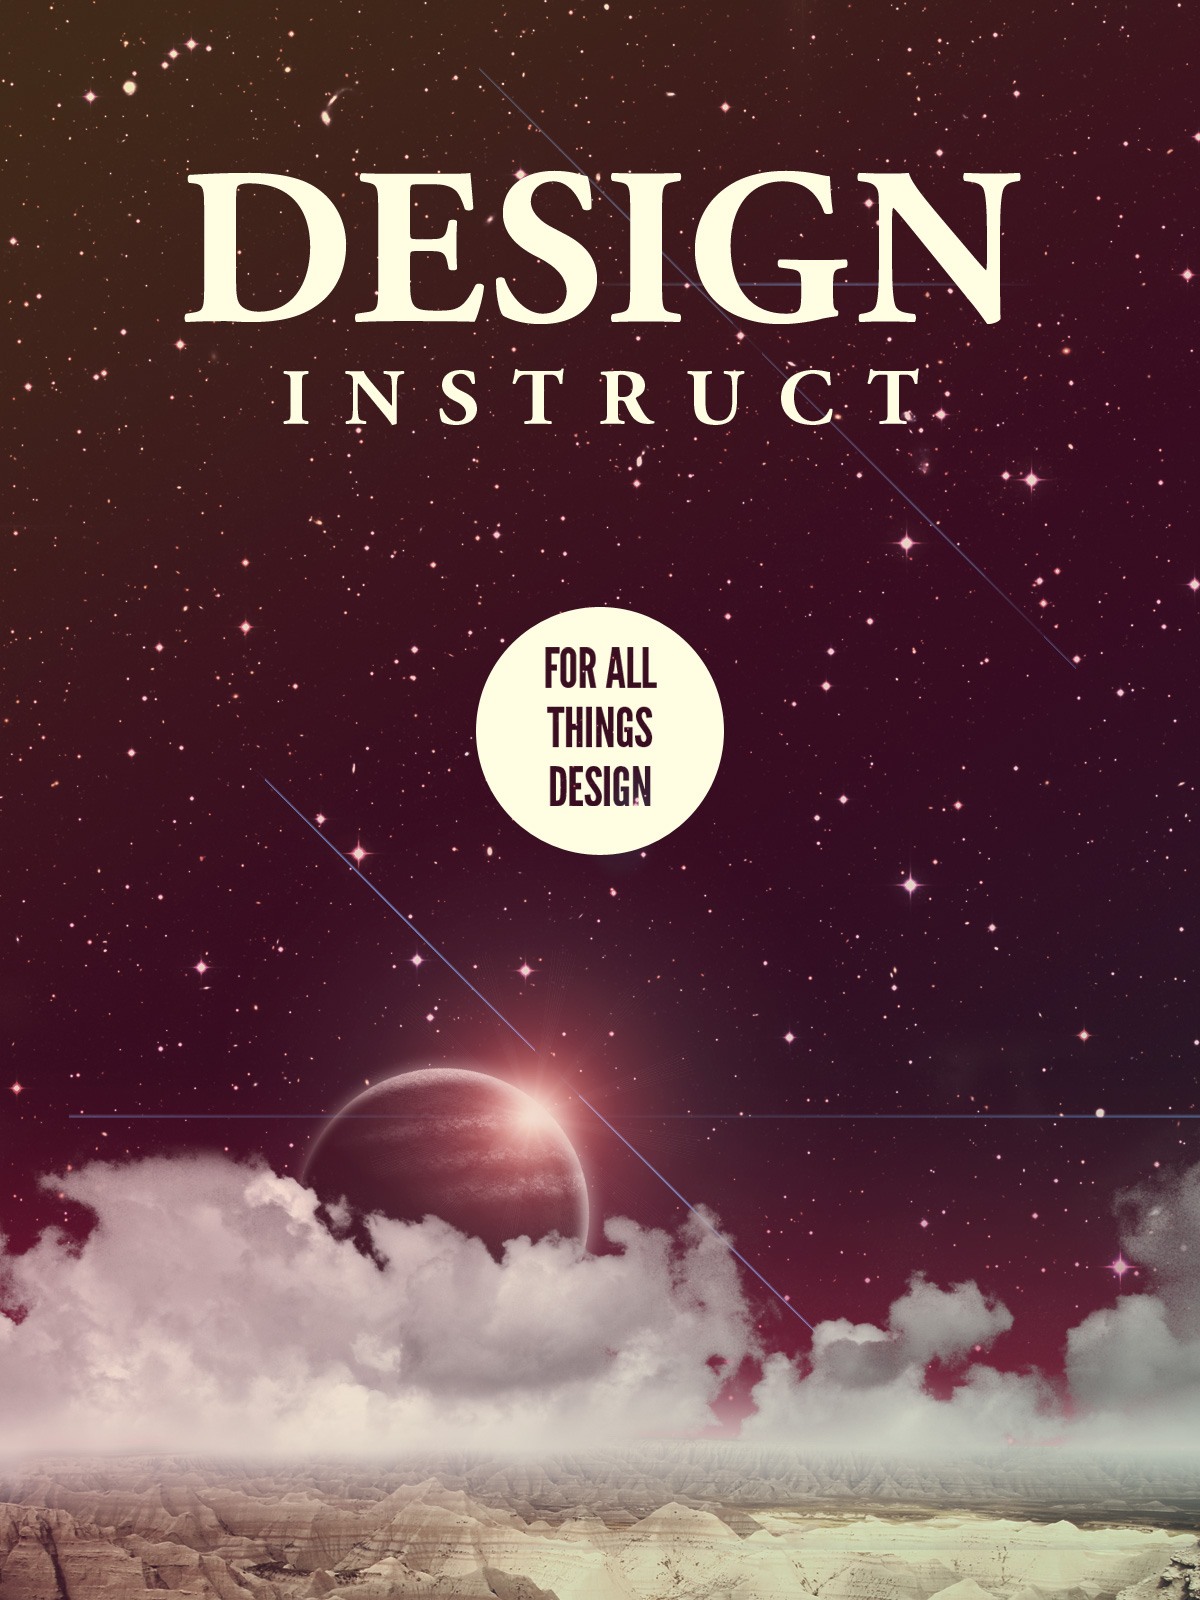
Tutorial Resources
- Stock photo: Capodimonte Deep Field (by ESO)
- Stock photo: Badlands (by clarita)
- Stock photo: Sweden 3 (by Seemann)
- Texture: Grab Bag Texture (by Lost and Taken)
- Font: League Gothic (by The League of Moveable Type)
Step 1: Create the Photoshop Document
In Photoshop, press Ctrl/Cmd + N or go to File > New, which will open a dialog window. Create a 1200x1600px Photoshop document. 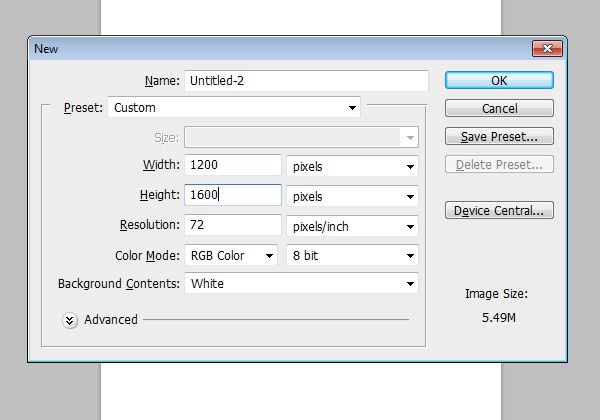 After creating the new document, fill the Background layer with black (#000000).
Step 2: Adding the Stars
We’ll just use and process a stock image to add stars to the scene.
To start, download and open the Capodimonte Deep Field image from Wikimedia Commons; the photo is by the European Southern Observatory. Use Free Transform (Ctrl/Cmd + T) to resize the stock image so that it fits within our canvas. 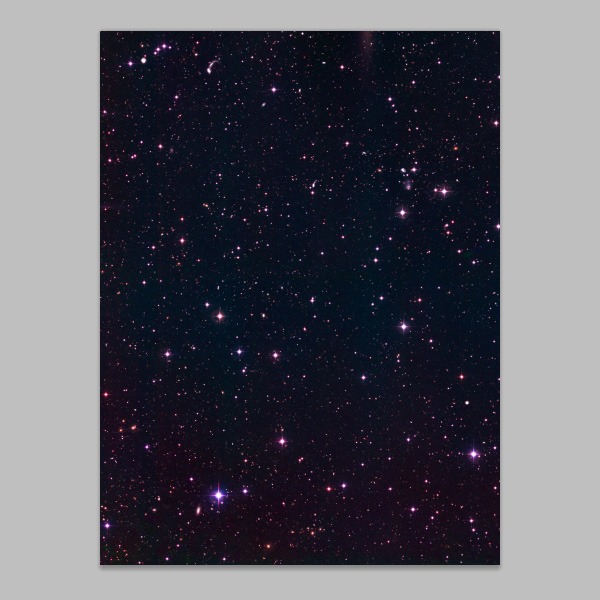 Tip: Alternately, if you’d like to challenge yourself and learn a new technique, you can create the stars from scratch by following along another one of my tutorials. Now that we have our stars in place, we can edit them a little bit.
First, choose Image > Adjustment > Curves to darken the image and to make the actual stars stand out more. 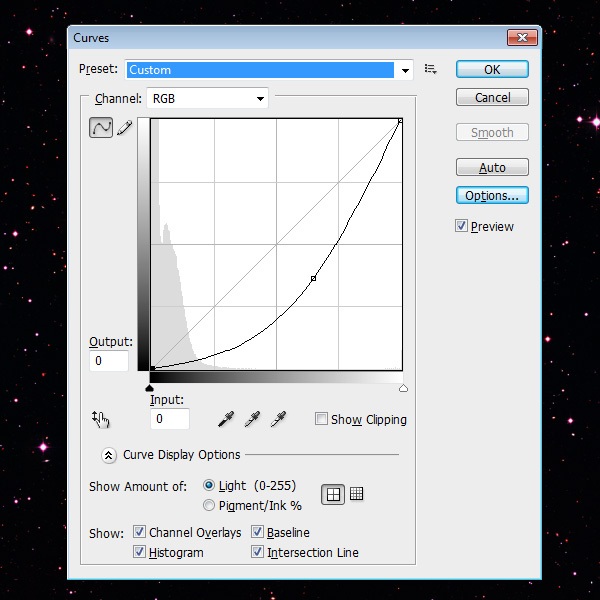 We also want to drop down the color, so go to Image > Adjustment > Hue/Saturation and then lower the Saturation down to -50.
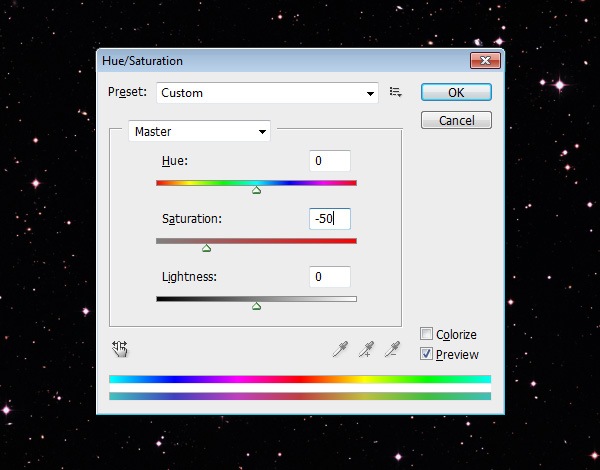
Step 3: Add a Gradient to the Scene
To get the faded, vintage look that we’re going for, one of the things we can do is to add a color gradient. Create a new layer (Shift + Ctrl/Cmd + N). Double-click on the new layer to open up the Layer Style dialog window.
Add a Gradient Overlay using the Yellow, Magenta, Teal gradient preset (as shown below). 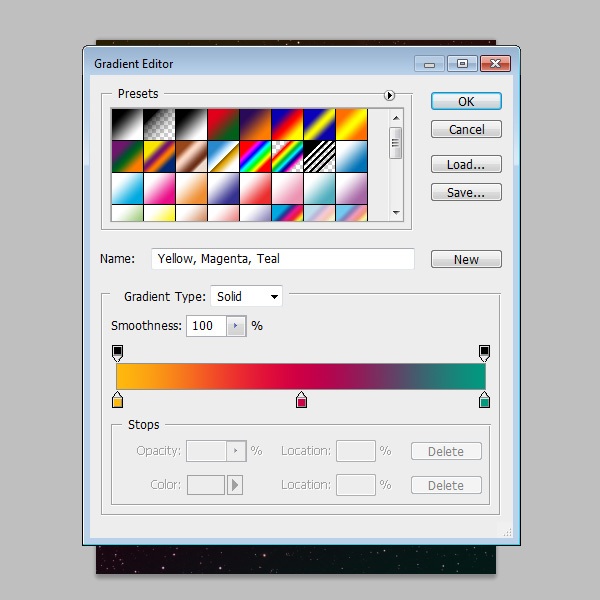 Afterwards, drop the layer’s Opacity down to about 15%.
Step 4: Creating the Landscape
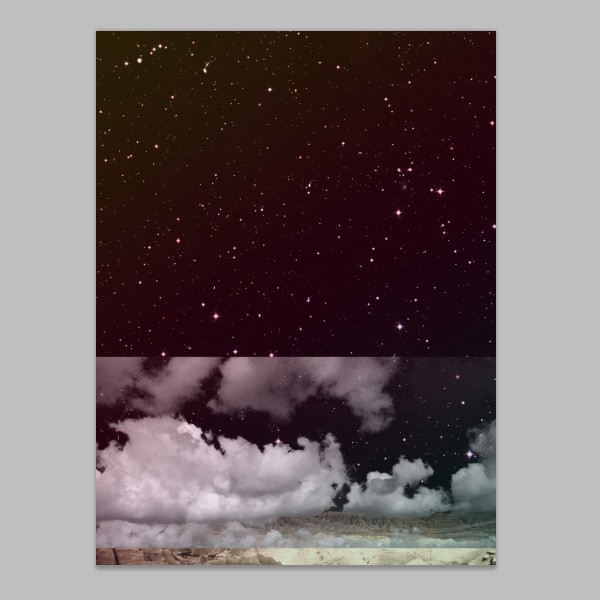
Now we’re going to create the bottom part of our composition. So first, download the Badlands image and then open it up in Photoshop.
Using the Pen Tool (P) with the Paths option selected (found in the Options Bar), trace around the rocky landscape, making sure to exclude the sky portion of the image. Then right-click on the path created by the Pen Tool and choose Make Selection from the contextual menu that appears. Copy and paste the selected area into our main Photoshop document.
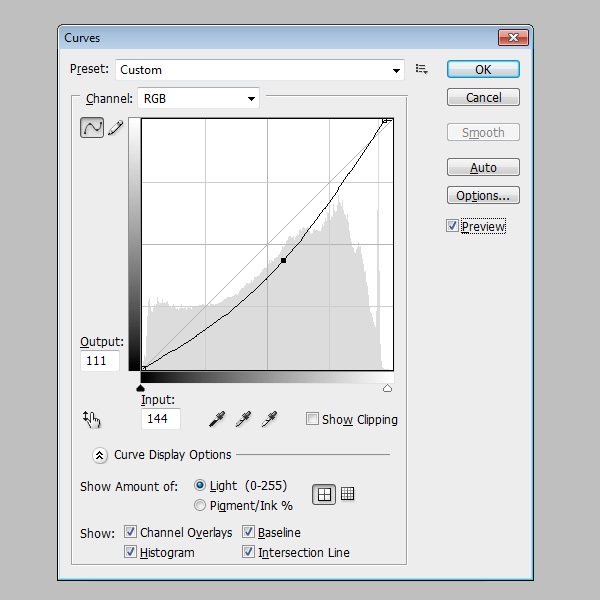
Use Free Transform (Ctrl/Cmd + T) to scale down the image so that it fits at the bottom of our canvas. 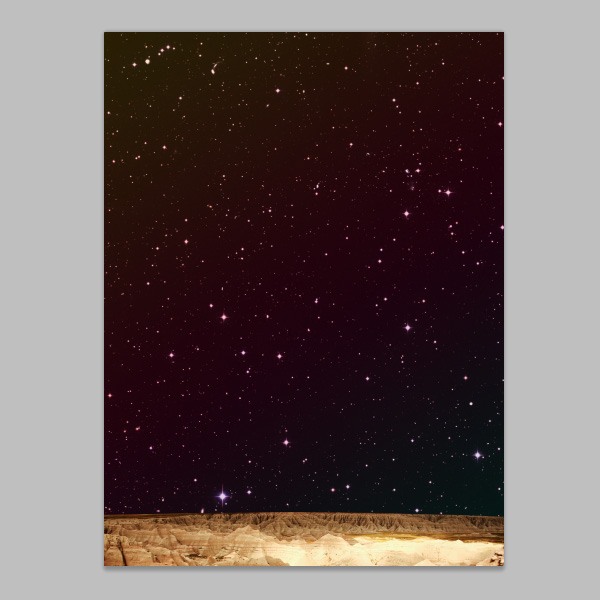 We are going to carry out some slight adjusting and tweaking to our landscape image. First, choose Image > Adjustment > Curves and make the Curves image adjustment shown below.
 Next, choose Image > Adjustment > Hue/Saturation and adjust the Saturation to about -40.
 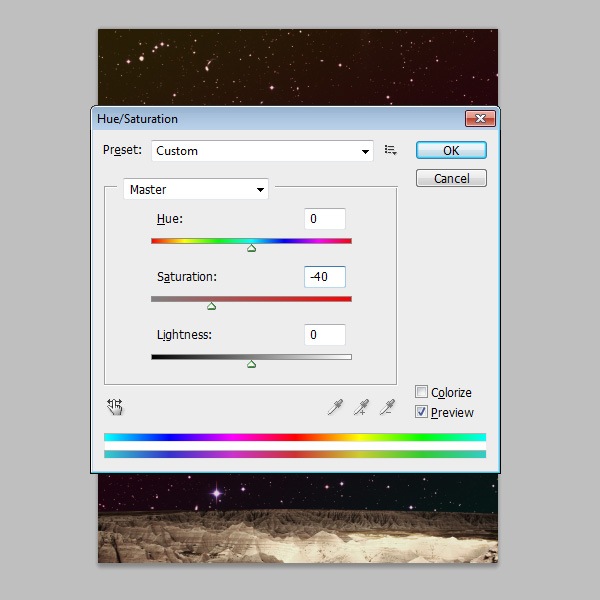 Afterwards, in the Layers Panel, move the landscape layer just below the gradient layer.
Step 5: Add Clouds
For our clouds, we’ll use the Sweden 3 stock image; go ahead and download it and open it up in Photoshop. Go to Image > Adjustment > Levels. First, set the black point by clicking on the black eyedropper icon (it’s the one on the farthest left out of the three eyedropper icons) and then clicking on the darkest part of the clouds image in the canvas.
Next, set the white point by clicking on the white eyedropper icon (it’s the rightmost eyedropper) and then click on the lightest part of the image. This Levels image adjustment will lighten up the bright areas and darken up the dark areas, giving the image a nice contrast. 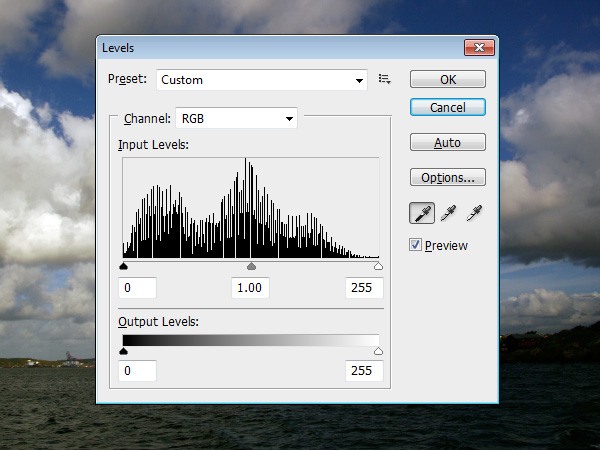 We’re just interested in the clouds portion of the image (the upper part of the image), so use the Rectangular Marquee Tool (M) to select around the sky of the image and then crop the image (Image > Crop).
Now we want select just the clouds; we’re not interested in the blue areas of the sky. To do this, go to Select > Color Range and, in the dialog window, make sure that the Eyedropper Tool is selected (it’s the one without the plus (+) or minus (-) symbol, and is the one on the left out of the three eyedropper icons you’ll see in the dialog window). In our canvas, click on the blue area and then, in the dialog window, change the Fuziness option to around 115 so that we’re selecting various hues of blue.
Tweak this value if you’re unable to select the blue areas. When you’re set, press OK to make the selection. We want to select the clouds, not the blue areas, so go to Select > Inverse to invert the selection.
Then choose Layer > New > Layer via Copy — this will create a new layer with just the selected clouds. 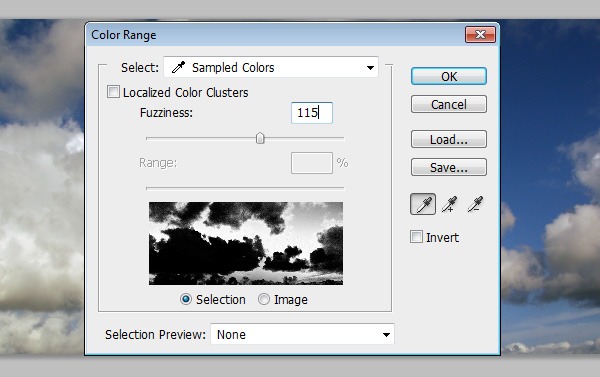 Then, go to Image > Adjustment > Hue/Saturation and drop the Saturation down to -100.
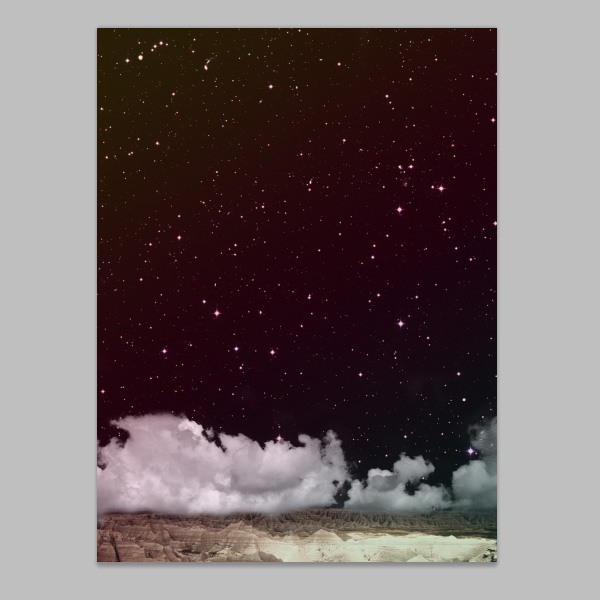
 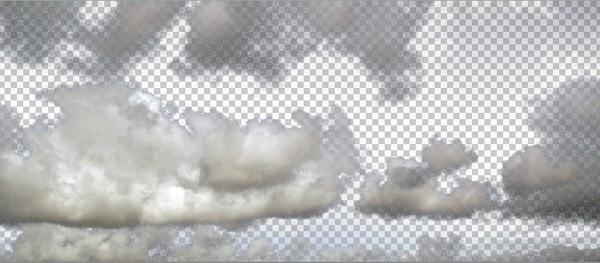 Bring the clouds layer into our main Photoshop document by right-clicking on the layer, choosing Duplicate Layer in the contextual menu that appears (which will open a dialog window), and then picking our main Photoshop document in the Document dropdown menu. Switch back to our main Photoshop document. Using Free Transform (Ctrl/Cmd + T), reduce the size of the clouds to fit the scale of our composition.
 Now let’s mask away some of the clouds to make it blend better with our scene. Make sure that the clouds layer is the active layer. Next, go to Layer > Layer Mask > Reveal All.
This will create a vector mask on the layer. Switch to the Brush Tool (B) and select a black brush with 0% Hardness. Start painting away at the top and bottom of the cloud image so we end up with more natural-looking clouds.
 Now we need to fade the clouds into the background. Start by choosing the Gradient Tool (G) from the Tools Panel and setting your Foreground color to white (#ffffff). In the Options Bar, set the Gradient Tool to the Foreground to Transparent gradient preset and also choose the Reflected Gradient option.
Once the Gradient Tool is ready to go, make a gradient from the bottom of the clouds, towards the top. 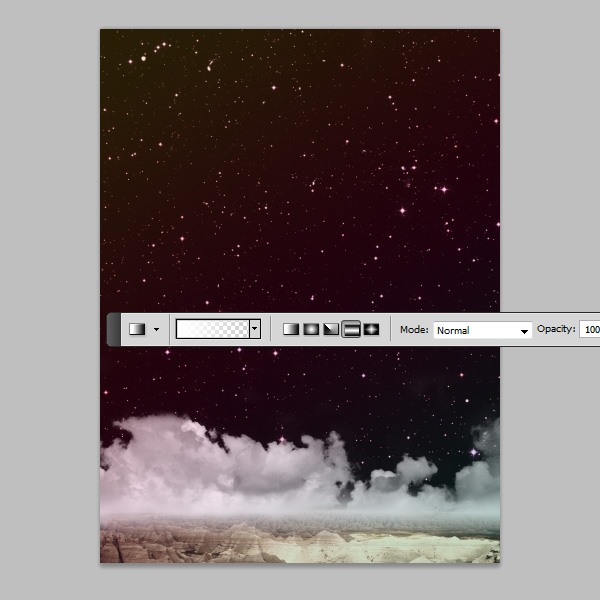
Step 6: Creating the Planet
Next, we are going to add a planet to our composition, which we’re going to make from a texture. Download the Grab Bag Texture, then open it in Photoshop.
Tip: Feel free to experiment with the texture. For example, check out free textures here on Design Instruct. Choose the Elliptical Marquee Tool, hold down Shift to make a perfectly round circle, then create a circular selection on the texture.
Copy the selected area by going to Layer > Layer via Copy. We can now hide the original layer. 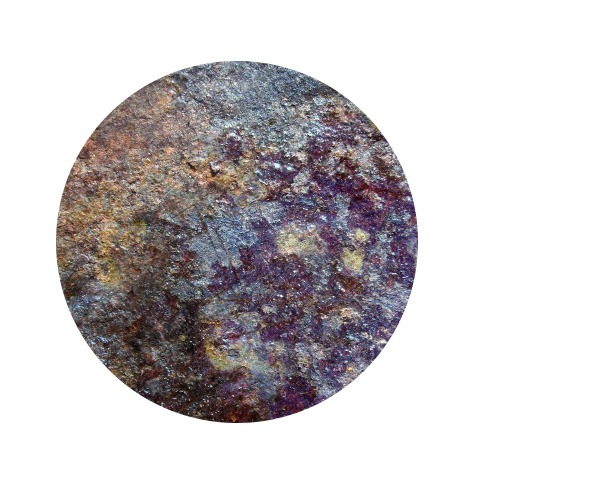 Now, we’re going to give our planet a little character by adding some subtle stripes to it.
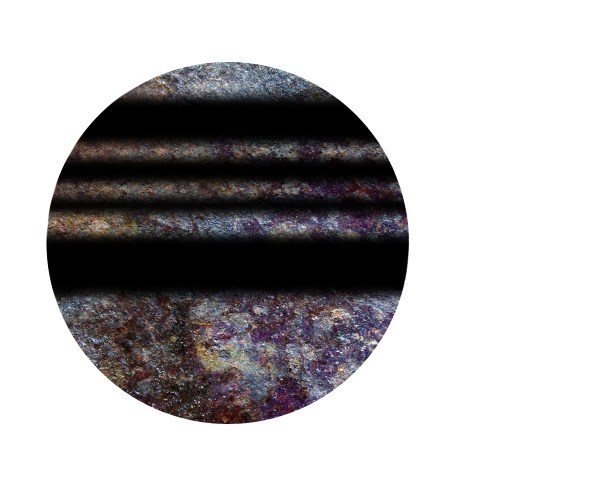
Create a new layer, and then use the Rectangular Marquee Tool to make a few random rectangles that go across the planet. Fill the selections with black (#000000) using Edit > Fill. Go to Filter > Blur > Gaussian Blur, set the Radius option to 20px, then just press OK to apply the filter.
The filter will give the stripes a softer and more natural feel. To get rid of the stripes that aren’t within the planet, we’re going to go to Select > Load Selection, choose the Invert option, and then press OK. Make sure you are on the stripe layer and then just hit Delete to remove the unwanted parts of the stripes.
 Now we’re going to get rid of some the colors of the planet because most of our color will come from filters that we’ll be applying later on. Just go to Image > Adjustment > Hue/Saturation, and then drop the Saturation to -100
 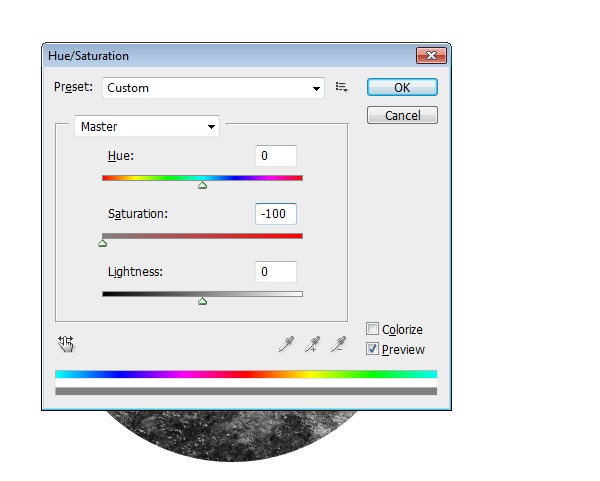 Let’s now give the planet a more, shall we say, planetary look. Click on the planet layer to make it the active layer, go to Select > Load Selection (which will make a selection around the planet), and then go to Filter > Distort > Spherize.
Change the Amount to 50%, and click OK to apply the filter. 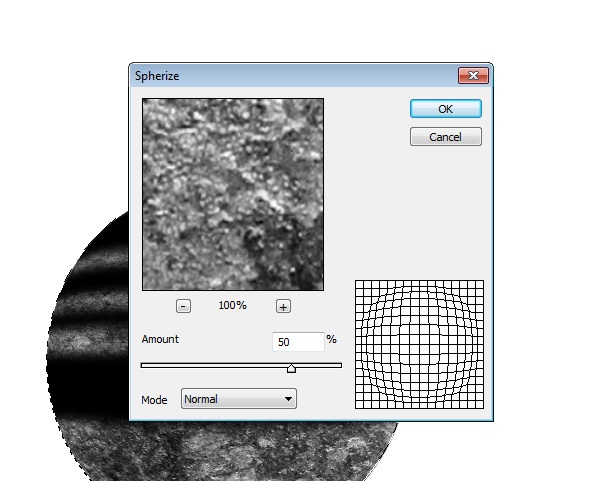 With the circle still selected, repeat the filter on the stripes layer by clicking on the stripes layer and then pressing Ctrl/Cmd + F (shortcut for applying the previous filter you’ve used). Change the Opacity of the stripes layer to 80%.
Hide the Background layer (if you have one) and then go to Layer > Merge Visible. Afterwards, bring the planet into our main Photoshop document, resize it to match the scale of our scene, and then put it behind the clouds layer.
Step 7: Shading, Highlighting and Enhancing the Planet
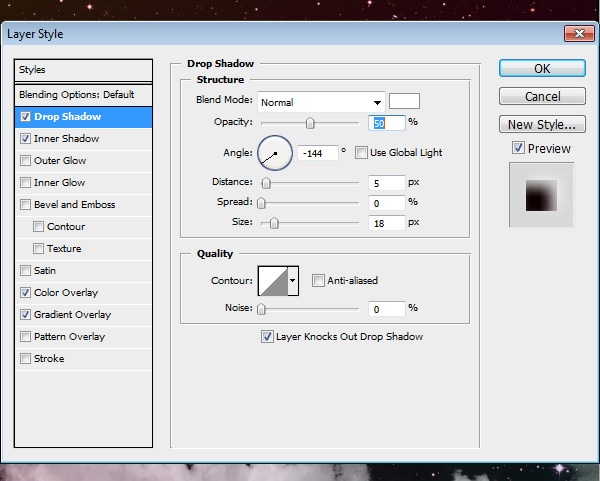
First, we are going to add a glow to the planet. With the planet layer selected, go to Layer > Layer Style > Drop Shadow.
 Now add an Inner Shadow and use the settings shown below.
 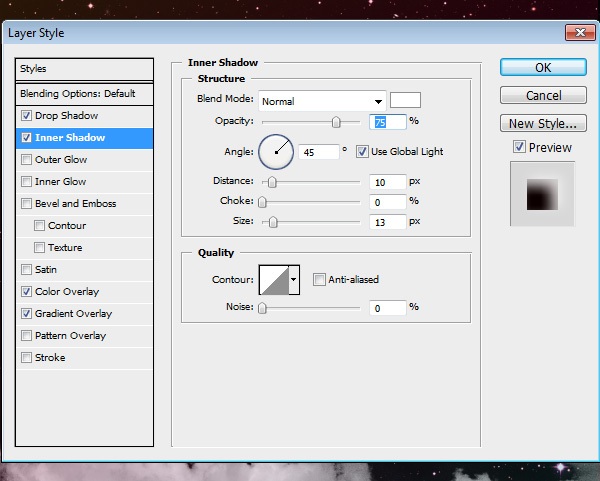 Add a Color Overlay to give our planet a slight hue of red.
 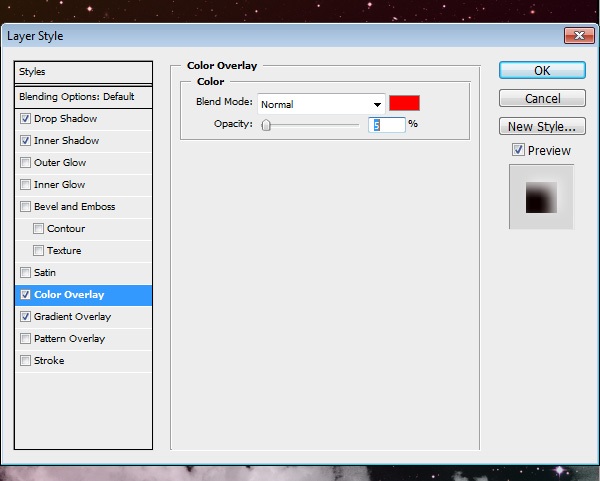 Add a Gradient Overlay to give the planet some shading.
 Here’s what our planet should look like:
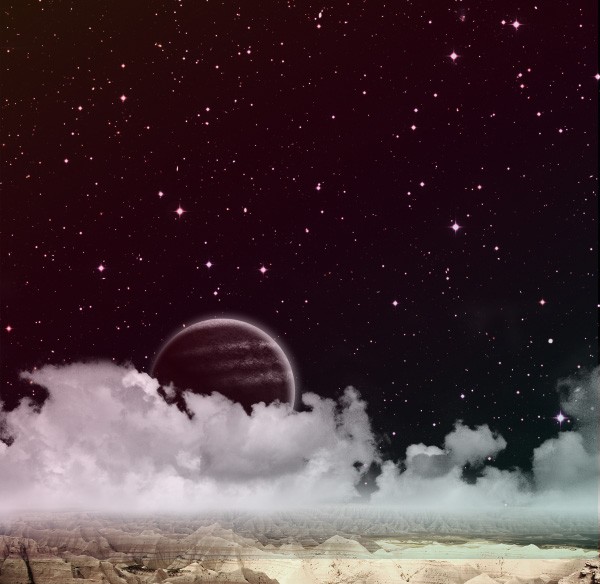
Step 8: Add a Lens Flare
To go with our planet glow, we’re going to add a lens flare into our scene. Create a new layer, fill it with black (#000000), and then go to Filter > Render > Lens Flare. Change the Lens Type to Movie Prime and make sure the Brightness option is set to 100%.
Next, change the Blend Mode of the layer to Screen and position the lens flare so that it’s right at the edge of the planet and in the middle of the planet glow; this may take a few tries before you can get it to line right up. 
Step 9: Adding a Glow to the Landscape
Create a new layer just above the stars layer. Set your Foreground color to pink (#cc0033), switch to the Gradient Tool, choose the Foreground to Transparent gradient preset, choose the Radial Gradient option, and then create a radial gradient starting from the bottom to the top of the planet.
Afterwards, drop the layer’s Opacity down to about 60%. This will give our landscape a kind of subtle glowing light. 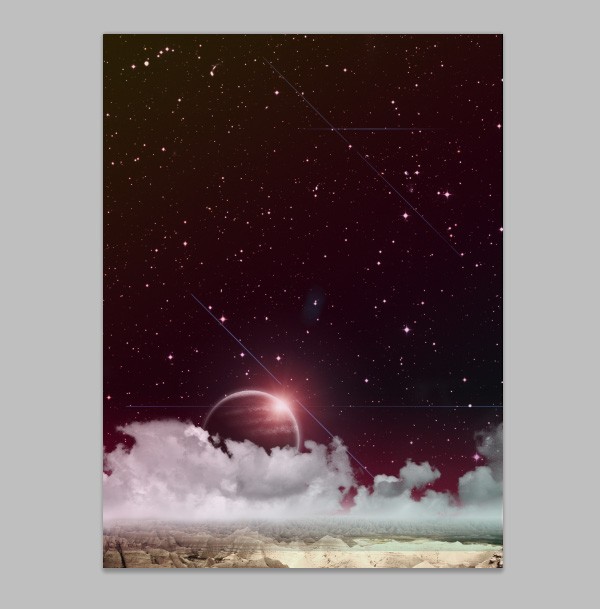
Step 10: Give the Scene a Glowing Hue
To give the entire composition a glowing hue, we are going to go to Layer > Adjustment Layer > Gradient Map to add an adjustment layer at the very top of the Layers Panel.
Choose a purple to yellow gradient for the Gradient Map adjustment layer. Afterwards, drop the layer’s Opacity to 15%. 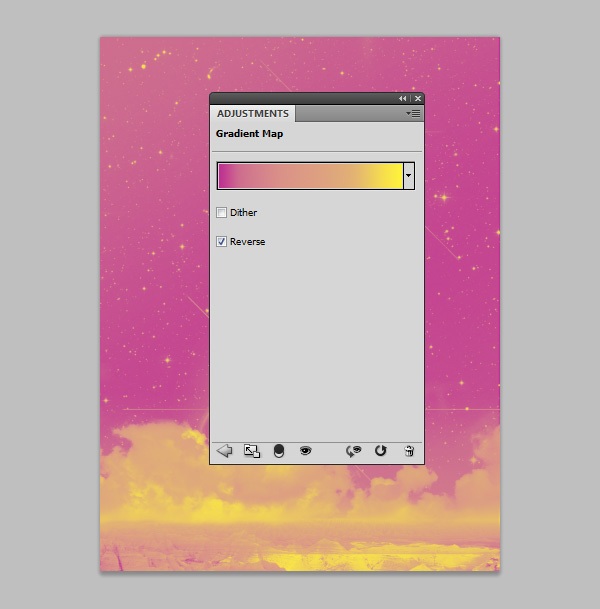
Step 11: Adding the Text
Now that we have our design elements put together, as our final step, we’ll add some text.
First, we’ll start with the “Design Instruct” headline. For this part, we’re simply going to type out the text using the Horizontal Type Tool (T). The font I’m using is Garamond, but pretty much any font that you think would look good will work.
I varied the size of the two words, then centered them horizontally on the canvas. 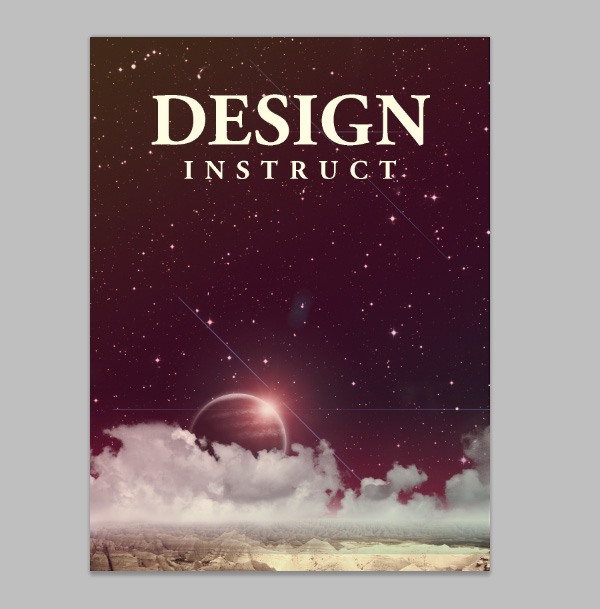 For our subtitle: we want to put it in a circle and center it on the canvas. So click on the Background layer to make it the active layer and then make sure Window > Snap is enabled.
Create a vertical guide right in the middle of the canvas; the Snap option will make the guide snap into place. Now that we have our guide in place, we can put in our subtitle: “FOR ALL THINGS DESIGN” (I used a free open source font called League Gothic). 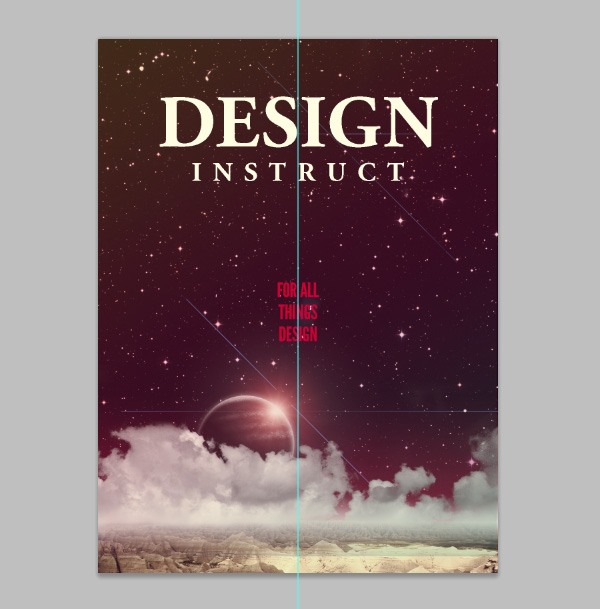 Let’s put our text in a circle.
Using the Ellipse Tool (U), create a circle in the middle of the canvas, making sure that it’s larger than the text. Fill the circle with white (#ffffff). Make sure you have the circle layer selected, then go to Layer > Layer Mask > Reveal All.
Click on the subtitle text layer to make it the active layer, and then go to Select > Load Selection. Click on the circle layer mask and fill it with black (#000000). Hide the text layer.
This will mask out the text within the circle and make the background show through. 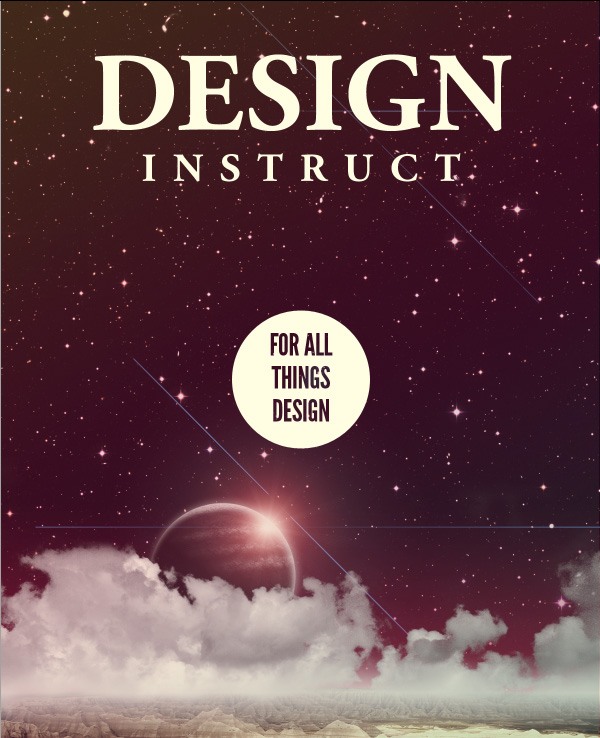
Tutorial Summary
In this tutorial, we created a fictional planetary landscape with outer space as its backdrop. We used various design elements such as stock photos and textures to create our composition.
We relied on simple but powerful Photoshop tools such as layer styles, layer masks, Free Transform, filters, and more. The final result is below. 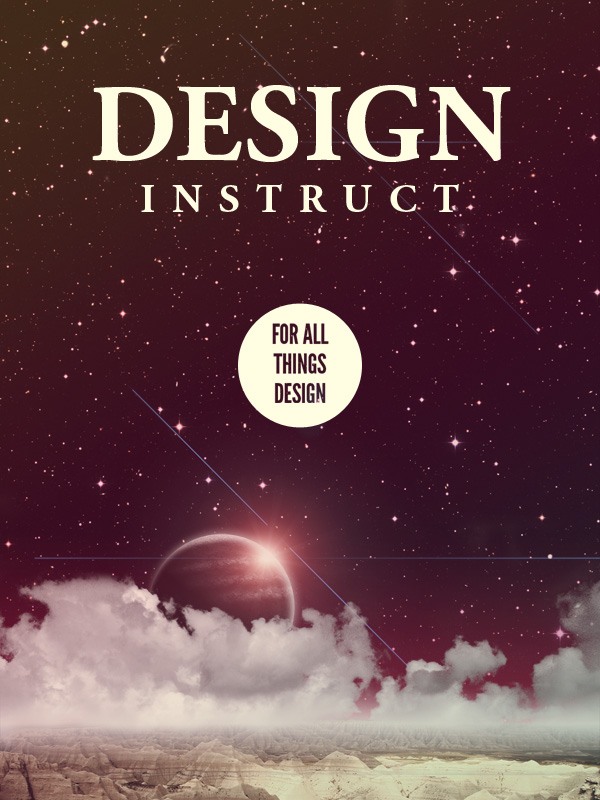
Download Source Files
- vintage_planetary_landscape_poster (ZIP, 0.41 MB)
-
 Trevin serves as the VP of Marketing at WebFX. He has worked on over 450 marketing campaigns and has been building websites for over 25 years. His work has been featured by Search Engine Land, USA Today, Fast Company and Inc.
 -

WebFX is a full-service marketing agency with 1,100+ client reviews and a 4.9-star rating on Clutch! Find out how our expert team and revenue-accelerating tech can drive results for you! Learn more
Make estimating web design costs easy
Website design costs can be tricky to nail down. Get an instant estimate for a custom web design with our free website design cost calculator!
Try Our Free Web Design Cost Calculator
Table of Contents
- Preview
- Tutorial Resources
- Step 1: Create the Photoshop Document
- Step 2: Adding the Stars
- Step 3: Add a Gradient to the Scene
- Step 4: Creating the Landscape
- Step 5: Add Clouds
- Step 6: Creating the Planet
- Step 7: Shading, Highlighting and Enhancing the Planet
- Step 8: Add a Lens Flare
- Step 9: Adding a Glow to the Landscape
- Step 10: Give the Scene a Glowing Hue
- Step 11: Adding the Text
- Tutorial Summary
- Download Source Files
Share this article


Web Design Calculator
Use our free tool to get a free, instant quote in under 60 seconds.
View Web Design Calculator
Make estimating web design costs easy
Website design costs can be tricky to nail down. Get an instant estimate for a custom web design with our free website design cost calculator!
Try Our Free Web Design Cost Calculator


