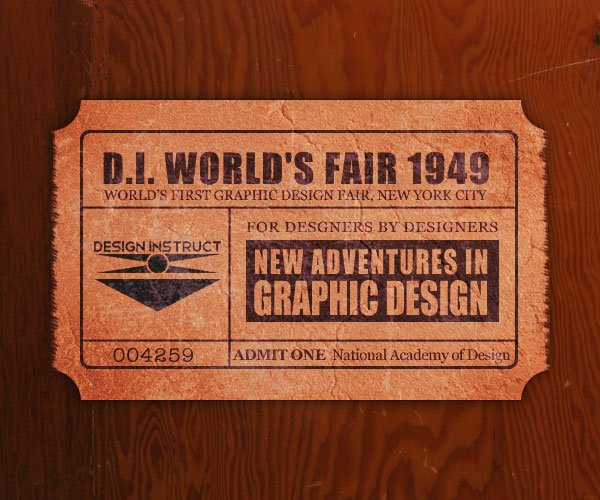
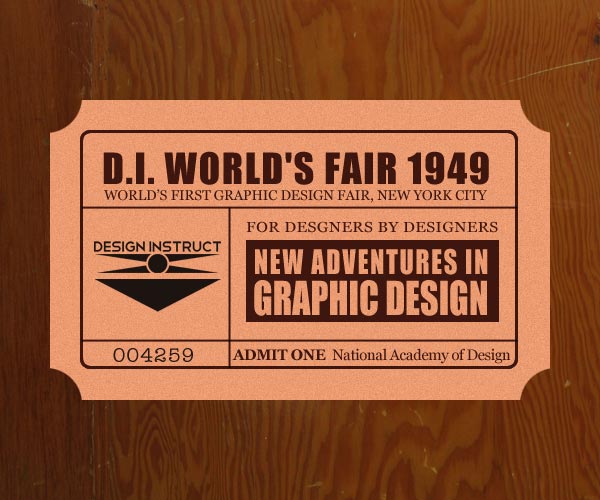
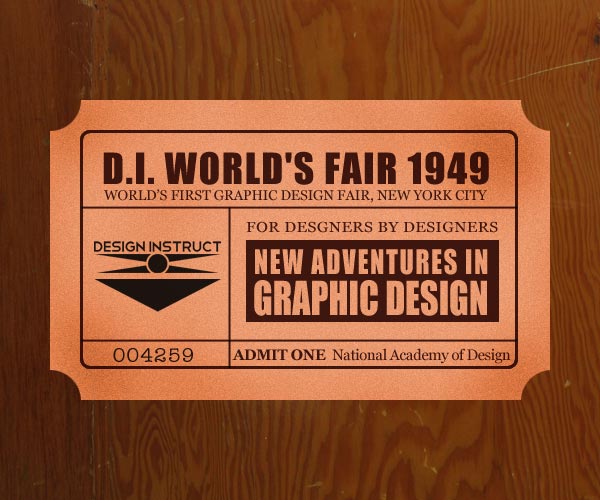
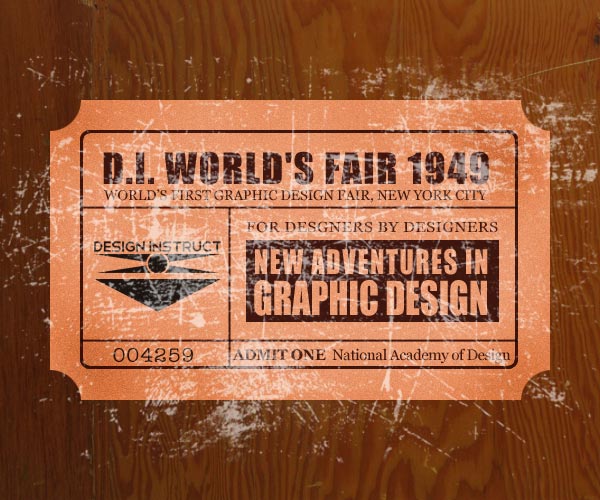
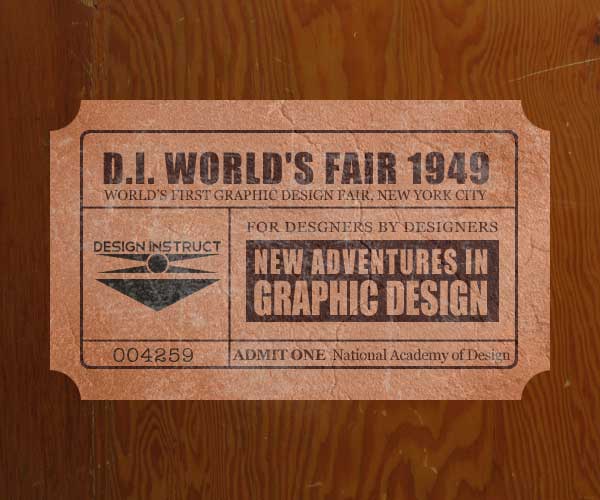
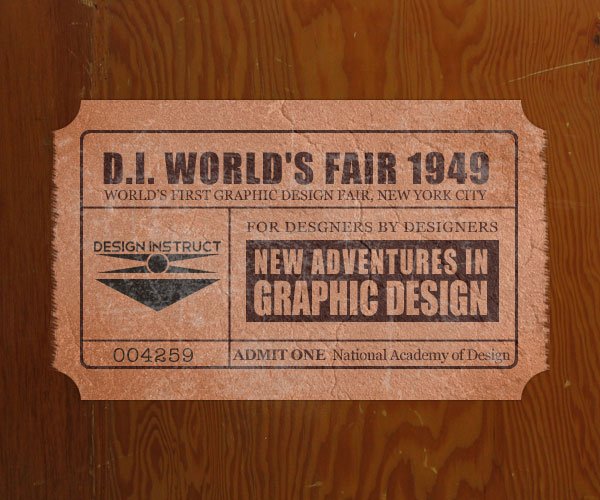
Preview
Tutorial Resources
- Texture: Wood01 (optional)
- PSD: Design Instruct Retro Logo from Stylish Futuristic Textured Wallpaper
- Brush: Free Hi-Resolution heavy scratches Photoshop brushes
- Texture: Asphalt Texture: Closeup of weathered asphalt surface
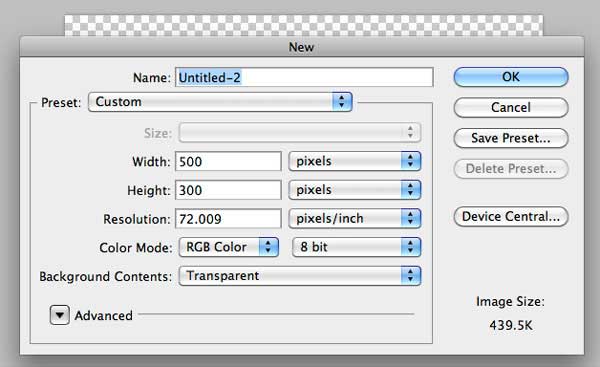
Step 1: Set Up the Photoshop Document
Fire up Photoshop and create a new 500x300px document, which is exactly the size of the ticket stub we will be creating.
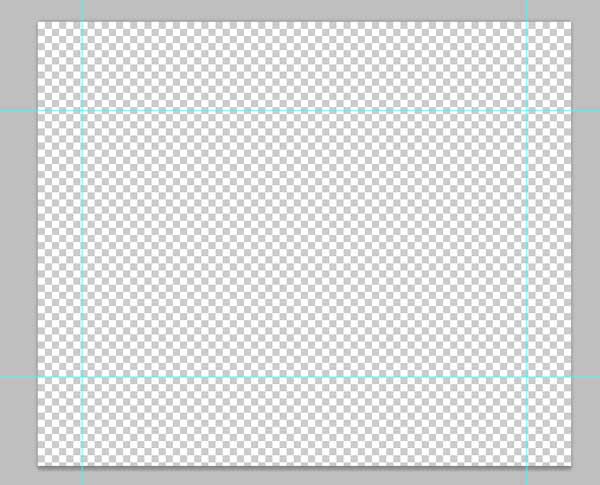
Next, add guides (View > New Guide) around the canvas: Vertical at 0 and 500px and Horizontal at 0 and 300px.
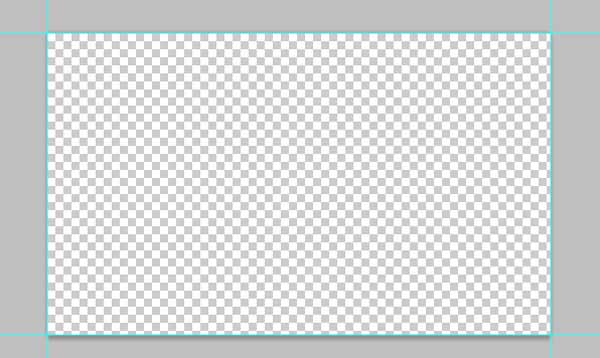
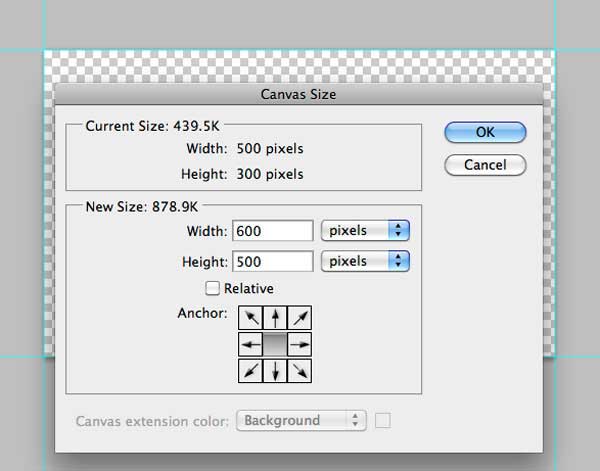
Go to Image > Canvas Size (Cmd/Ctrl + Option/Alt + C) and expand the canvas to 600x500px to give us some room for the background elements of the ticket stub.
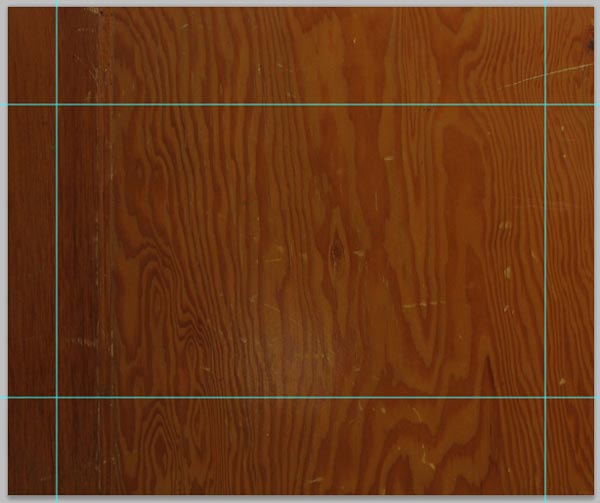
Fill the background with color or use a texture; I used one of the textures from the Wood01 texture pack. This is optional, and I did this just to make the background less boring. The wooden, scratched background does help reinforce the aged, distressed look that we are going for.
Step 2: Create the Basic Ticket Stub Shape
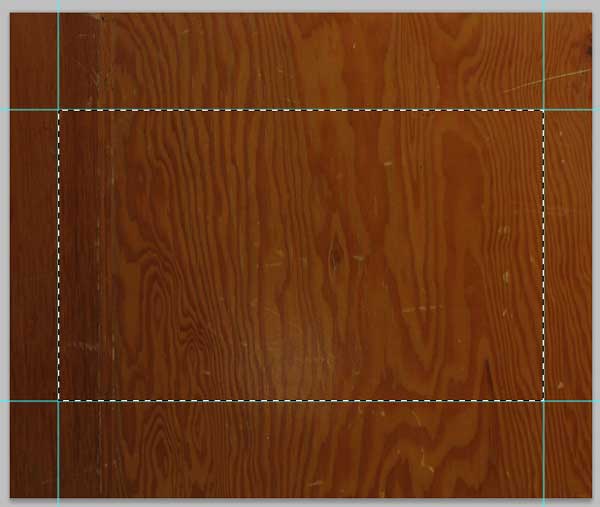
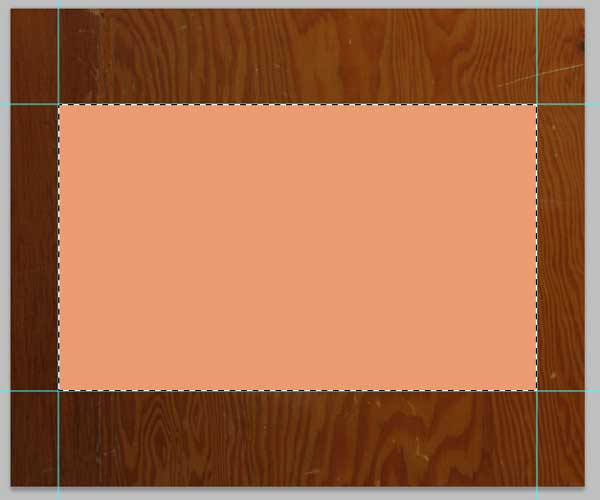
Set the Foreground color to a very muted orange (#eb9b71), grab the Rectangular Marquee Tool (M) and make a rectangular selection using the guides.
Create a new layer (Cmd/Ctrl + Shift + N) and hit Option/Alt + Backspace to fill the selection with the Foreground color we selected earlier.
Deselect the rectangular selection by choosing Select > Deselect (Cmd/Ctrl + D).
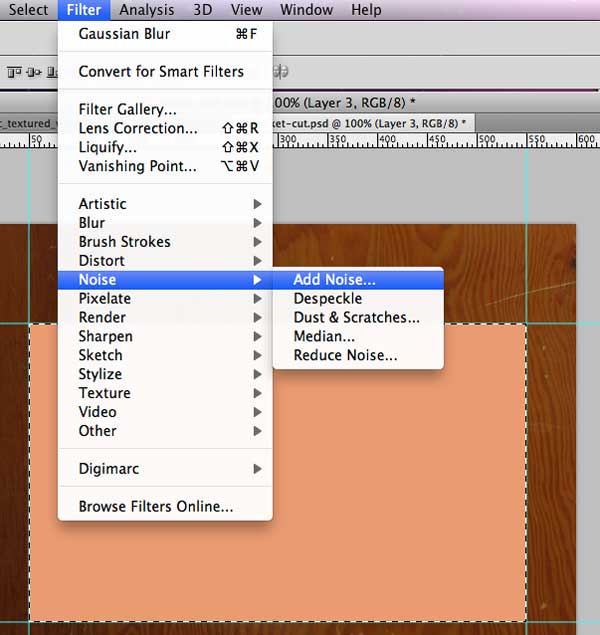
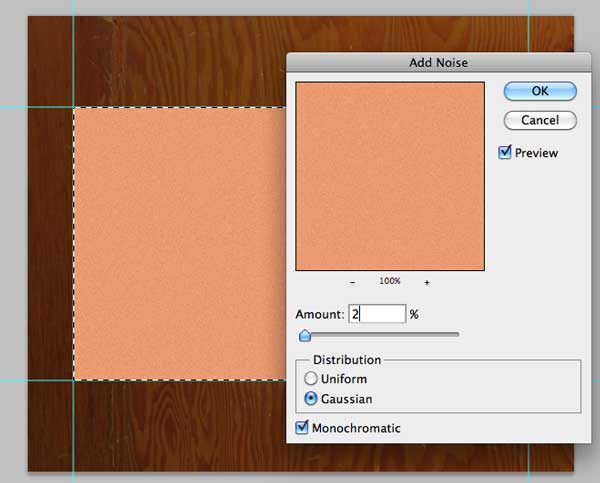
Go to Filter > Noise > Add Noise to add some noise to the ticket stub shape.
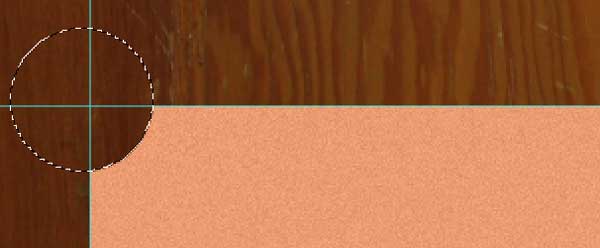
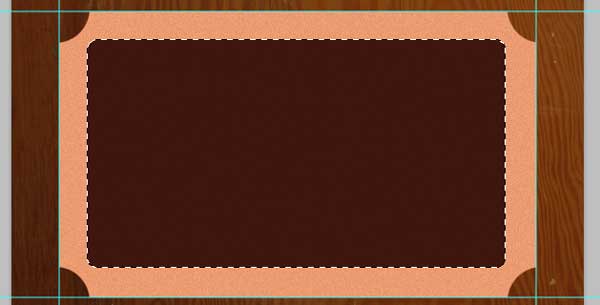
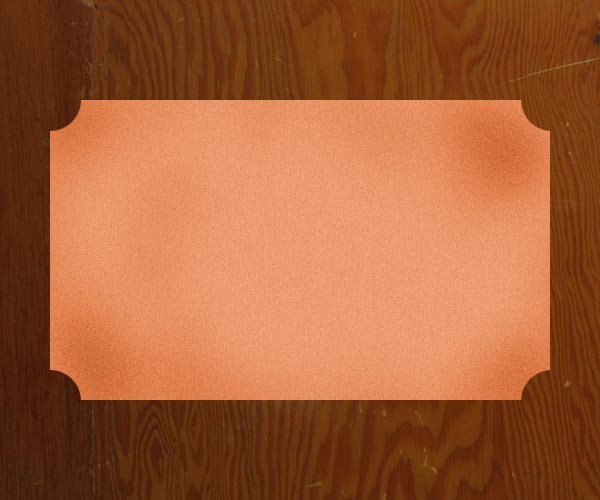
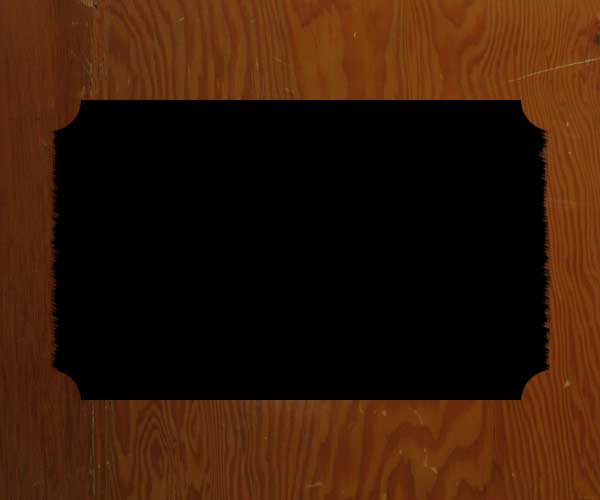
Grab the Elliptical Marquee Tool (M) and create a circular selection — hold Shift to create a perfect circle — at the top left corner of the ticket stub shape.
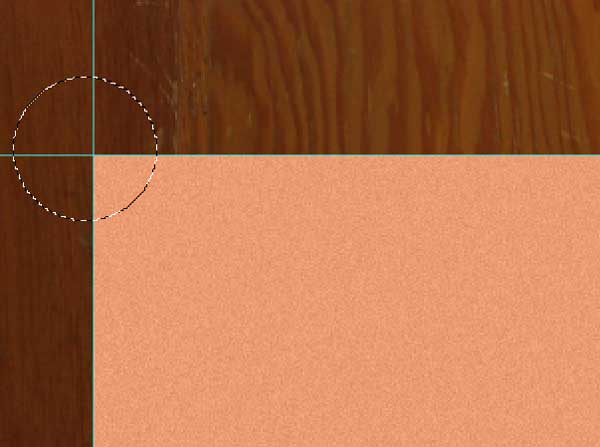
Hit Delete to remove the selected part of ticket.
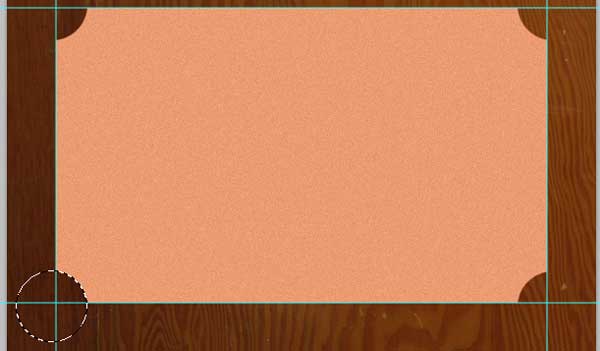
With the Elliptical Marquee Tool (M) still selected, move the selection to the three remaining corners of the ticket and remove the selected areas as well.
Step 3: Add the Event Title
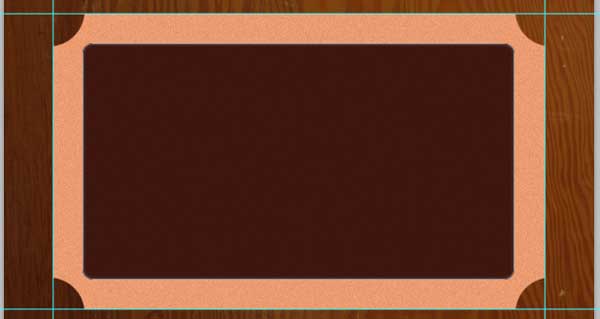
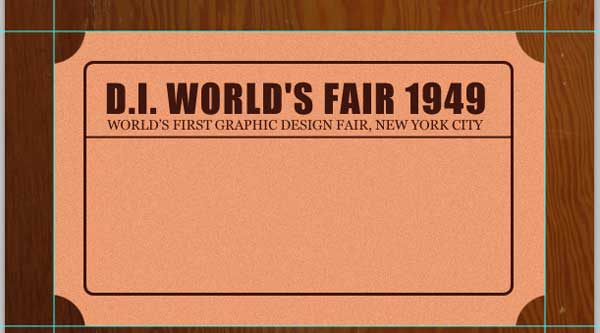
Choose the Rounded Rectangle Tool (U), set Radius at 10px and Color to a brown color (#432421), and then create a rounded rectangle inside the ticket stub shape.
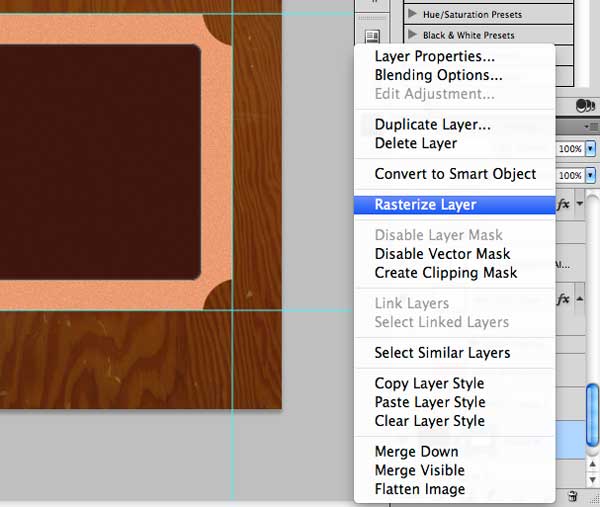
Rasterize the rounded rectangle shape layer by Control-clicking/right-clicking on the layer in the Layers Panel and choosing Rasterize Layer in the menu that appears.
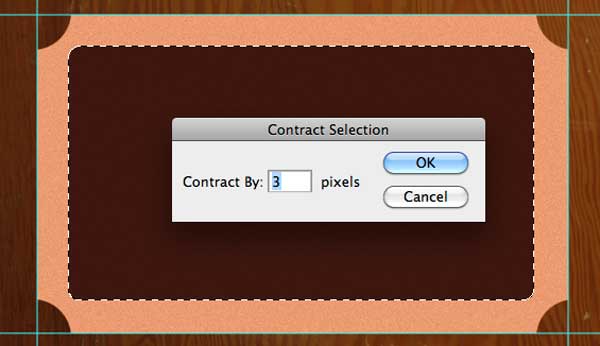
Cmd/Ctrl + click on the layer’s thumbnail in the Layers Panel to load a selection around the rounded rectangle.
Go to Select > Modify > Contract Selection and contract the selection by 3px.
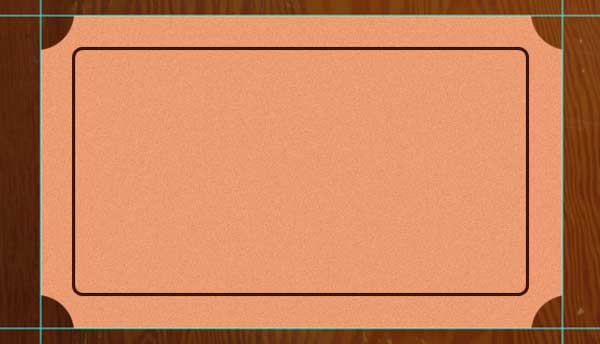
Hit Delete so that we are left with a neat border that will serve as the border of the ticket’s content. Change the Blend Mode for this layer to Multiply.
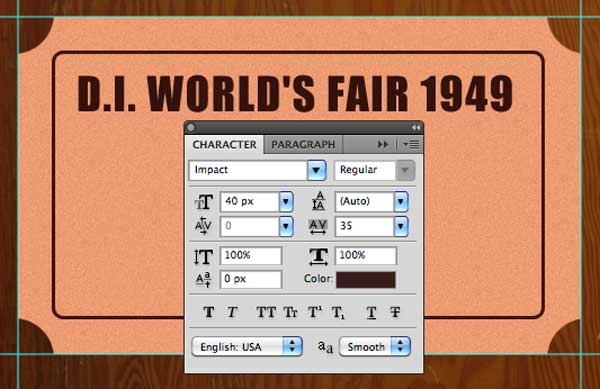
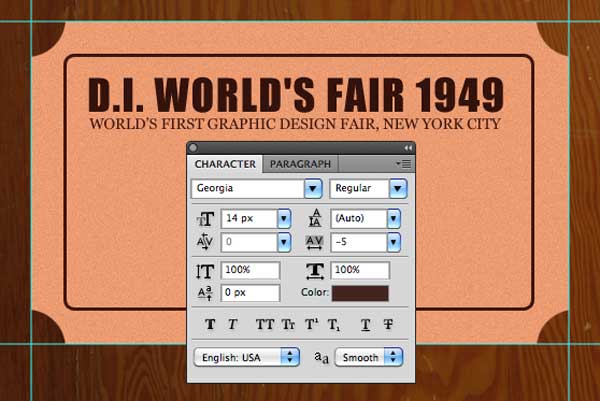
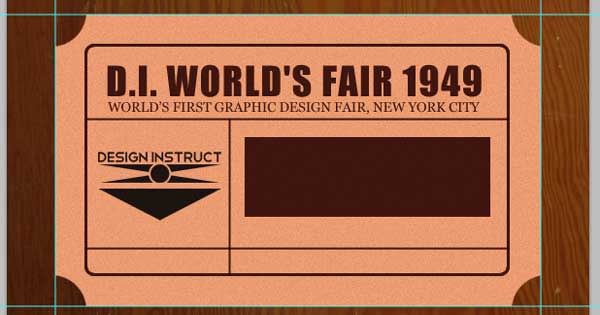
Switch to the Horizontal Type Tool (T) and set the font to Impact and text color to the same brown we used for the border (#432421). Type out the title of the ticket event.
Afterwards, set the text layer’s Blend Mode to Multiply.
Again, with Horizontal Type Tool, but this time with Georgia font, add a subtitle below the title. Change this text layer’s Blend Mode to Multiply as well.
Step 4: Add Some Divisions
Now, we will be adding the divisions on our ticket to separate groups of content.
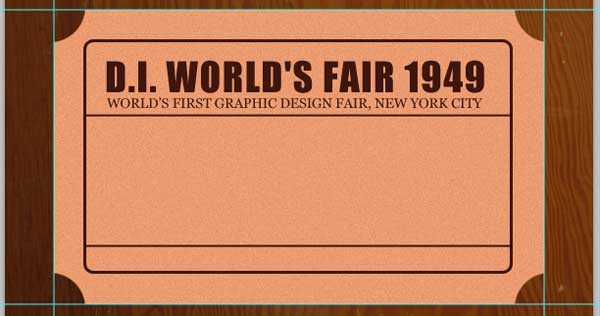
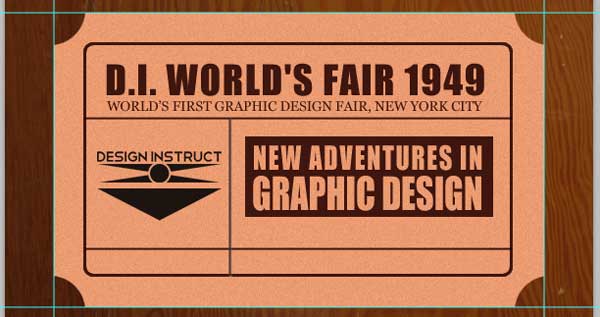
Switch to the Line Tool (U) and set its Weight at 2px. Draw a brown line below the subtitle; hold down Shift to make sure we make a straight line.
Set the layer’s Blend Mode to Multiply.
Duplicate the line layer (Cmd/Ctrl + J) and then use the Move Tool (V) to move the line down towards the bottom.
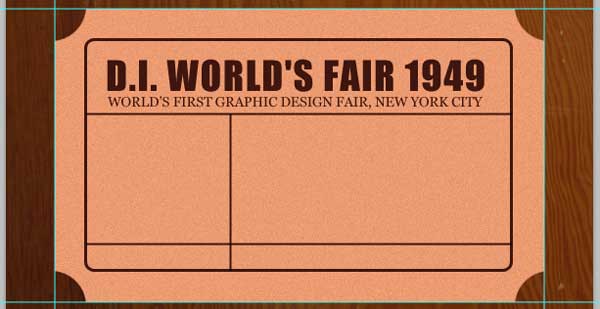
Draw a vertical line with the Line Tool (U) using the same Weight (2px) as with the horizontal lines. Change the Blend Mode to Multiply.
Step 5: Add a Vintage-Futuristic Logo
For the logo, we will use an element from a previous Design Instruct tutorial by Jack Rugile called Make a Stylish Futuristic Textured Wallpaper in Photoshop. You can download the PSD by clicking here.
Open up the PSD in Photoshop.
In the Layers Panel, select the following layers:
- Layer 1
- DESIGN INSTRUCT (text layer)
- Shape 1
Control-click/Right-click in the Layers Panel and then choose Duplicate Layers. Under the Destination dropdown menu, find the name of our main document and choose it. This process should replicate the layers to our own PSD.
![]()
Switch back to our PSD.
You can close the other PSD now, if you wish.
Select the new layers we inserted in the Layers Panel, then choose Layer > Merge Layers (Cmd/Ctrl + E) to combine all the layers into one.
Convert the resulting layer into a smart object (Layer > Smart Objects > Convert to Smart Object). Use Free Transform (Cmd/Ctrl + T) to scale the logo down to an appropriate size. Set the layer’s Opacity to 90%.
![]()
Step 6: Add a Brown Box and More Content
Create a new layer.
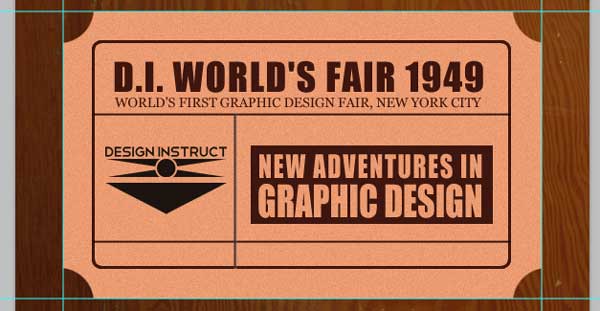
With the Rectangular Marquee Tool (M), create a rectangle on the right of the ticket stub and fill it with our brown color (#432421). Set the layer’s Blend Mode to Multiply.
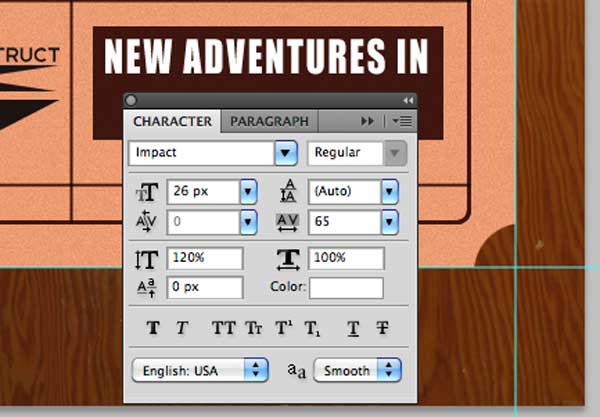
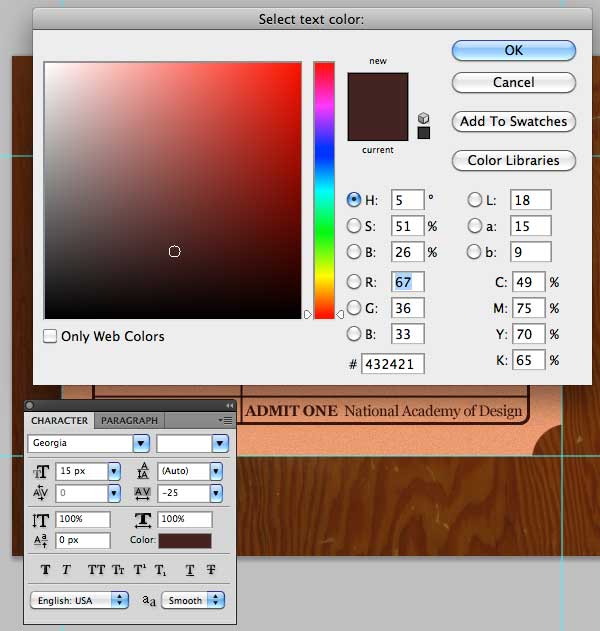
Choose the Horizontal Type Tool (T). In the Options Bar, change the font to Impact and the text color to any bright color (the color doesn’t matter, we just need to see our text against the brown background).
Type out some strong bold text in two lines, such as “NEW ADVENTURES IN” and “GRAPHIC DESIGN”.
In the Character Panel (Window > Character), adjust the font size, tracking, and vertically scale options.
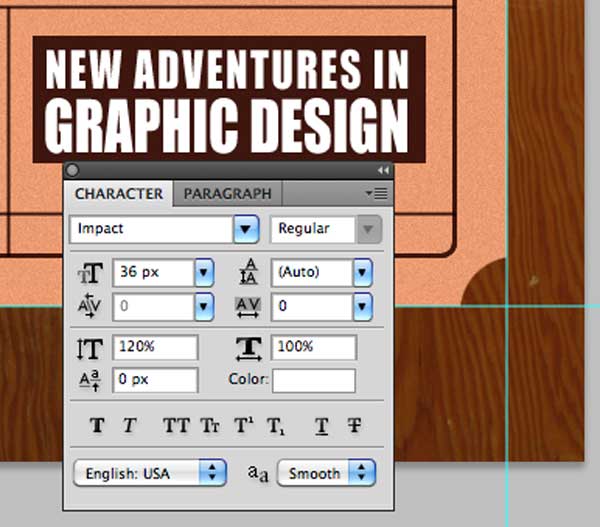
Next, in the Layers Panel, Cmd/Ctrl + click on the “NEW ADVENTURES IN” text layer thumbnail to create a selection around the text.
Click on the brown box layer to make it the active layer, then hit Delete to remove the selected area (which should be in the shape of our text). After that, delete the “NEW ADVENTURES IN” text layer.
Do the same thing with the “GRAPHIC DESIGN” text.
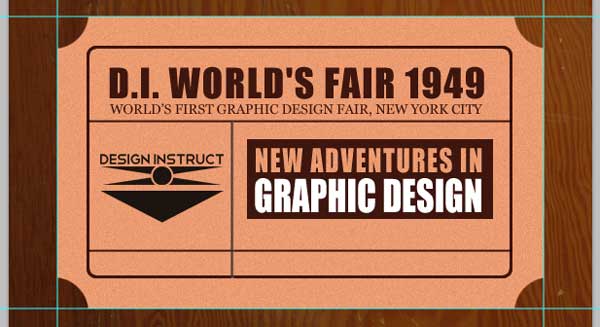
Use the Move Tool (V) to move the brown box down a bit.
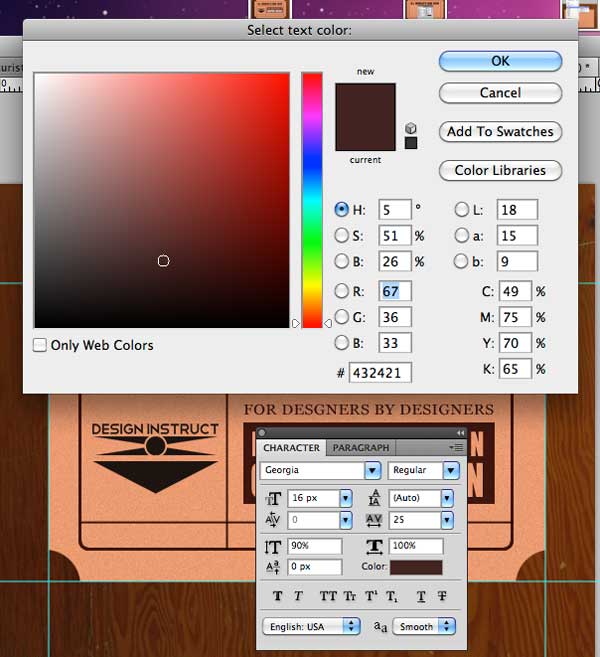
Let us add more text. Use the Horizontal Type Tool (T) to place some text above the brown box using the Georgia font.
Set this layer’s Blend Mode to Multiply.
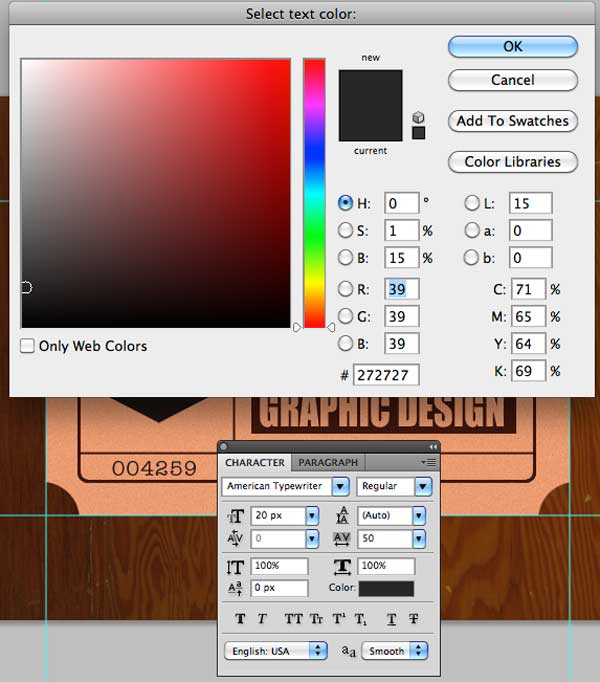
Change the font to American Typewriter and type the ticket number at the bottom left division (I typed “004259”). Set the text layer’s Blend Mode to Multiply as well.
Let’s finish this step with another chunk of text for the bottom right division. Type “ADMIT ONE” using bold Georgia font and, again, switch the text layer’s Blend Mode to Multiply.
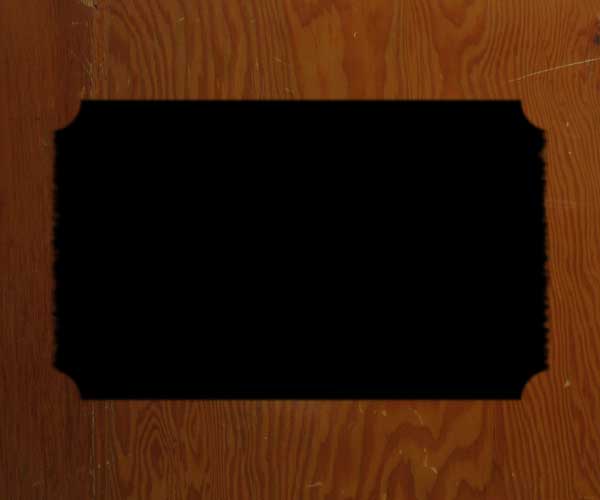
Step 7: Aging the Ticket Stub
Make sure you are on the ticket shape layer.
This step will be easier if you turn off the visibility of the layers above it temporarily. Using the Burn Tool (O) with an ordinary rounded brush, slightly burn around the edges of our ticket shape.
Here’s how it looks with the other layer’s visibility turned on:
Create a new layer on top of all the layers. Download and install the Free Hi-Resolution heavy scratches Photoshop brushes brush library from the site of my fellow Design Instruct contributor, Jan Cavan.
Change the Foreground color to white (#ffffff).
Switch to the Brush Tool (B), select the “heavy scratch 8” brush from the set, set the Master Diameter of the Brush Tool to 700px and Opacity to about 60%. Paint some scratches on our ticket.
Next, Cmd/Ctrl + click on the ticket layer’s thumbnail to load a selection around it, then click on the scratches layer to make sure it’s the active layer. Afterwards, go to Layer > Layer Mask > Reveal Selection to create a layer mask.
Lower the Opacity of the layer to 50%.
Step 8: Add Another Texture
Download and open this asphalt texture in Photoshop, then copy and paste it into our design.
Scale it down with Free Transform (Cmd/Ctrl + T) to fit the scale of our ticket.

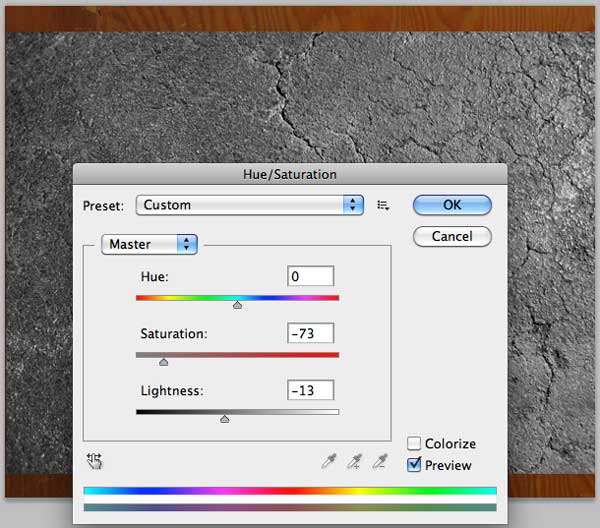
Go to Image > Adjustment > Hue/Saturation (Cmd/Ctrl + U) and adjust the Saturation and Lightness of the texture.
Again, load a selection around the ticket shape and then add a layer mask to the asphalt texture layer.
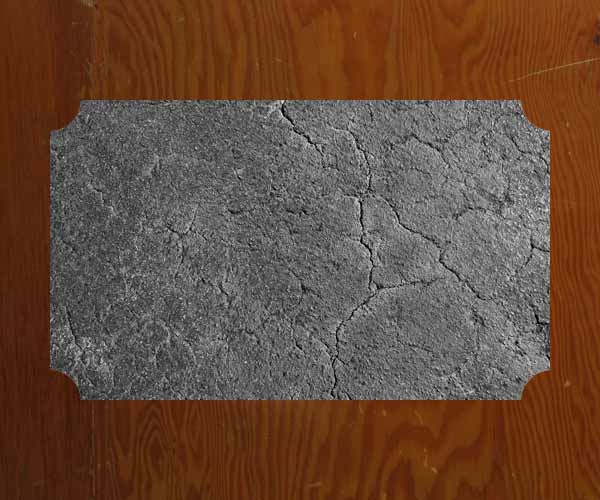
Set the Opacity of the asphalt texture layer to 32%.
Select all layers except the background layer and merge them into one layer (Cmd/Ctrl + E).

Step 9: Create a Torn Look
There are lots of great grunge brushes around, but for this step, we’ll just use one of Photoshop’s standard brushes called Chalk. You can see it in the screenshot below with the number 60 underneath it.
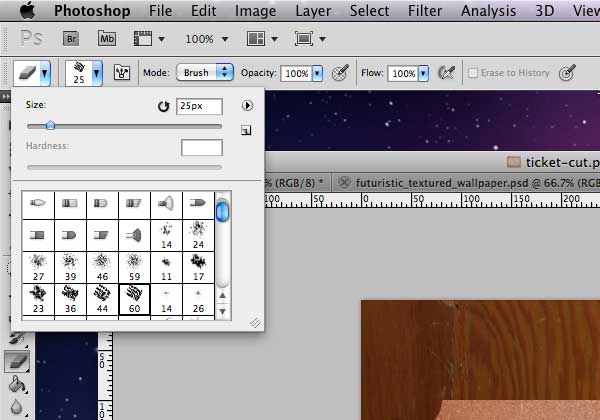
Choose the Eraser Tool (E) and select the Chalk brush mentioned above. Go on the left and right edges of our ticket and just roughen it up a bit to give it a torn look, which is common with ticket stubs.
I’ve left the top and bottom edge intact, as you can see below.

Step 10: Create a Drop Shadow
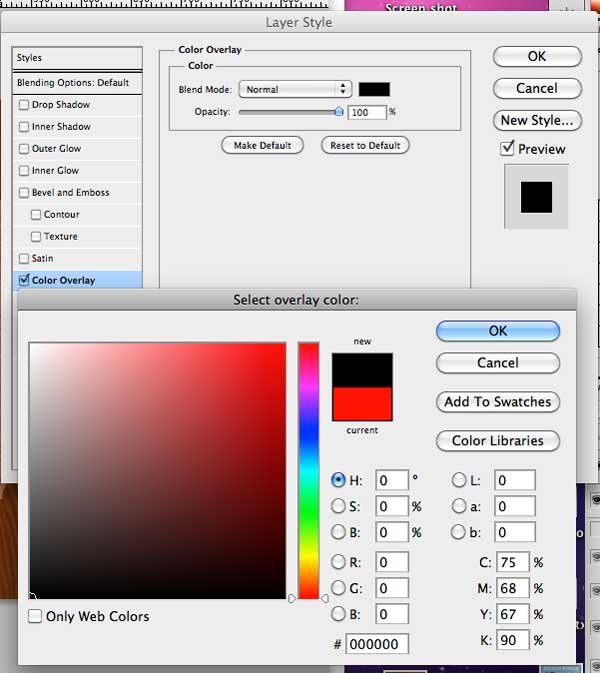
It’s time to add some shadow to the ticket. Make a copy of the ticket layer (Cmd/Ctrl + J), and place it beneath the original ticket layer. With the duplicate layer selected, go to Layer > Layer Style > Color Overlay and give the layer a black color overlay.
Use the Gaussian Blur filter with Radius at 1.1px to blur the shadow layer a bit.
Lower the Opacity of the shadow layer to 60%.
Duplicate the shadow layer, and then apply the Gaussian Blur filter to it again, with Radius at 7px. Set the Opacity of the layer to 50%.

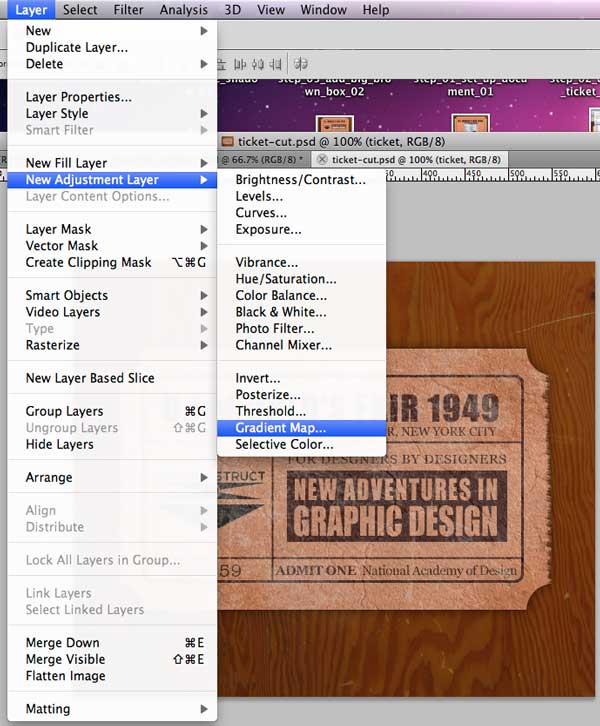
Step 11: Create a Vintage Look with Gradient Map
We will use an adjustment layer to achieve an overall vintage look-and-feel.
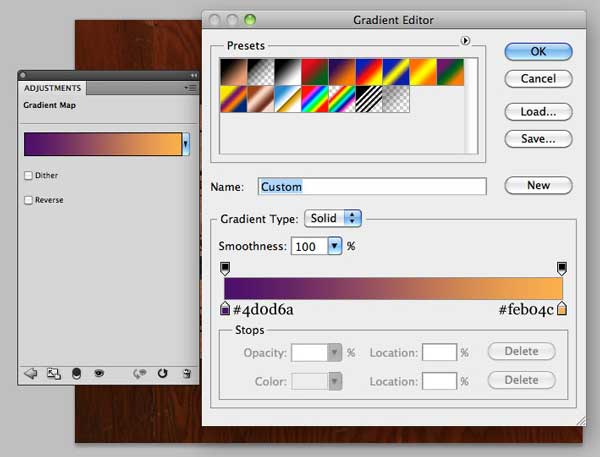
First, go to Layer > New Adjustment Layer > Gradient Map to add an adjustment layer above all the other layers.
Create a gradient going from #4d0d6a to #feb04c, set the Blend Mode to Vivid Light, and lower the Opacity of the adjustment layer to 30%.
Tutorial Summary
In this tutorial, we created a vintage ticket stub using Photoshop. We used basic techniques such as creating marquee selections, using the Burn Tool to age the surface, relied on some stock textures and brushes to create interesting surfaces, added a Gradient Map adjustment layer to adjust the color of our piece, and much more.
I hope you enjoyed this tutorial and that you have learned some useful tips and tricks that you can use in your own work. I look forward to hearing your thoughts in the comments.
Thanks for following along with me!
Download Source Files
- realistic_ticket_stub (ZIP, 3.29 MB)
-
 Trevin serves as the VP of Marketing at WebFX. He has worked on over 450 marketing campaigns and has been building websites for over 25 years. His work has been featured by Search Engine Land, USA Today, Fast Company and Inc.
 -

WebFX is a full-service marketing agency with 1,100+ client reviews and a 4.9-star rating on Clutch! Find out how our expert team and revenue-accelerating tech can drive results for you! Learn more
Make estimating web design costs easy
Website design costs can be tricky to nail down. Get an instant estimate for a custom web design with our free website design cost calculator!
Try Our Free Web Design Cost Calculator
Table of Contents
- Preview
- Tutorial Resources
- Step 1: Set Up the Photoshop Document
- Step 2: Create the Basic Ticket Stub Shape
- Step 3: Add the Event Title
- Step 4: Add Some Divisions
- Step 5: Add a Vintage-Futuristic Logo
- Step 6: Add a Brown Box and More Content
- Step 7: Aging the Ticket Stub
- Step 8: Add Another Texture
- Step 9: Create a Torn Look
- Step 10: Create a Drop Shadow
- Step 11: Create a Vintage Look with Gradient Map
- Tutorial Summary
- Download Source Files
Share this article


Web Design Calculator
Use our free tool to get a free, instant quote in under 60 seconds.
View Web Design Calculator
Make estimating web design costs easy
Website design costs can be tricky to nail down. Get an instant estimate for a custom web design with our free website design cost calculator!
Try Our Free Web Design Cost Calculator