
Table of Contents
- Preview
- Tutorial Resources
- Step 1: Create the Poster’s Background
- Step 2: Create a Vinyl Record from Scratch
- Step 3: Create a Label at the Center of the Vinyl Record
- Step 4: Manipulate the Gramophone
- Step 5: Place the Gramophone into the Main Document
- Step 6: Add the Music Event Details
- Step 7: Create a Grungy Poster Border
- Step 8: Create a Printed Texturing Effect
- Tutorial Summary
- Download Source Files
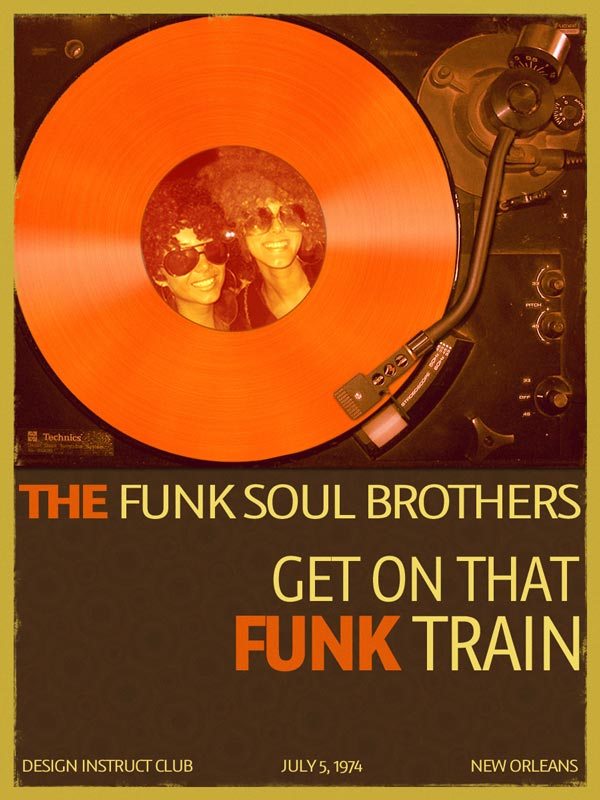
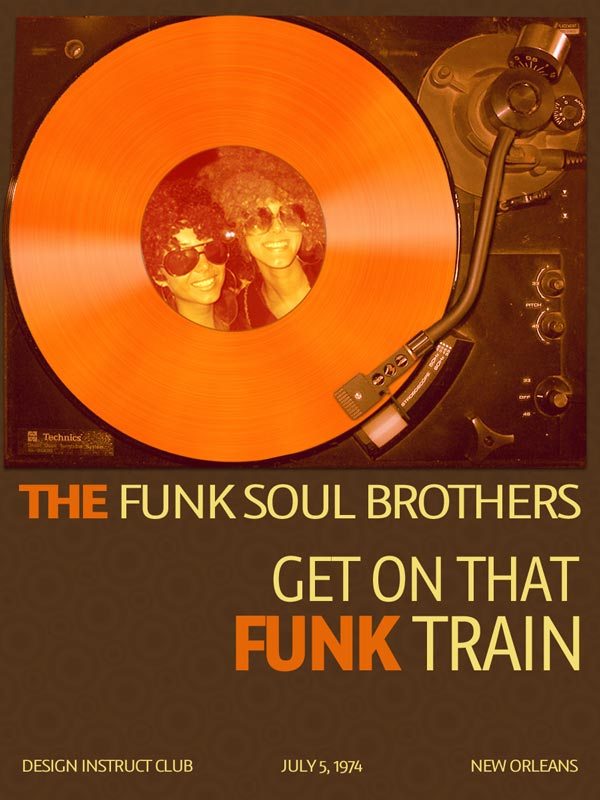
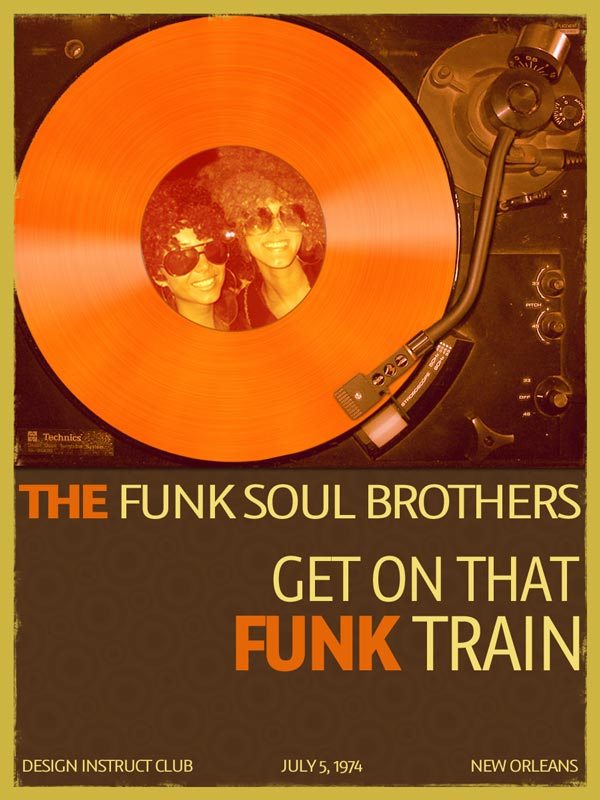
Preview
Tutorial Resources
- Image: Afro Sisters
- Image: Gramofon 1 ubt
- Texture: Bokeh Texture img_8211 from 7 Hi-Res Bokeh Textures pack
- Brush: Grunge Photo Edge
- Pattern: root2art Retro Circle Wallpaper
- Font: GrauBlau
Step 1: Create the Poster’s Background
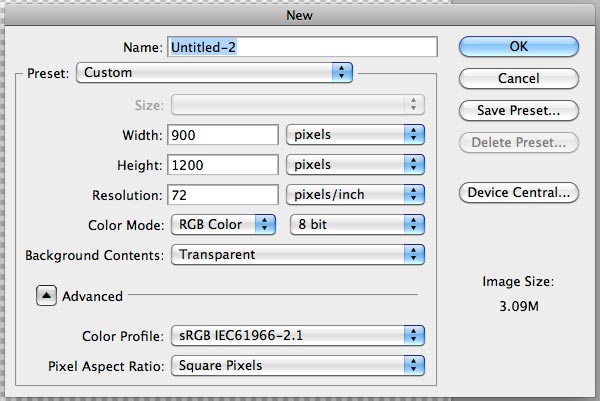
Fire up Photoshop and create a new 900x1200px document. If your work will be printed, you’ll need a high resolution (at least 300dpi) and you need to use CMYK color mode. I’m just using settings for web use (72ppi, RGB color mode).
Fill the background with a muted brown color (#55351c).

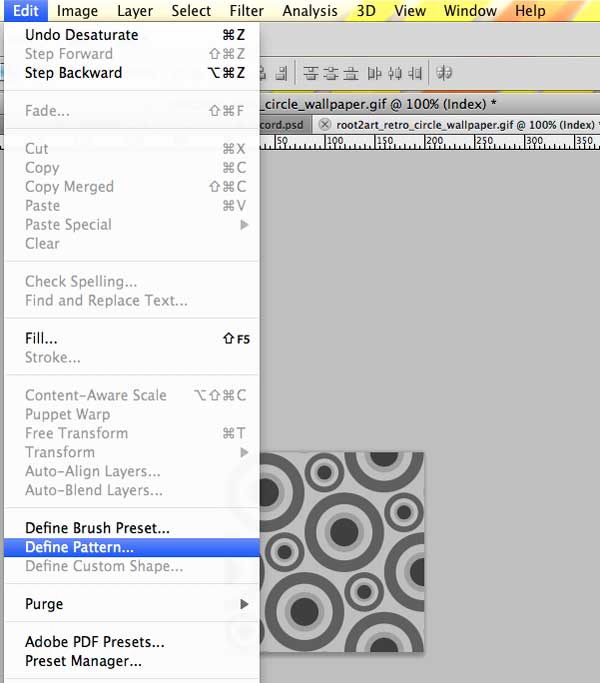
Download and open root2art Retro Circle Wallpaper in Photoshop.
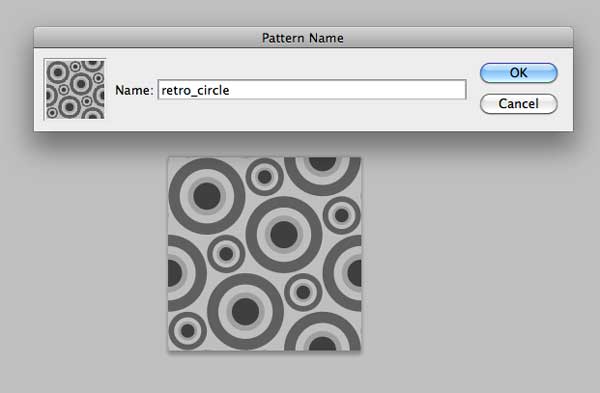
Go to Edit > Define Pattern and assign a name that you’ll remember for this custom pattern we’re making (I called mine “retro_circle”).
Switch back to our main Photoshop document. Open the Layer Style dialog window by double-clicking on the brown background layer. Add the Pattern Overlay layer effect, choosing the pattern we just made in the Pattern drop-down menu.
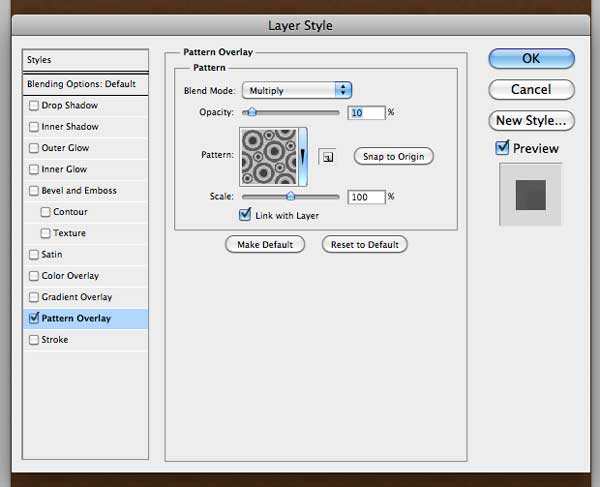
This is what our background should look like:

Step 2: Create a Vinyl Record from Scratch
I’ll show you an easy process for creating vinyl records.
Create a new document in Photoshop sized at 680x680px. Fill the background with any color. Create a new layer group (Layer > New > Group) and name it “record”.
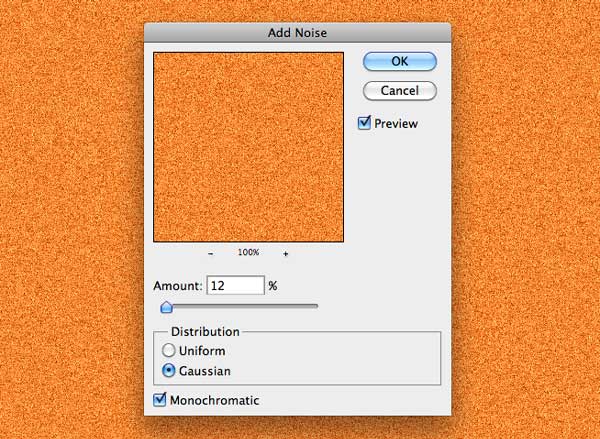
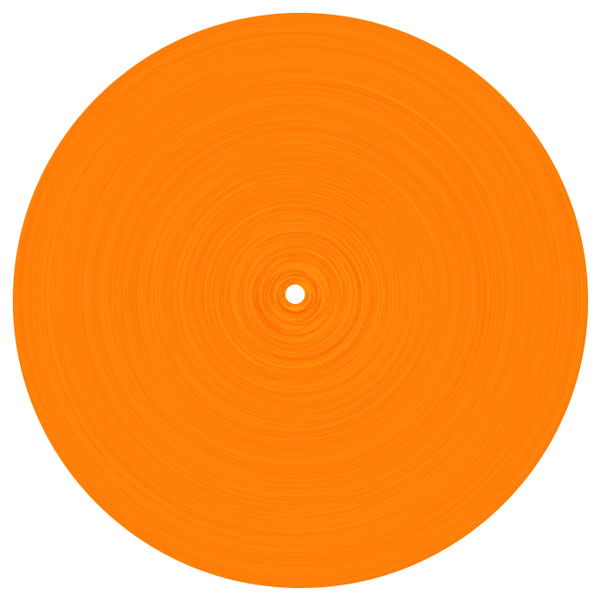
Then create a new layer (Cmd/Ctrl + Shift + N) in the layer group and fill the layer with an orange color (#fd8833). We are going to use this layer for the record.

Go to Filter > Noise > Add Noise and use the image below as a reference for the settings of the filter.
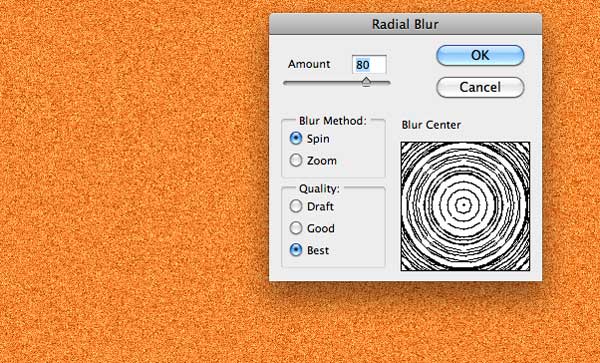
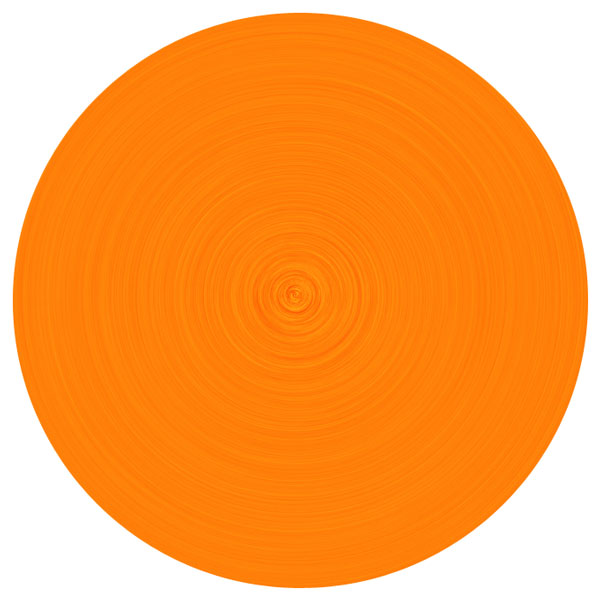
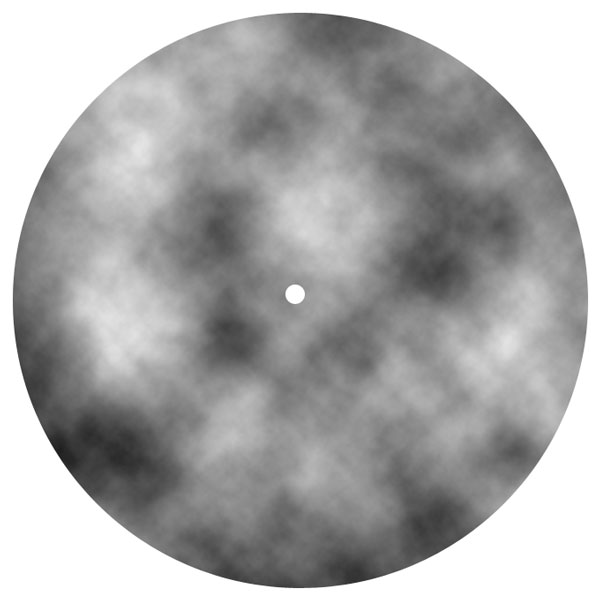
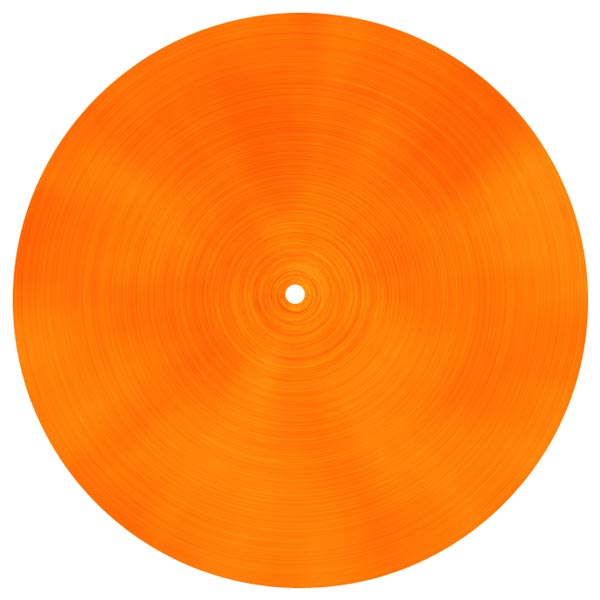
To create the radial surface that’s typically seen in a vinyl record, go to Filter > Blur > Radial Blur and use the following settings:

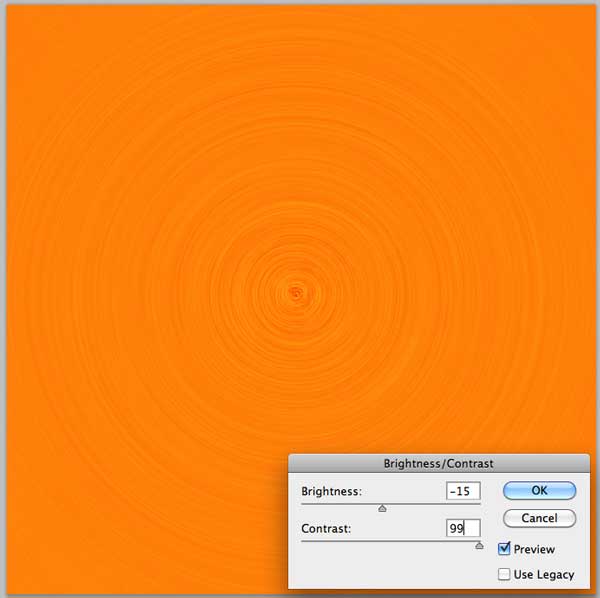
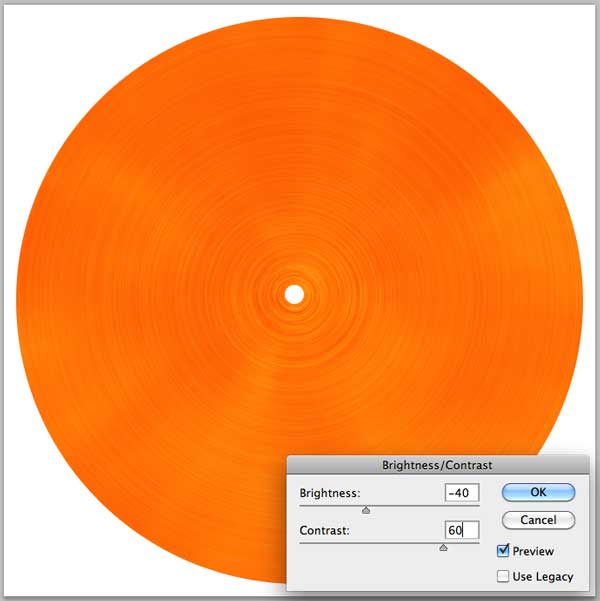
Duplicate this layer (Cmd/Ctrl + J). Change the Blend Mode of the duplicated layer to Overlay and adjust its Brightness/Contrast (Image > Adjustment > Brightness/Contrast) to bring out the details a little more.

It’s time to create the record’s circular shape.
With the Ellipse Tool (U), draw a big circle; hold down Shift + Alt/Option while drawing to create a perfectly-shaped circle. Switch to the Move Tool (V), select the entire canvas (Cmd/Ctrl + A), and then use the alignment commands located at the Options Bar to move the circle to the center of the canvas by clicking on the Align Vertical Centers and the Align Horizontal Centers buttons.

Cmd/Ctrl + click on the circle’s vector mask thumbnail in the Layers Panel to make a selection around the circle.
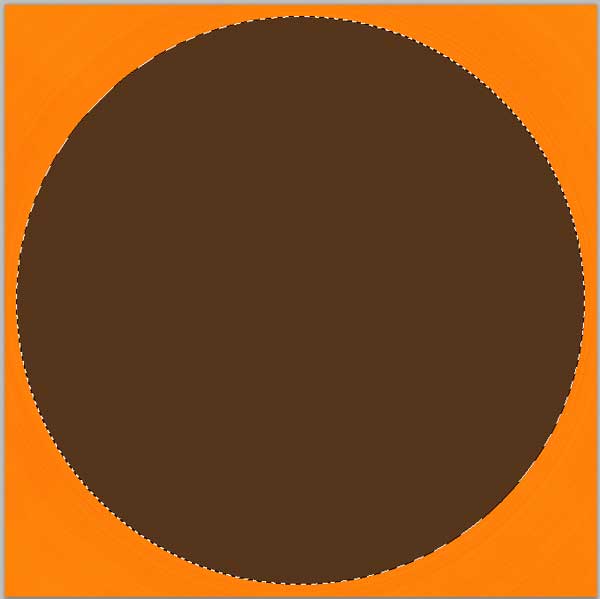
Select the layer group that contains the circle and then go to Layer > Layer Mask > Reveal Selection to hide areas outside of the selection.
Duplicate the circle layer and scale it down using Free Transform (Cmd/Ctrl + T); it should be placed at the center of the bigger circle.
Create a selection around the small circle (Cmd/Ctrl + click on its vector mask thumbnail in the Layers Panel).
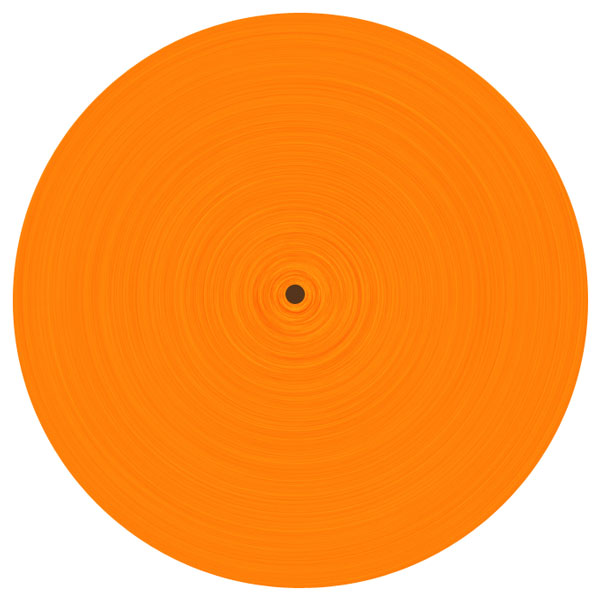
Click on the layer group’s vector mask to make it active and fill the circular selection with black (remember that in vector masks, black hides and white reveals). This will create a hole at the middle of the vinyl record. Afterwards, you can toggle off the visibility of the small circle layer.
We’re going to add some shine to our vinyl record because they usually have slick, glossy surfaces (especially when they’re new and when light is being shined on them).
Reset your Foreground and Background colors to black and white by pressing D.
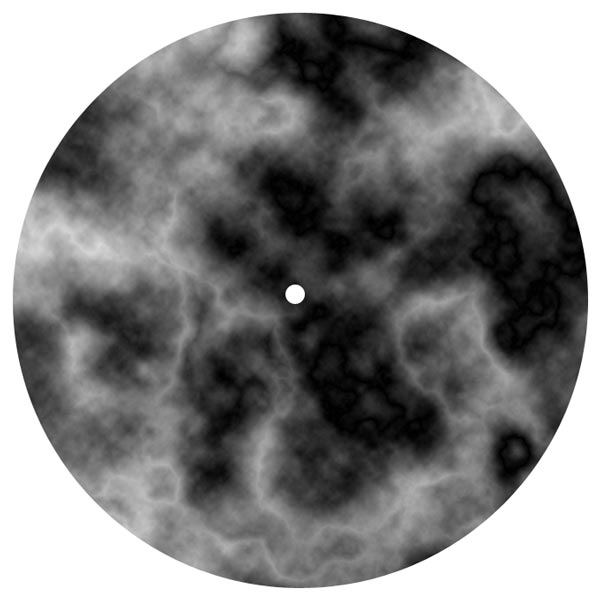
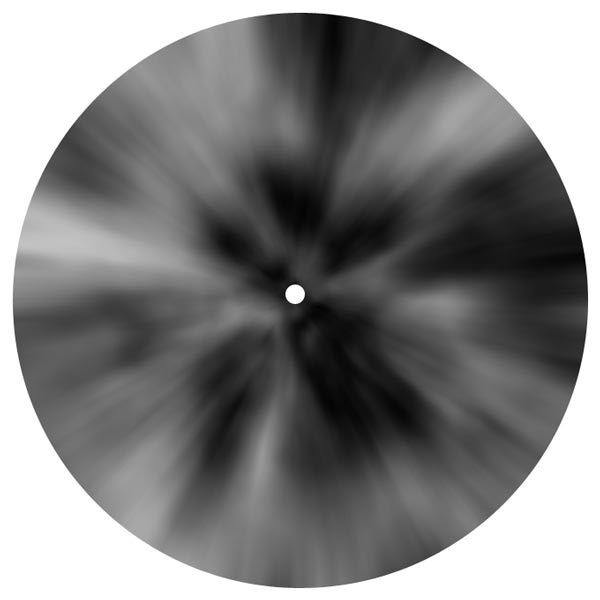
Create a new layer inside the layer group, on top of everything in the layer group. Apply Filter > Render > Clouds on this new layer.
Afterwards, go to Filter > Render > Difference Clouds. Reapply the filter a couple of times by pressing Ctrl/Cmd + F (it’s the same as choosing Filter > Last Filter).
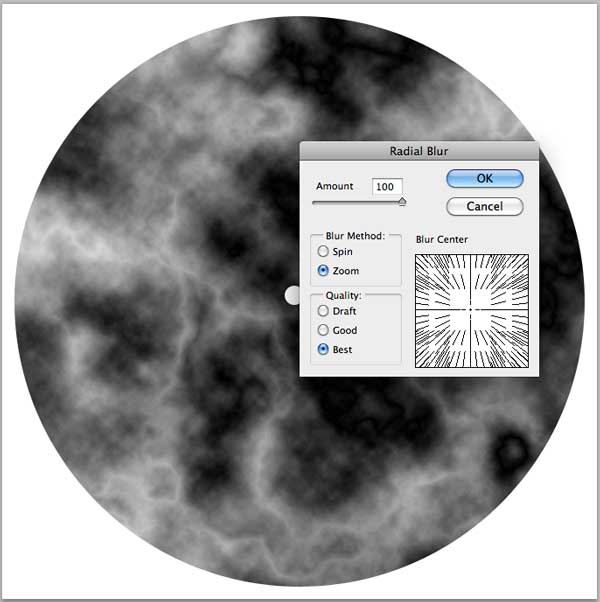
Apply a Radial Blur (Filter > Blur > Radial Blur) with the following settings:
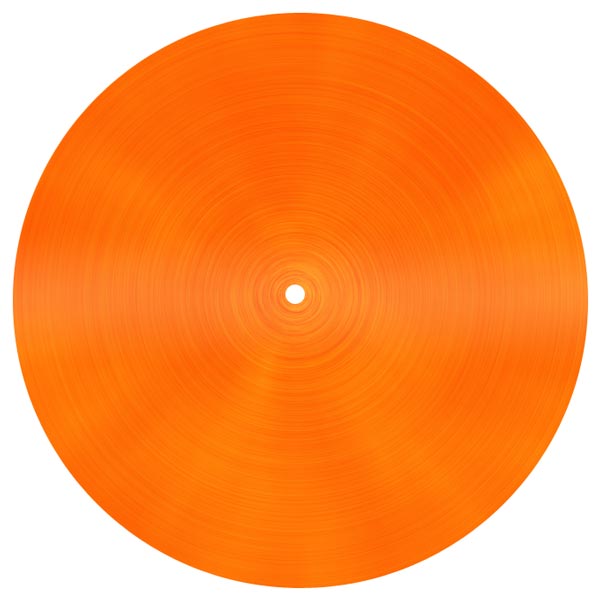
Set the Blend Mode of the layer to Soft Light and reduce the Opacity to around 50%.
Adjust the Brightness/Contrast of the layer (Image > Adjustments > Brightness/Contrast) using the following settings:
Create a new layer.
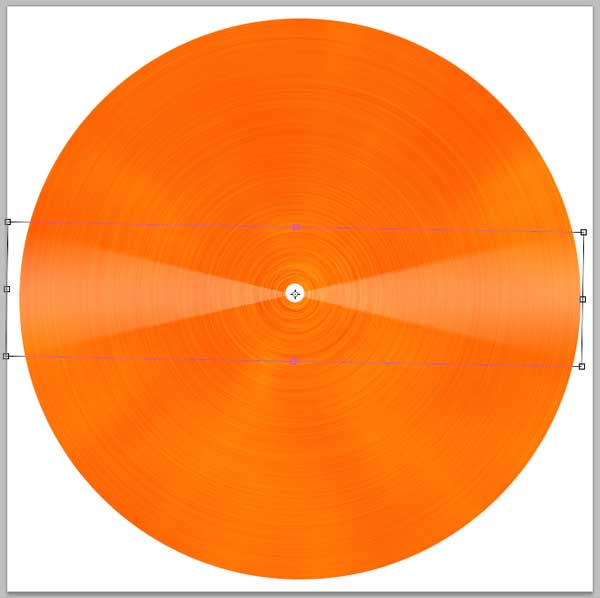
With the Rectangular Marquee Tool (M), create a horizontal rectangular selection at the middle of the vinyl record and fill it with any color.
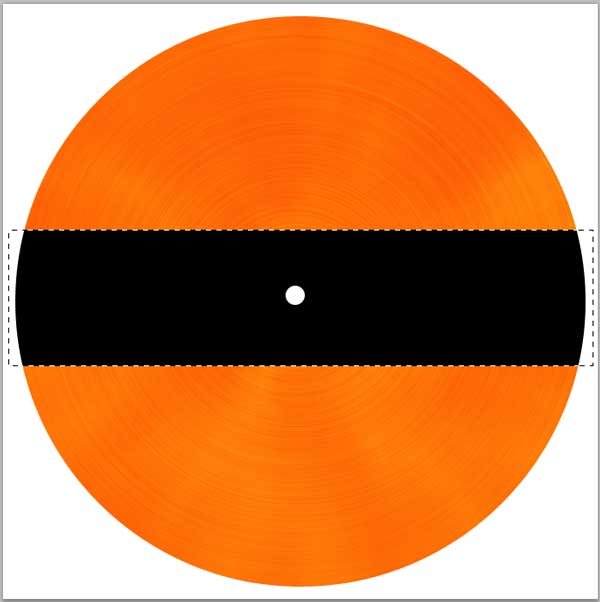
Double-click on the layer to open the Layer Style dialog window and then set Fill Opacity to 0%. Afterwards, add a Gradient Overlay layer effect.
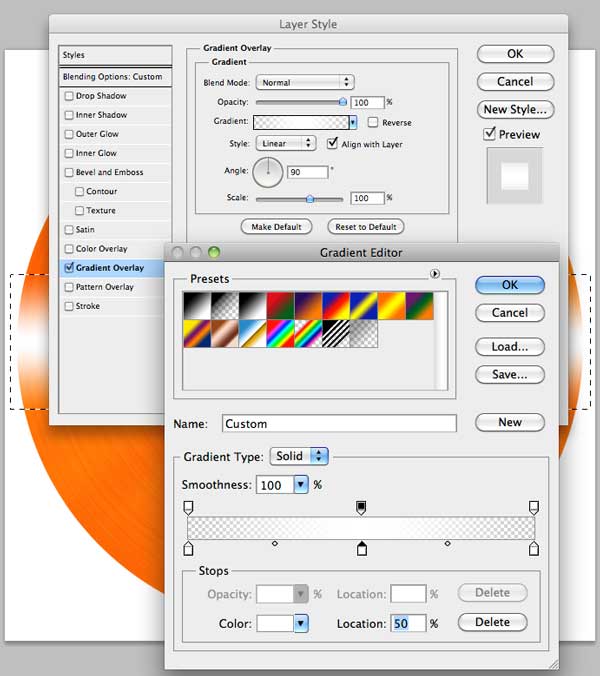
Next, set the Blend Mode of the layer to Soft Light and lower the Opacity to about 15-20%.
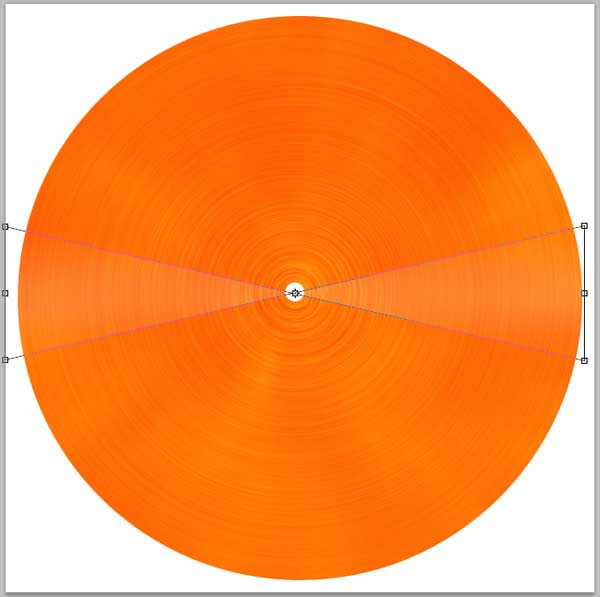
Go to Edit > Transform > Perspective, click-and-hold at the top-left transform control, hold down Shift, and then drag down until the transform controls overlap (see the following image for reference).
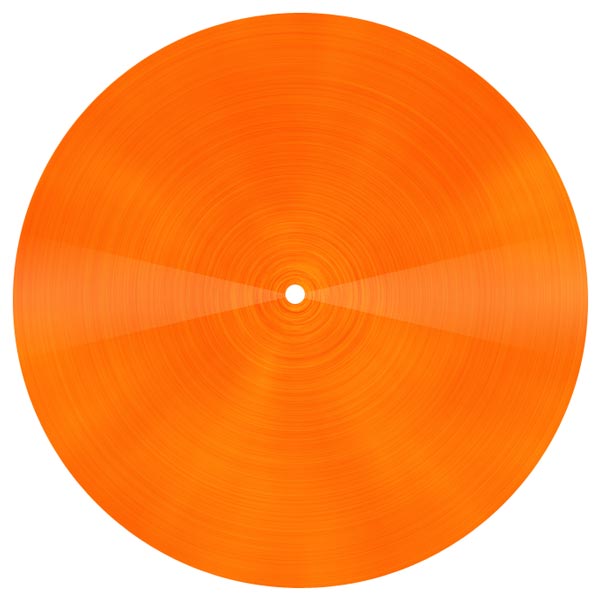
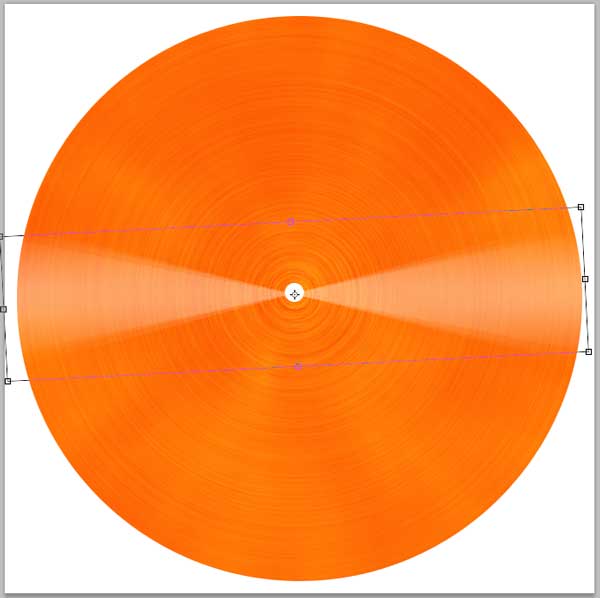
Duplicate this layer twice and then use Free Transform (Ctrl/Cmd + T) to rotate the duplicated layers around a bit.
Step 3: Create a Label at the Center of the Vinyl Record
Let’s create a label for the vinyl record. Duplicate our big circle layer and make it smaller using Free Transform (Cmd/Ctrl + T).
Create a new layer group inside our existing “record” layer group.
Let’s name this new layer group “label”.
Cmd/Ctrl + click on the circle’s layer to make a selection around it; we’re going to use this circular selection for the masking of the label.
With the selection still active, choose the “label” group layer by clicking on it in the Layers Panel and then go to Layer > Layer Mask > Reveal Selection.
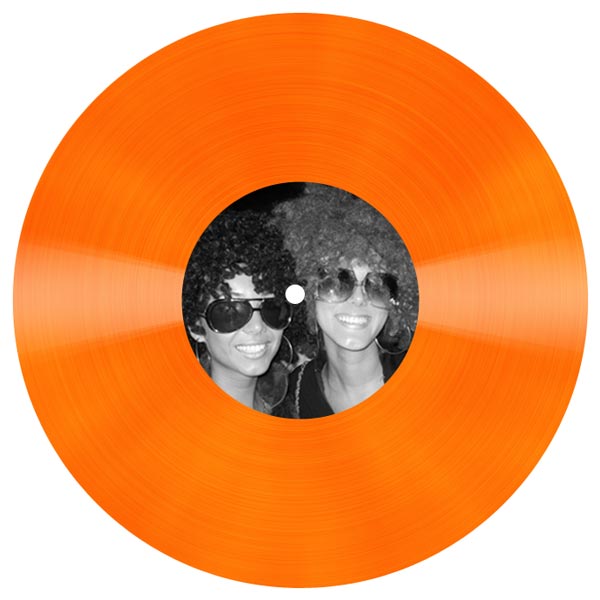
Download and place the Afro Sisters image into the “label” layer group. Desaturate the image (Cmd/Ctrl + Shift + D) and then scale it down with Free Transform (Ctrl/Cmd + T).
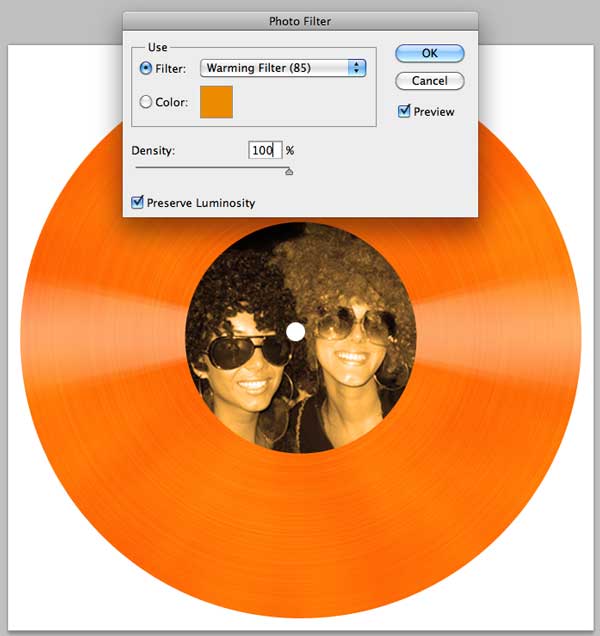
Go to Image > Adjustments > Photo Filter to give the image a sort of vintage effect.
Next download the 7 Hi-Res Bokeh Textures pack, locate the bokeh texture img_8211 file within the texture pack, and then place it into our design, right above the “afro sisters” layer. Scale down the Bokeh texture.
Afterwards, change the Blend Mode of the layer to Soft Light and Opacity to 30%.
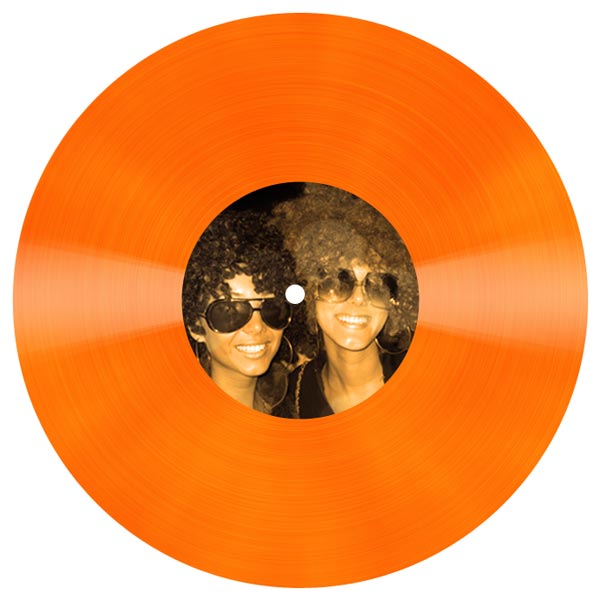
Create a new layer above the Bokeh texture, fill it with the orange color we’ve used (#fd8833) and then set the Blend Mode of the layer to Hard Light and reduce the Opacity to 70%.

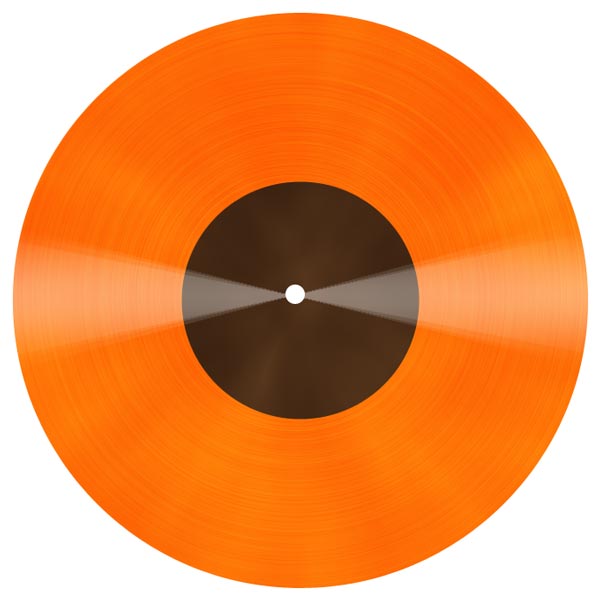
We are going to finish the label of the vinyl record by creating a tiny border around it.
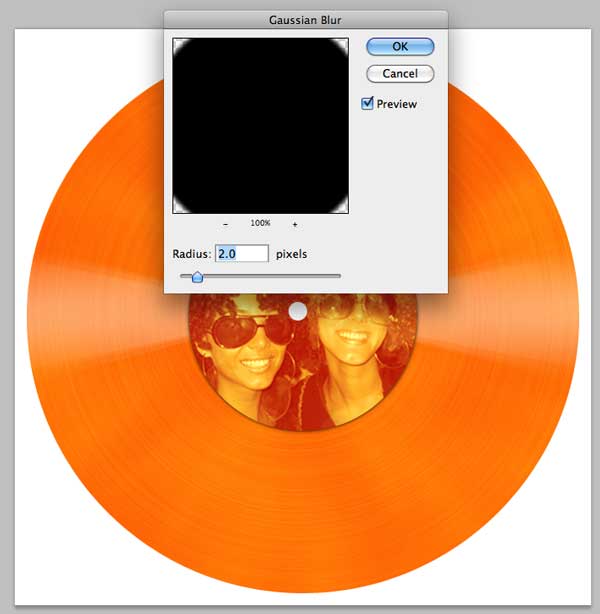
Create a new layer below the “label” layer group. Cmd/Ctrl + click on the “label” group’s vector mask thumbnail to create a selection. Fill the circular selection with black (#000000).
Next, choose Filter > Blur > Gaussian Blur with Radius set to 2px.
Lower the Opacity of the layer to 70%.
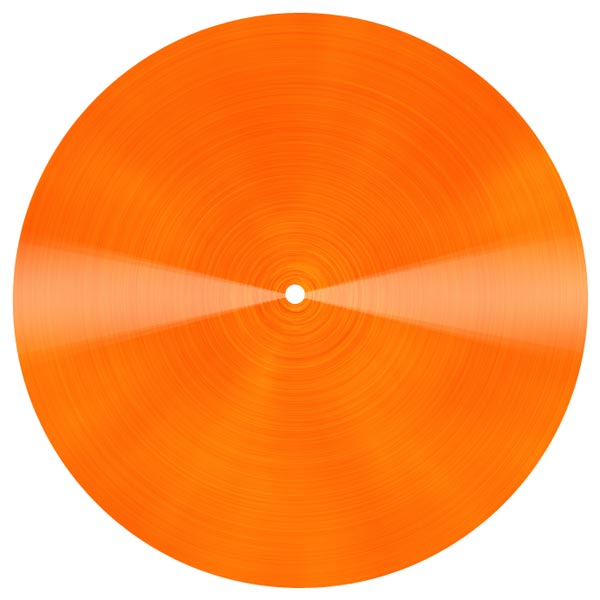
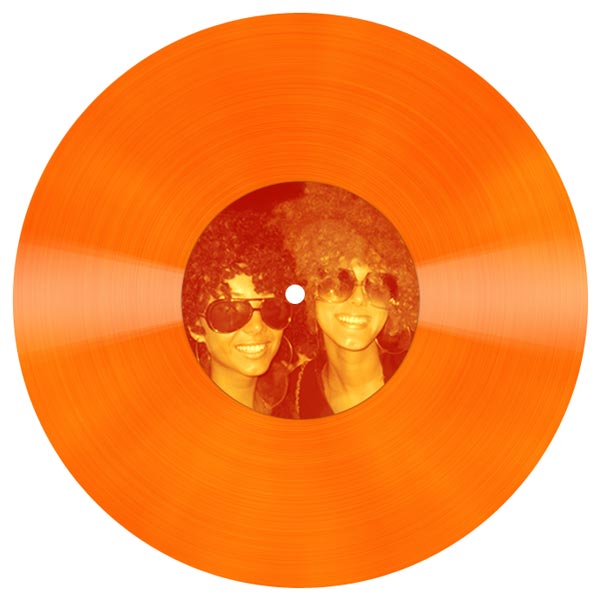
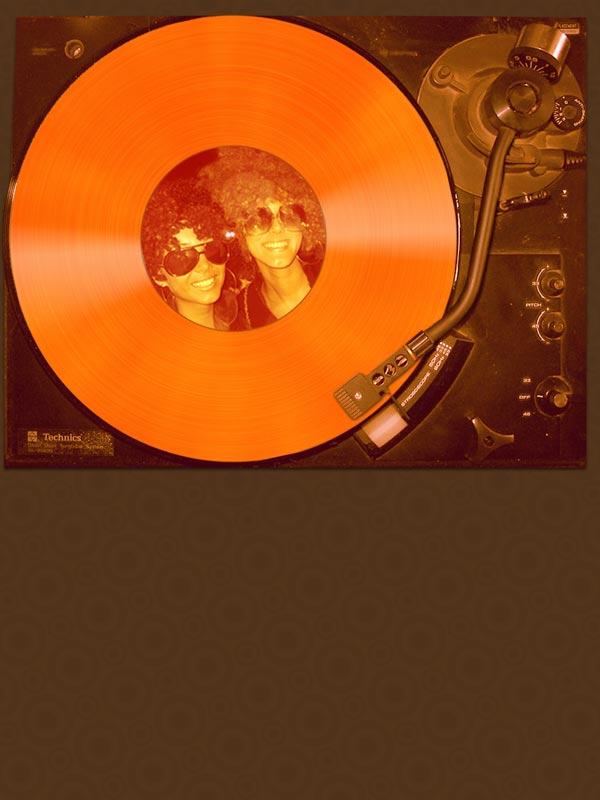
Here’s how our vinyl record looks now:
Save this Photoshop file (I saved mine as “record.psd”) because we are going to use it later.
Tip: You can use the same technique above to create a more realistic-looking vinyl record simply by altering the color choices (vinyl records are typically black). I used an orange theme for the vinyl record because it complements the color palette of the music poster we’re creating.
Step 4: Manipulate the Gramophone
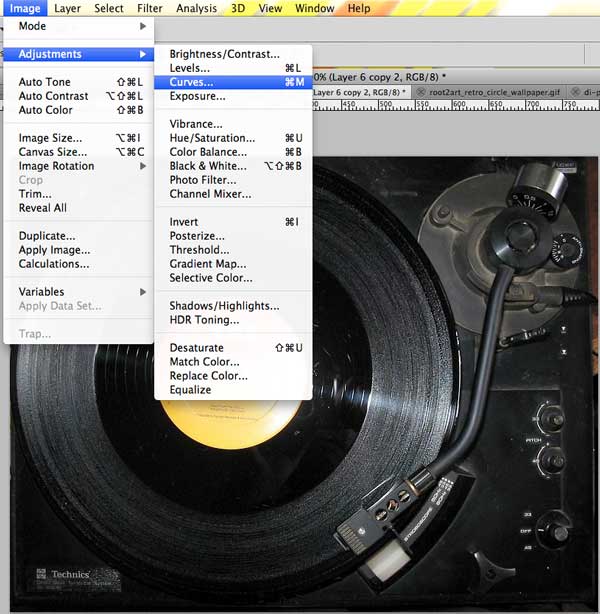
Open the Gramofon 1 ubt image in Photoshop. Then, go to Image > Adjustment > Curves (Ctrl/Cmd + M).
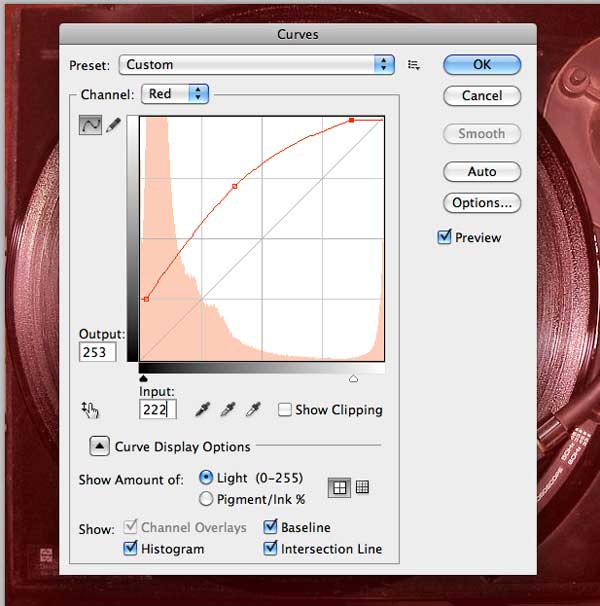
In the Curves Adjustment dialog window, choose Red from the Channel drop-down menu.
Then adjust the curves using the following image as a reference.
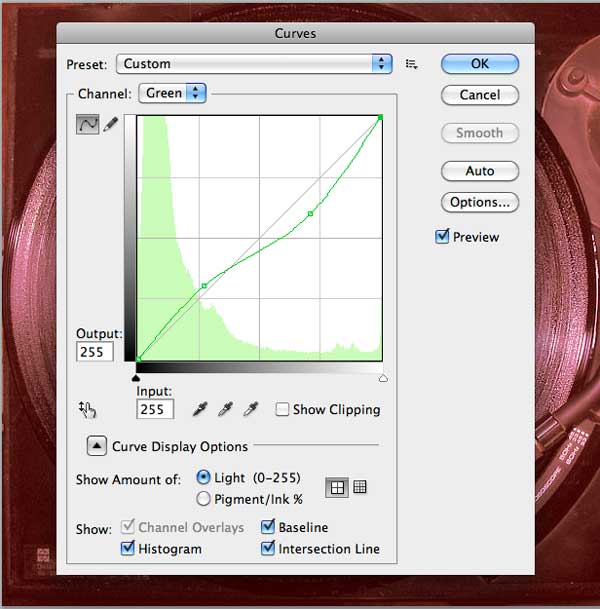
Next, switch to Green from the Channel drop-down menu and perform the curve adjustments as shown below:
To finish off our Curves adjustment, switch to Blue from the Channel drop-down menu and adjust the curves as shown below:
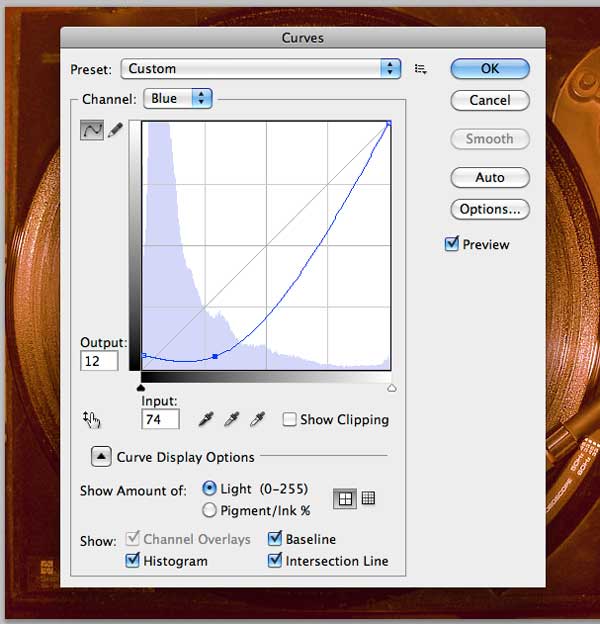
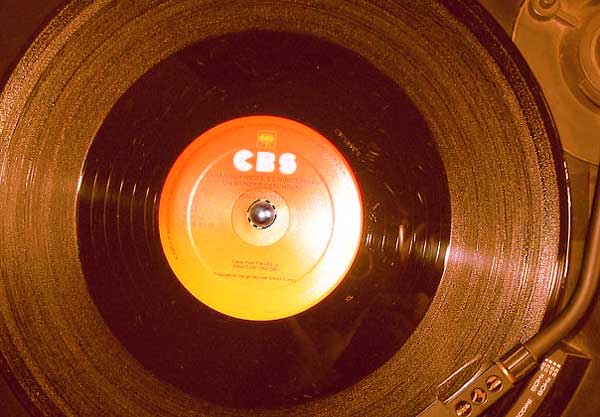
This is the result of our curves adjustment:

Using the Pen Tool (P), trace around the tonearm, right-click/Control-click on the vector path you created and then choose Make Selection from the contextual menu that appears.

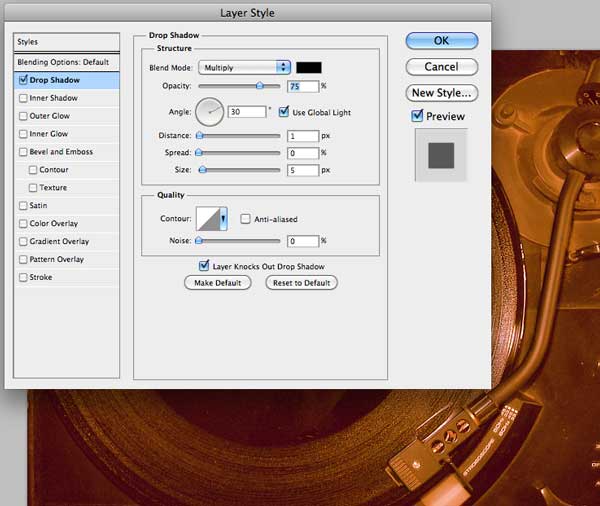
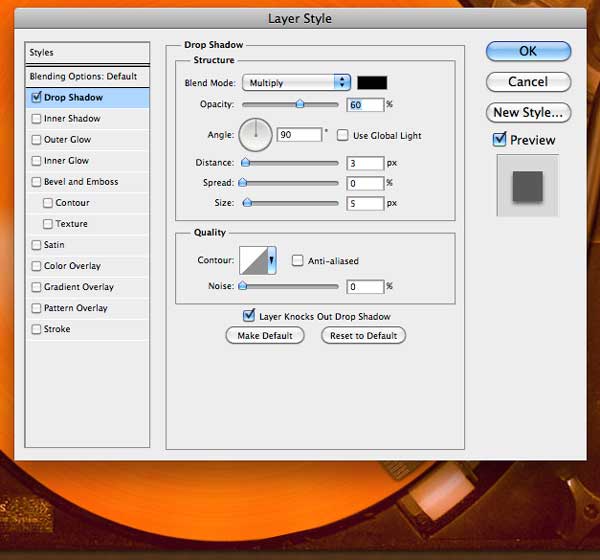
Choose Layer > New > Layer via Copy (Cmd/Ctrl + J) to create a new layer with just the tonearm in it. Double-click on the tonearm layer to open the Layer Style dialog window and then apply the Drop Shadow layer effect to the tonearm.
With the Elliptical Marquee Tool (M), make a selection around the spindle (at the center of the gramophone) and then place it in a new layer by going to Layer > New > Layer via Cut (Cmd/Ctrl + Shift + J).
Now we can easily place the vinyl record on the gramophone.
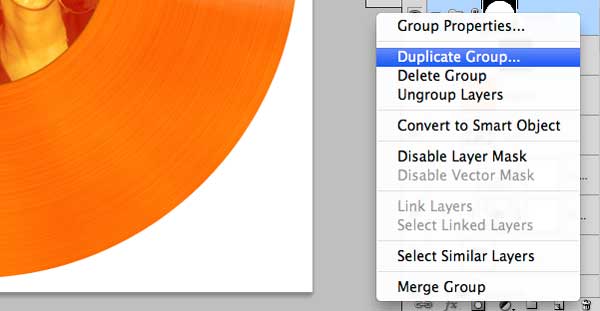
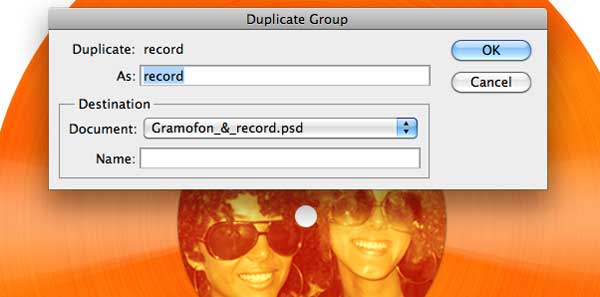
Go back to our “record.psd” file that contains the vinyl record we created earlier, right-click/Control-click on the “record” layer group, select Duplicate Group from the contextual menu, and, in the Duplicate Group dialog window, for the Destination option, choose the gramophone PSD. This will copy the entire layer group from one PSD to another.
Move the “record” layer group just below the tonearm layer, but above the spindle layer.
Scale down the vinyl record as needed to fit within the gramophone, and then rotate it a bit using Free Transform (Cmd/Ctrl + T).
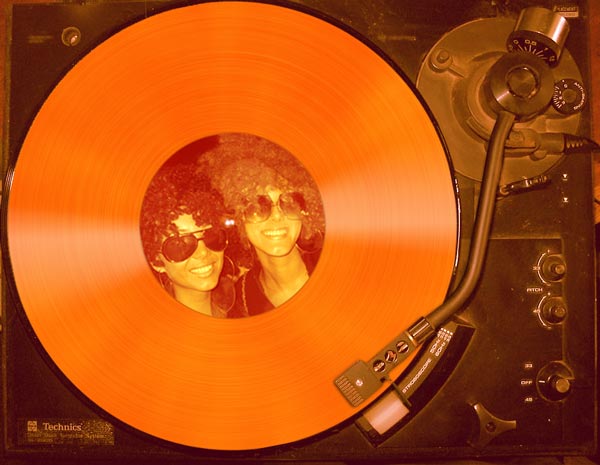
Select all the layers in the Layers Panel, and then group them (Cmd/Ctrl + G) into one group named “gramophone”.
Step 5: Place the Gramophone into the Main Document
It’s time to import the gramophone into our main Photoshop document with the brown patterned background.
Right-click on the “gramophone” group, choose Duplicate Group, and, in the Duplicate Group dialog window, choose our main Photoshop file for the Destination option.
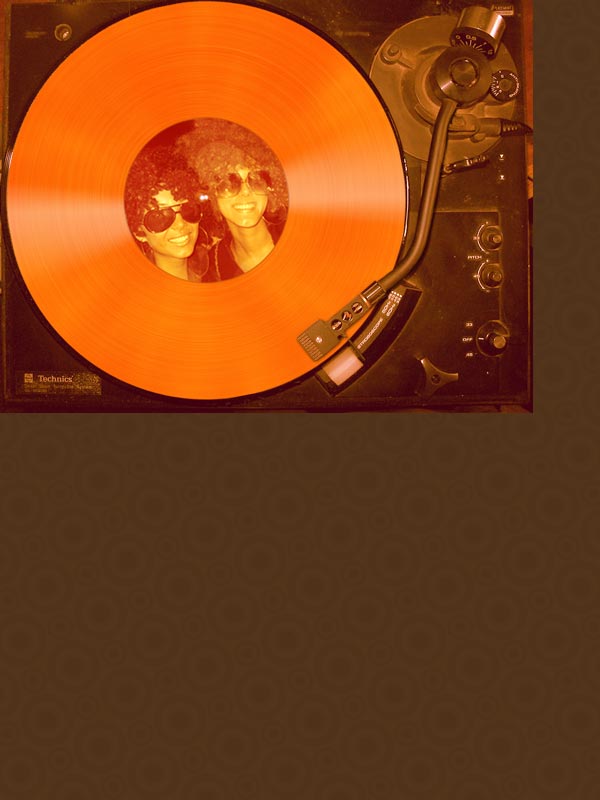
Use Free Transform (Cmd/Ctrl + T) to resize the “gramophone” layer group (make it bigger). You can also rotate it slightly. Use the Move Tool (V) to position it in the canvas as shown below.

Using the Pen Tool (P), trace around the gramophone, right-click/Control-click on the vector path, then choose Make Selection from the contextual menu that appears.
Make the “gramophone” layer that’s inside the “gramophone” layer group the active layer by clicking on it in the Layers Panel.
Go to Layer > Layer Mask > Reveal Selection to hide areas of the background layer.

Apply a Drop Shadow layer effect on the “gramophone” layer.
Step 6: Add the Music Event Details
Download and install the free GrauBlau font (if you don’t have it installed yet). Alternatively, browse the Font Collections category here on Design Instruct to discover interesting fonts you’d like to use instead.
Using the Horizontal Type Tool (T), add some text on the poster. Use the following image as a reference for the font settings.
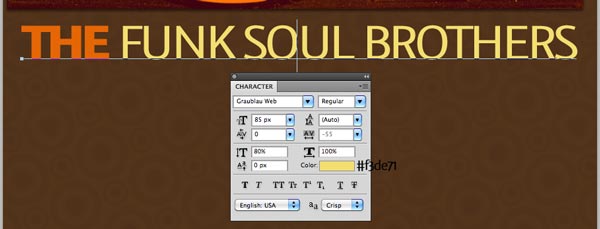
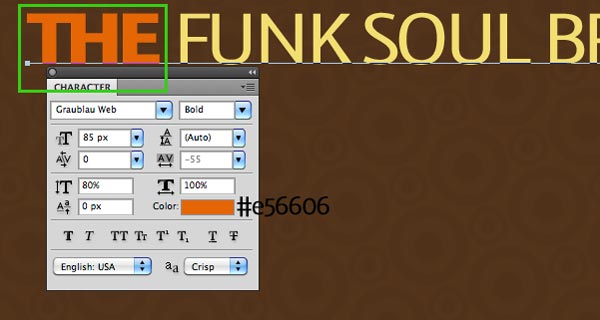
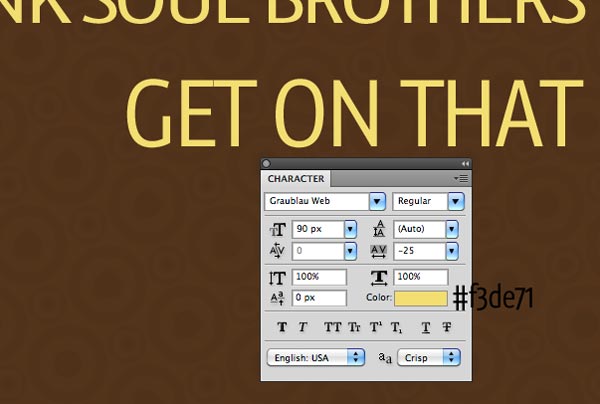
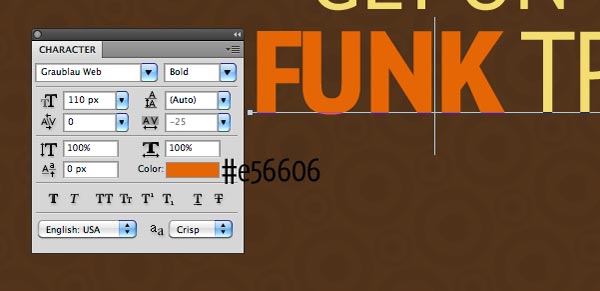
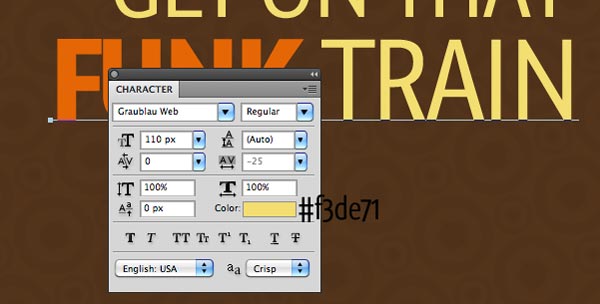

Here’s what we end up with:
Step 7: Create a Grungy Poster Border
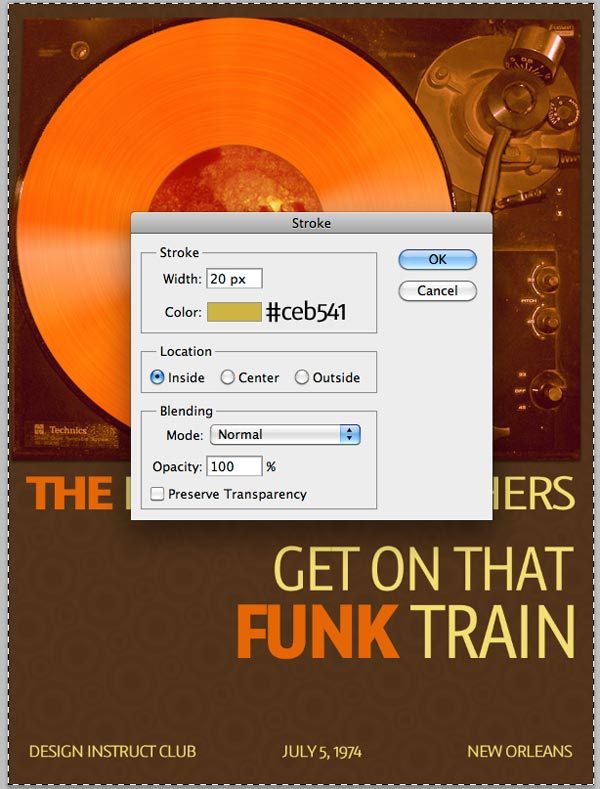
Press Cmd/Ctrl + A to select around the canvas.
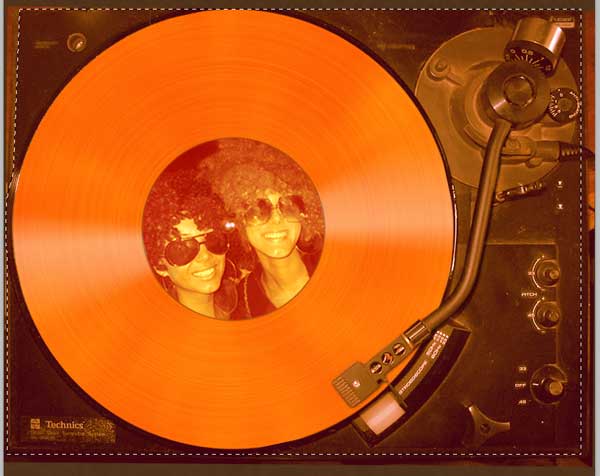
Create a new layer on top of everything, then go to Edit > Stroke with Width at 20px, Color set to #ceb541, and Location set to Inside.

Download and install the Grunge Photo Edge brush library. Set the Foreground color to #ceb541. Create a new layer on top of the poster border layer. Use a brush from the Grunge Photo Edge brush library to roughen up the poster border. Play around with the brush size and other brush settings to achieve a great effect.
Step 8: Create a Printed Texturing Effect
Create a new layer on top of everything (Cmd/Ctrl + Shift + N).
Set your Foreground color to black (#000000). Fill the newly created layer with the Foreground color by pressing Alt/Option + Backspace. Use Filter > Noise > Add Noise with the Amount at 20%, Distribution set to Gaussian and the Monochromatic option checked.

Change the Blend Mode to Overlay and lower the Opacity to 15%.
Tutorial Summary
So what did we do here today?
For our centerpiece, we created a vinyl record from scratch and then digitally superimposed it on a stock gramophone image. We used a grunge brush to roughen up the poster edges, composed typography to fit our retro-inspired theme, and used the Noise Filter to add printed texturing. We did all that, and more.
I hope you enjoyed this tutorial and have learned some useful tips and tricks from it!
I look forward to hearing your thoughts and questions in the comments. Thanks for reading!
Download Source Files
- funky_music_poster (ZIP, 5.55 MB)
-
 Trevin serves as the VP of Marketing at WebFX. He has worked on over 450 marketing campaigns and has been building websites for over 25 years. His work has been featured by Search Engine Land, USA Today, Fast Company and Inc.
 -

WebFX is a full-service marketing agency with 1,100+ client reviews and a 4.9-star rating on Clutch! Find out how our expert team and revenue-accelerating tech can drive results for you! Learn more
Make estimating web design costs easy
Website design costs can be tricky to nail down. Get an instant estimate for a custom web design with our free website design cost calculator!
Try Our Free Web Design Cost Calculator
Table of Contents
- Preview
- Tutorial Resources
- Step 1: Create the Poster’s Background
- Step 2: Create a Vinyl Record from Scratch
- Step 3: Create a Label at the Center of the Vinyl Record
- Step 4: Manipulate the Gramophone
- Step 5: Place the Gramophone into the Main Document
- Step 6: Add the Music Event Details
- Step 7: Create a Grungy Poster Border
- Step 8: Create a Printed Texturing Effect
- Tutorial Summary
- Download Source Files
Share this article


Web Design Calculator
Use our free tool to get a free, instant quote in under 60 seconds.
View Web Design Calculator
Make estimating web design costs easy
Website design costs can be tricky to nail down. Get an instant estimate for a custom web design with our free website design cost calculator!
Try Our Free Web Design Cost Calculator


