

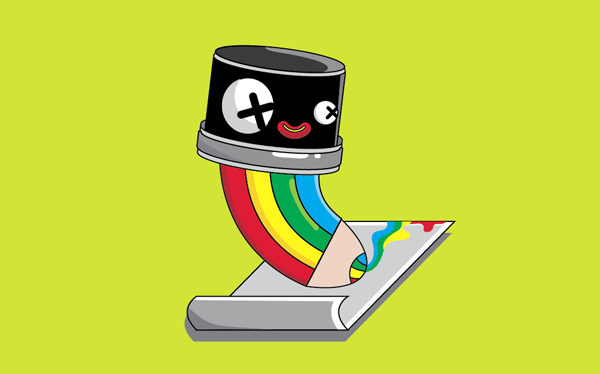
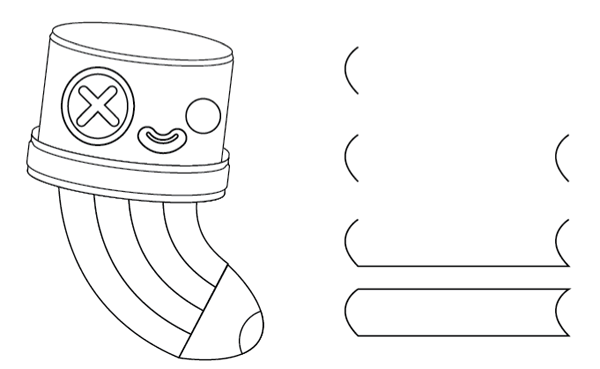
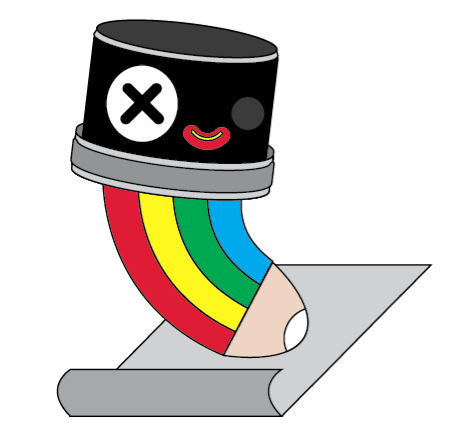
Preview
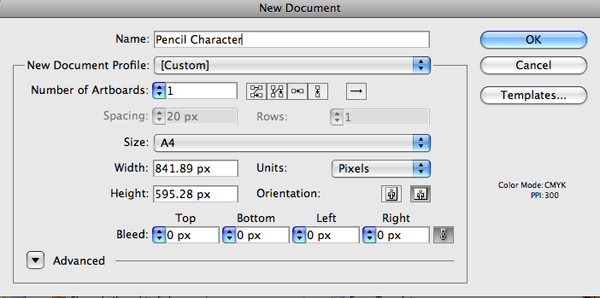
Step 1: Create an artboard in Illustrator
Create a new document (Cmd/Ctrl + N) and use the settings below.
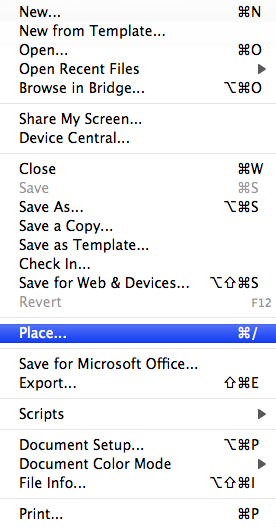
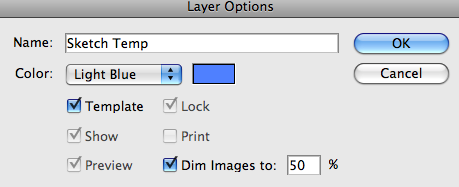
Step 2: Place the sketch in and make it into a template
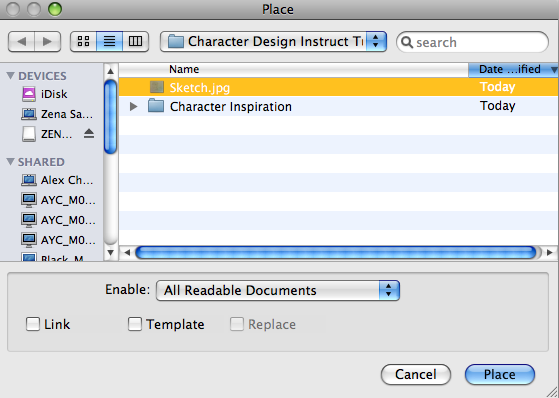
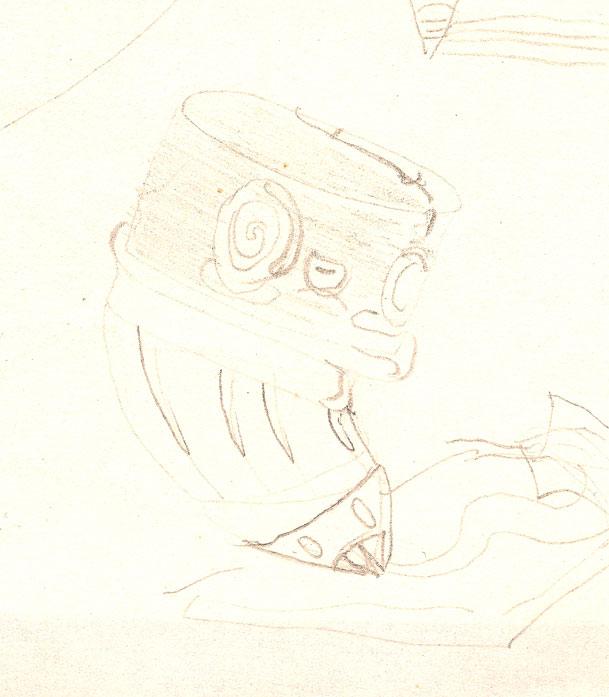
Go to File > Place and place your sketch into the artboard. If you want, you can use my original sketch for the purpose of following along this tutorial. I must warn you, though, that it was a very rough sketch and scan (download it here, if you must).
Select your sketch template.
Double-click on the layer with the placed file and use the settings specified below to make this layer into a template.
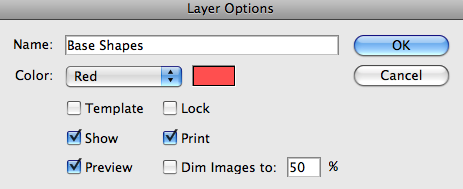
Step 3: Create a new layer for base shapes
Create a new layer and name it “Base Shapes”.
This will keep our work orderly. This layer will contain the basic shapes and drawings of our vector illustration.
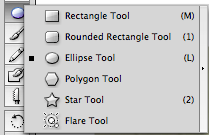
Step 4: Start making base shapes
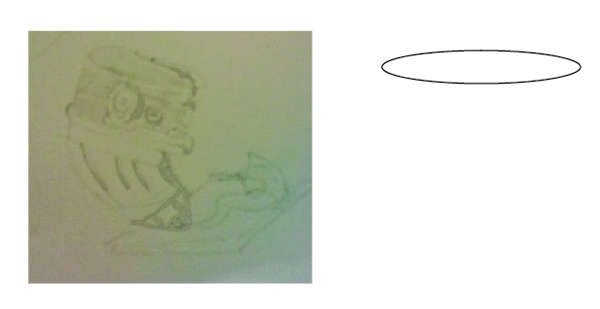
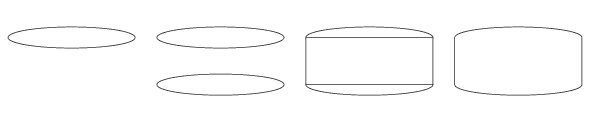
Select the Ellipse Tool (L) to start drawing our base shapes.
Using your sketch template as a reference, create an ellipse for the head, and then, the pencil.
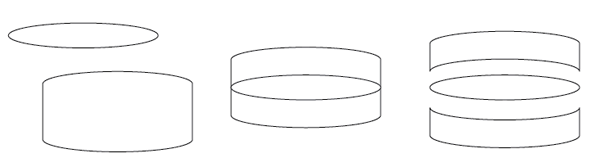
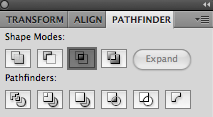
To make the base cylinder shape, duplicate the oval, Shift-drag downward, then create a rectangle that perfectly aligns with the duplicate ovals. Copy this shape, and then on the copy, apply the Combine pathfinder command on it.
The reason you have to have a duplicate is that later on we will be using elements from the one that is not committed by the pathfinder.
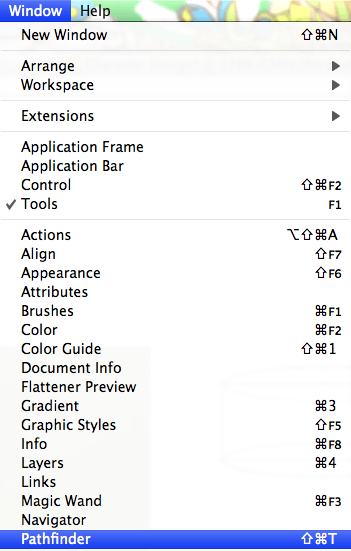
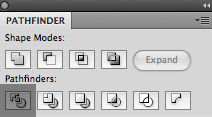
The Pathfinder Panel can be turned on using the Window menu item.
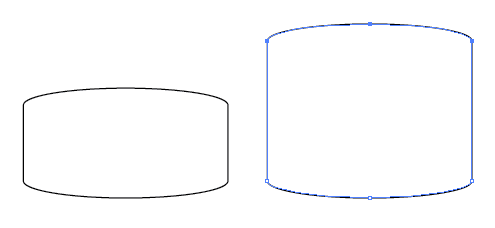
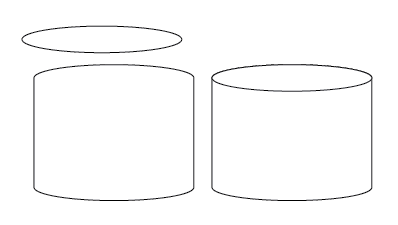
Step 5: Elongating the cylinder
We need to stretch the cylinder and make it taller. We will utilize the Direct Selection Tool (A) to do this.

Duplicate the cylinder shape. Select the top three anchor points with the Direct Selection Tool and Shift-drag upwards to elongate the base cylinder shape.
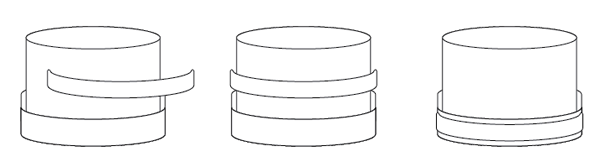
Step 6: Making the rim detail
To make the rim detail, use the small cylinder shape from the previous step and the oval from the base shapes step.
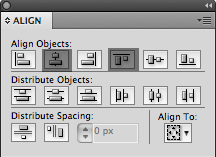
Align these two shapes horizontally and vertically using Align Objects commands.
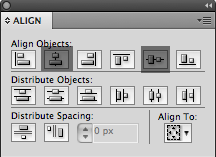
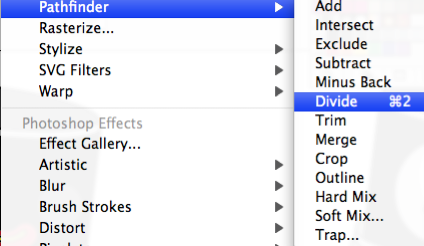
Divide these shapes using the Divide pathfinder command.
Once divided, you can then use the Group Selection Tool to pull apart the pieces.

The shapes below are the basis for the character’s head.
Step 7: Drawing the base shape for the head
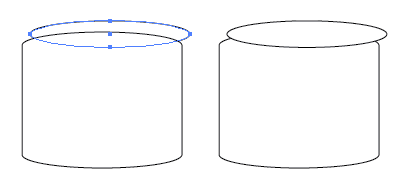
To make the base head of the character (the eraser part of the pencil), get the elongated cylinder shape and oval.
Align these two shapes in the middle and top edges.
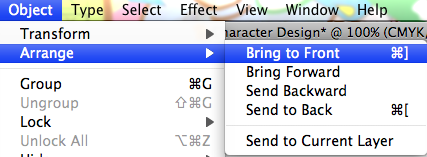
Ensure that the oval is on top by selecting it and bringing it to front (Object > Arrange > Bring to Front).
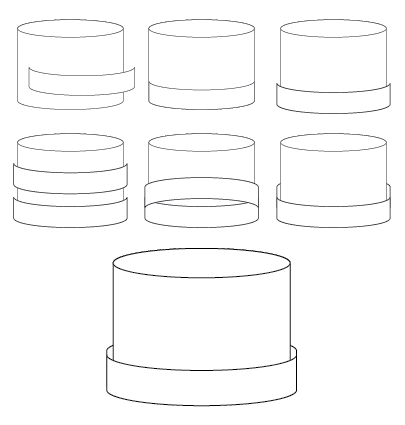
Step 8: Combining the head and rim
So far, you should have the elements below. We’ll now start to put them together.
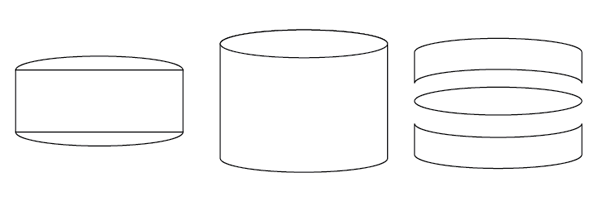
First, select the elongated base head and group it. Then ungroup the rim elements and select the bottom rim.
Select these two elements and align them to the bottom edge using the Vertical Align Bottom command in the Align Panel.
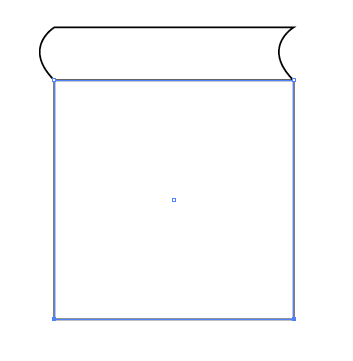
With the Scale Tool (S), click once on the bottom edge of the lower rim and scale it up a little bit.
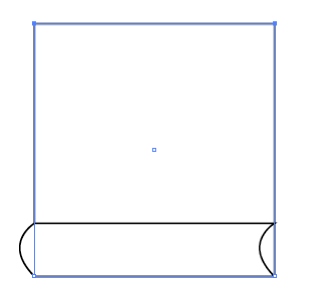
Duplicate this scaled rim (Shift + Opt/Alt-Drag upward) and reflect it (Object > Transform > Reflect).
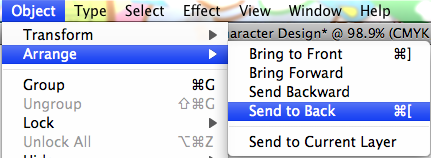
Send the reflected rim to the back (Object > Arrange > Send to Back).
![]()
And there you go—everything is shaping up nicely.
Step 9: Add details on the rim
Duplicate the most recent rim detail twice from the previous step (Shift + Opt/Alt-Drag downwards).
Select these two shapes and use the Intersect command in the Pathfinder Panel.

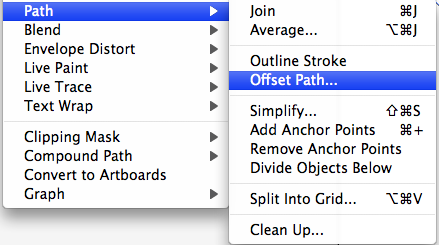
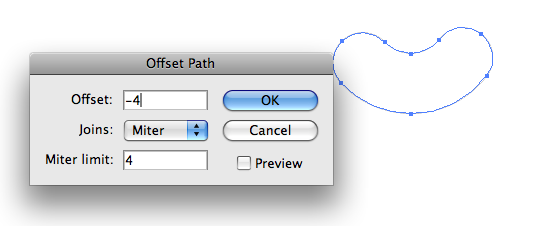
Step 10: Use Offset Path on the detail
We will continue to shape our eraser by giving it another ridge that seems to be on a higher plane than the current rim. We’ll do this by offsetting the shape to create a different-sized, smaller copy of it (Object > Path > Offset Path).
Use these Offset settings on this shape.
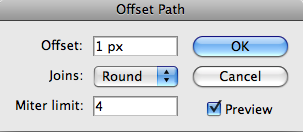
Align the offset shape to the rim; a handy way to do this is by selecting those two shapes and clicking once again on the base rim.
Doing this tells Illustrator that the base rim is the key object. When you align, only the offset detail will move and align with the base rim.
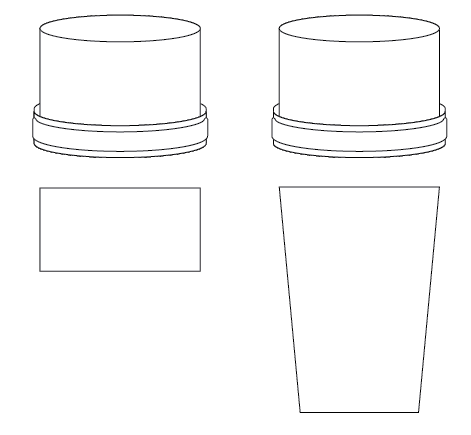
Step 11: Making the body of the character
With our eraser taking shape, lets now move onto the body of our character—the shaft of the pencil. Create a rectangle in the same width as the base head (not the rim).
Select the two bottom anchor points of this shape.
Shift-drag them downwards and scale inwards. Ensure proportions of this shape are relative to your sketch template.
Now create four perfect squares next to each other by using the Rectangle Tool and holding down Shift. Duplicate your first square by Shift + Opt/Alt-dragging once, and then pressing Cmd/Ctrl + D two times.
This will give you the result shown below.
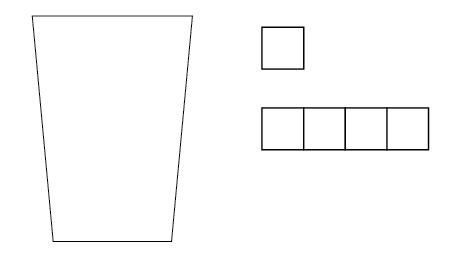
Group (Cmd/Ctrl + G) the four squares and send them back.
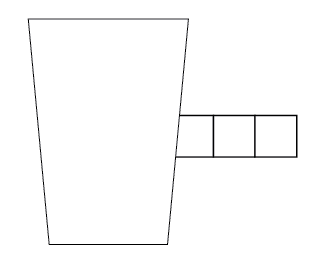
Select the two elements shown below and then go to Object > Envelope Distort > Make with Top Object.
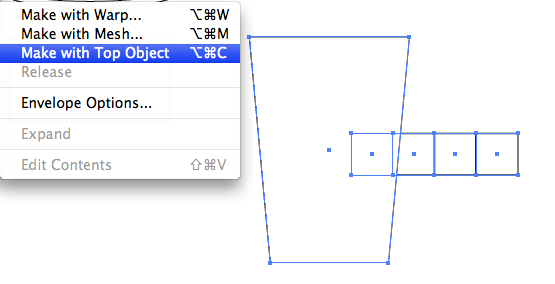
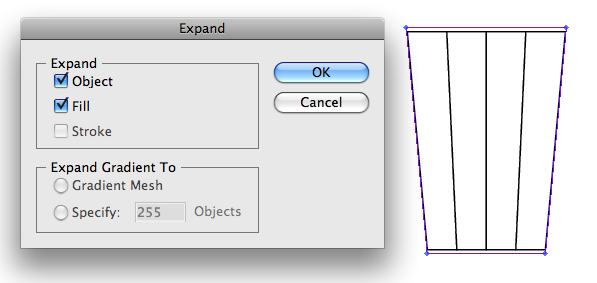
Once you have applied the Envelope Distort, select and expand it.
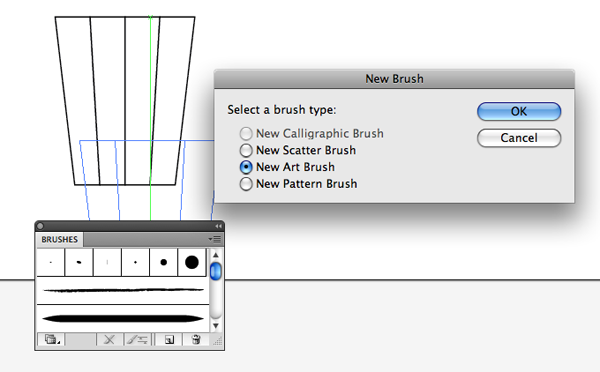
Step 12: Create a new Art Brush
After you expand the shape, make it into an Art Brush. You do this by dragging the element into the Brushes Panel. A dialogue box will ask you what kind of brush you want—specify New Art Brush.
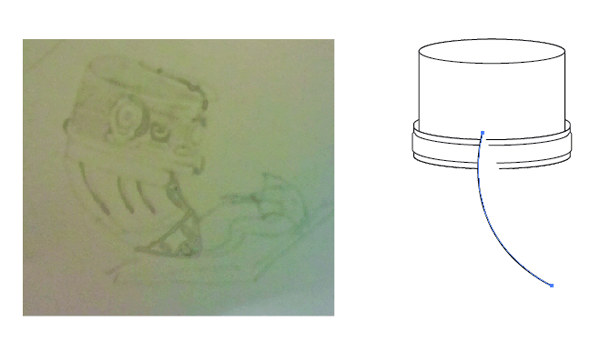
Step 13: Apply the new Art Brush on the character’s body
Make a path with the Pen Tool (P) to follow.
It helps if you refer to the sketch template when doing this.
Step 14: Apply the new Art Brush
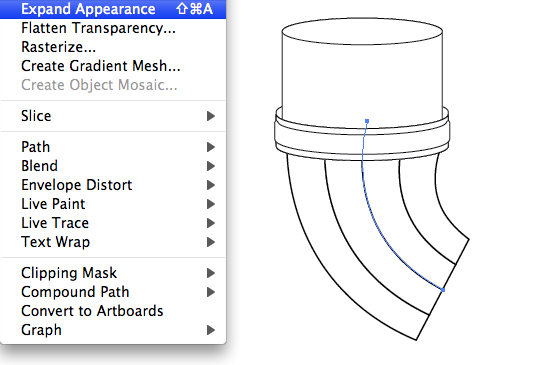
Apply the Art Brush made in the previous step and expand its appearance, Object > Expand Appearance.
Afterwards, make sure this element is sent to the back.
Step 15: Draw the pencil tip
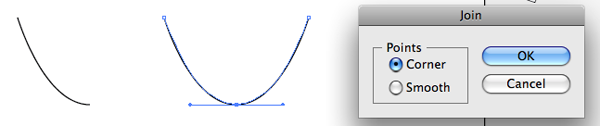
Create a half “u/v” shape with the Pen Tool (P), shaped like the tip of a pencil.
Next, select the shape and then reflect it (Object > Transform > Reflect).
Then join the two bottom anchor points with each other by selecting them and then hitting Cmd/Ctrl + J. Repeat this for the top anchor points.
Send this shape behind the body using the Object > Arrange command. Then use scale and rotate tools to make the edges the same size and align.
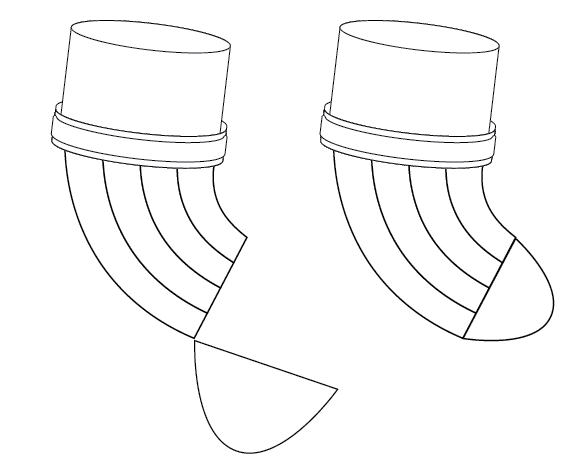
To make the lead of the pencil, copy and paste in front of the wood shape.
So, now you have two of the same shape on top of one another.
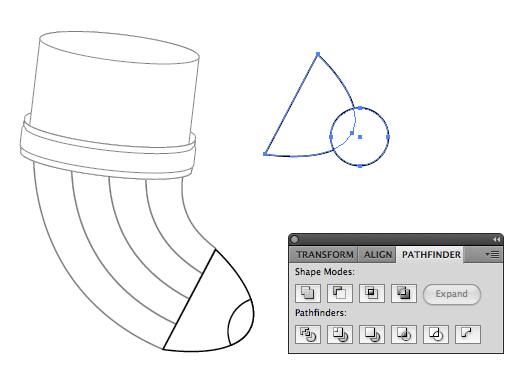
Now, make a circle with the Ellipse Tool and intersect it with the frontal wood shape.
Step 16: Making the mouth of the character
Alright, now that we have the basic shape of our character, we’ll start on its detailing. First up is the face of our character, which will be on the eraser.
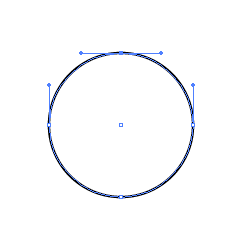
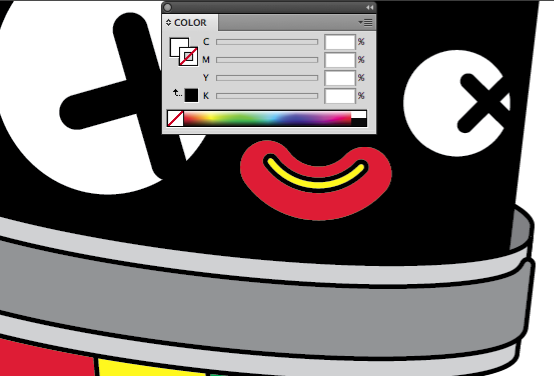
Start off with a circle using the Ellipse Tool, delete the topmost anchor point with the Direct Selection Tool (A).
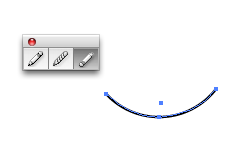
Refine the mouth shape with the Path Eraser Tool (hidden behind the Pencil Tool).
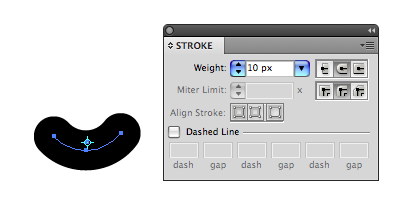
Thicken the stroke and round off the edge of the path in the Stroke Panel.
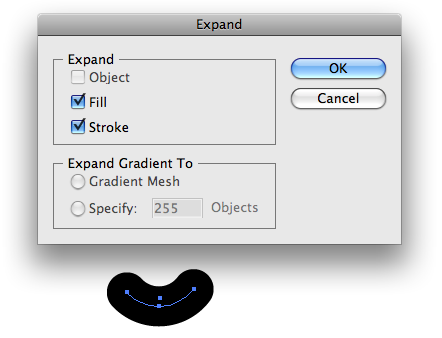
Expand the path (Object > Expand).
Step 17: Create the teeth of the character
Create the teeth of the character by making a duplicate of the shape and applying a negative offset value to it. When adding an Offset Path effect, make sure the path does not have a stroke or else you will get odd results. Also, Offset Path requires the shape’s appearance to be expanded (Object > Expand Appearance) after its application to commit it and allow us to work with it.

Step 18: Make the eyes of our character
With the Line Segment Tool (\), create a diagonal line by Shift-dragging in a diagonal motion; holding down Shift ensures that you are creating a diagonal line with a 45-degree angle.
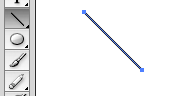
Now reflect a copy of the diagonal line.
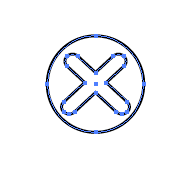
Thicken and round off edges like with did for the mouth of our character. Also, expand this shape and then combine the expanded shape using the Combine command in the Pathfinder Panel.

Afterwards, draw a perfect circle around the “X” shape by Shift-dragging using the Ellipse Tool.
To finish off the eyeball, send it to the back.
And there you have it, an eyeball with a cross as the pupil.
Step 19: Place and tweak characteristics
Group the eye and mouth and then tweak them with the Group Selection Tool. Afterwards, position the pieces on top of our eraser using the Selection Tool (V).
Step 20: Make the paper base
We will make it look like our pencil is writing on a piece of paper; the paper serves as the base of our shape.
Make a narrow “C” shape with the Pen Tool and then Shift-drag to duplicate it.
Join the bottom and top anchor points of the “C” shape with each other using Pathfinder commands.
You should now have a paper fold shape.
Create a rectangle that perfectly aligns to the bottom edge of the paper fold.
Select the bottom two anchor points of this rectangle and drag it up over the top edge of the paper fold. Ensure this shape is behind the paper fold.
While the anchor points are still selected, move them so that the rectangle looks skewed, giving the illusion of the paper being seen on an angle in 3D space.

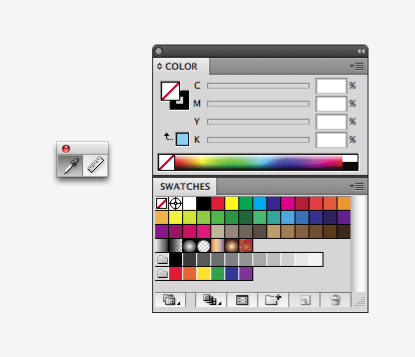
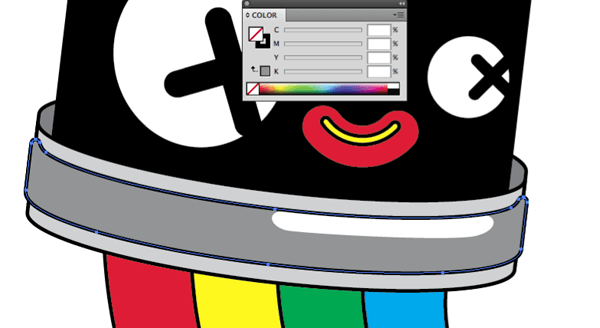
Step 21: Color in the artwork
Artwork can be colored easily with the Eyedropper Tool (I) and the Color and Swatches Panels open. (I discuss this simple coloring technique in greater detail in my previous illustration tutorial.)
In the Color Panel, specify a stroke and fill color; you could also use the Swatches Panel.
I recommend docking these two panels when you are coloring artwork for convenience, and hiding them when you’re doing line work to give you more space in your monitor screen.
Once you specify a fill and stroke, press Opt/Alt and click on closed paths to give them desired colors, gradient, and/or patterns.
Step 22: Adding detail to your artwork
With the Knife Tool, split the lead into four closed paths.

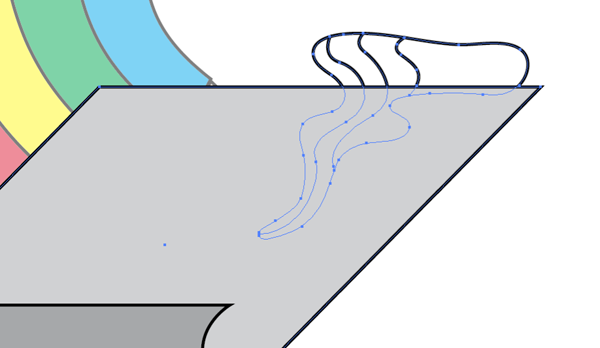
Double-click on the base paper to enter Isolation mode. Within Isolation mode, create a path drawn by the character with the Pen/Pencil Tool.
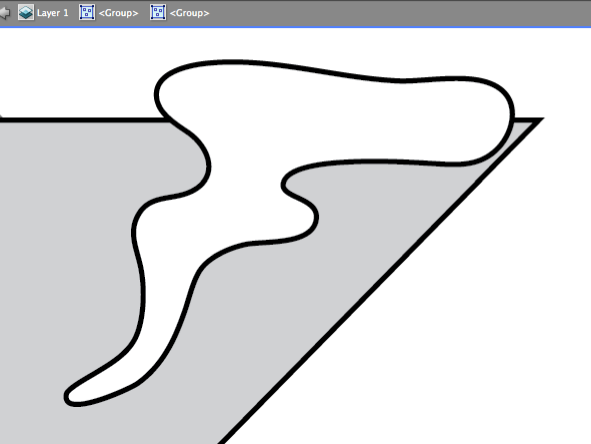
On top of the path, create lines (with no stroke or fill) that split the bottom shape into four sections. Select these elements use the Divide command in Pathfinder on them—this will cut the bottom shape into four separate closed paths.
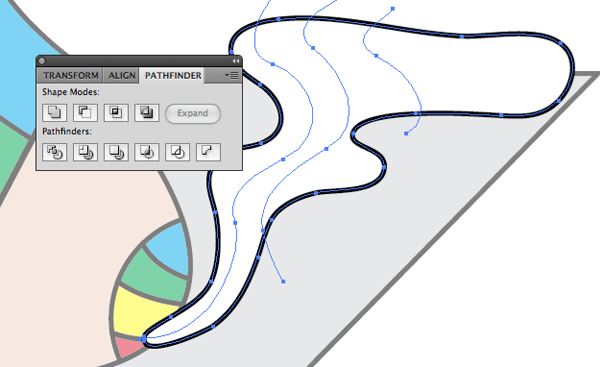
With the Direct Selection Tool, copy the base paper rectangle and paste in front of the drawn path.
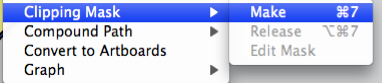
Select the drawn path and the frontal shape and make a clipping mask via Object > Clipping Mask > Make.
Select the clipping path with the Selection Tool (V) and apply the Divide command again (in Pathfinder).
Step 23: A technique for adding highlight and shadows
When adding highlights/shadow details, it’s better to keep it only as a fill.
With the Pen Tool, I created a highlight shape on the rim.
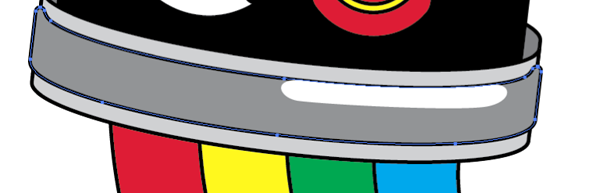
Clean up the highlight detail by copying and pasting in front of the highlight shape of the offset rim detail shape and then removing its fill.
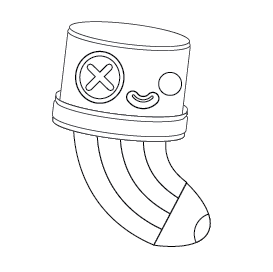
Repeat this step as desired and see your character come to life!
Tutorial Summary
In this tutorial, I have shown you different ways to illustrate a cartoon character based off a scanned-in sketch.
We applied various Pathfinder commands, shape tools, transformation commands, and other basic and non-complicated Illustrator features to create a vector character.
I hope that through this tutorial, you can see that many of Illustrator’s power lies within its basic shapes and transformation tools, and you should try to explore their potential in helping you convert your sketches to digital vector art.
Happy Illustrating! Show us your own vector drawings by adding it to the Design Instruct Flickr group pool.
Download Tutorial Source Files
- vector_pencil_character (ZIP, 0.06 MB)
-
 Trevin serves as the VP of Marketing at WebFX. He has worked on over 450 marketing campaigns and has been building websites for over 25 years. His work has been featured by Search Engine Land, USA Today, Fast Company and Inc.
 -

WebFX is a full-service marketing agency with 1,100+ client reviews and a 4.9-star rating on Clutch! Find out how our expert team and revenue-accelerating tech can drive results for you! Learn more
Make estimating web design costs easy
Website design costs can be tricky to nail down. Get an instant estimate for a custom web design with our free website design cost calculator!
Try Our Free Web Design Cost Calculator
Table of Contents
- Preview
- Step 1: Create an artboard in Illustrator
- Step 2: Place the sketch in and make it into a template
- Step 3: Create a new layer for base shapes
- Step 4: Start making base shapes
- Step 5: Elongating the cylinder
- Step 6: Making the rim detail
- Step 7: Drawing the base shape for the head
- Step 8: Combining the head and rim
- Step 9: Add details on the rim
- Step 10: Use Offset Path on the detail
- Step 11: Making the body of the character
- Step 12: Create a new Art Brush
- Step 13: Apply the new Art Brush on the character’s body
- Step 14: Apply the new Art Brush
- Step 15: Draw the pencil tip
- Step 16: Making the mouth of the character
- Step 17: Create the teeth of the character
- Step 18: Make the eyes of our character
- Step 19: Place and tweak characteristics
- Step 20: Make the paper base
- Step 21: Color in the artwork
- Step 22: Adding detail to your artwork
- Step 23: A technique for adding highlight and shadows
- Tutorial Summary
- Download Tutorial Source Files
Share this article


Web Design Calculator
Use our free tool to get a free, instant quote in under 60 seconds.
View Web Design Calculator
Make estimating web design costs easy
Website design costs can be tricky to nail down. Get an instant estimate for a custom web design with our free website design cost calculator!
Try Our Free Web Design Cost Calculator


