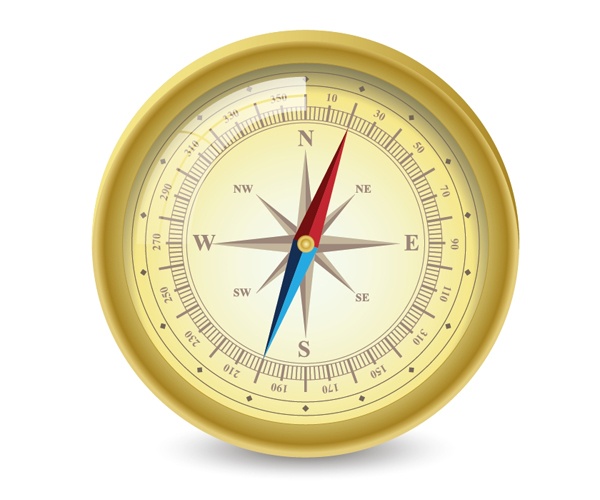
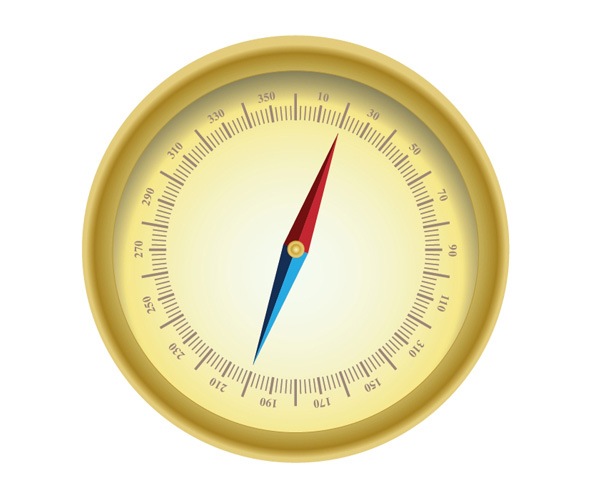
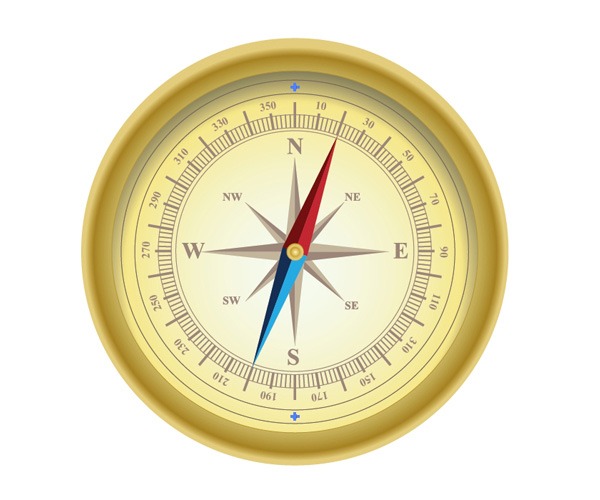
Preview
Use the Ellipse Tool (L) to create a circle.
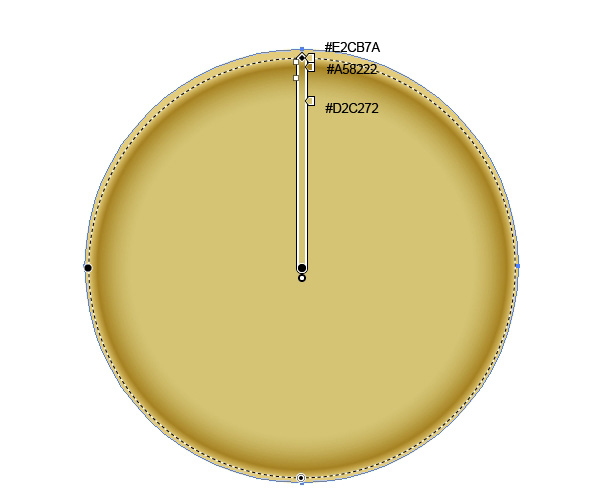
Let’s apply a radial gradient on this new circle. Since the compass is supposed to be antiquated, we need to choose the appropriate colors.
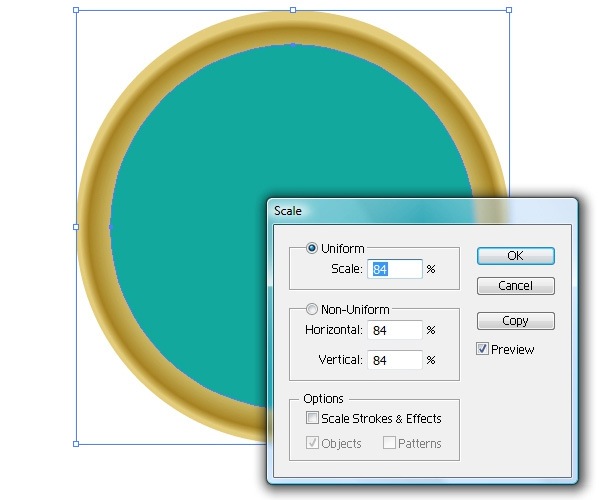
Duplicate the circle by copying it (Ctrl/Cmd + C) and then pasting in front (Ctrl/Cmd + F).
Next, go to Object > Transform > Scale.
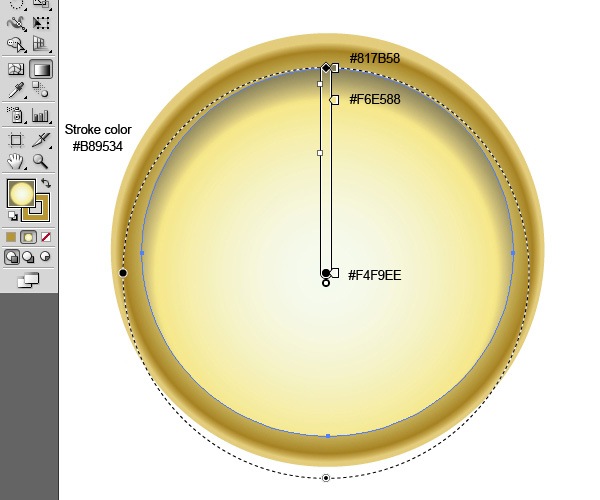
Apply the radial gradient as shown below.
Set the stroke color to #B89534.
Select the two objects and group them by pressing Ctrl/Cmd + G.
Step 2: Creating the Compass Increments
To create the increments on the compass’s face, we have to decide how many increments we need, and then we have to calculate the rotation angle for the increments so that our work is precise.
Let’s decide that we’ll be creating three different increments.
The first and biggest set of increments will be 20o per increment starting at 0o, 20o, 40o, 60o, and so. That means we need 18 increments to make a full rotation (360o / 18 = 20o increments).
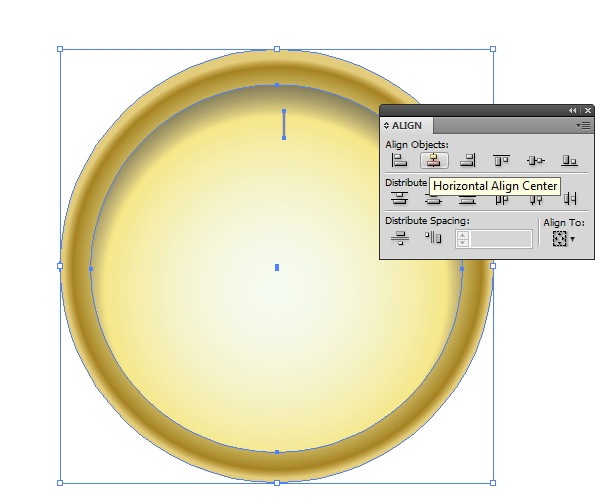
Grab the Line Tool (/) from the Tools Panel and create a small vertical line. Align it with the housing using the Horizontal Align Center button under the Align Panel.
Hold down Alt/Opt + Shift, then click and drag the line downwards.
Alt/Option creates a duplicate of the object being dragged and Shift constraints the movement vertically.
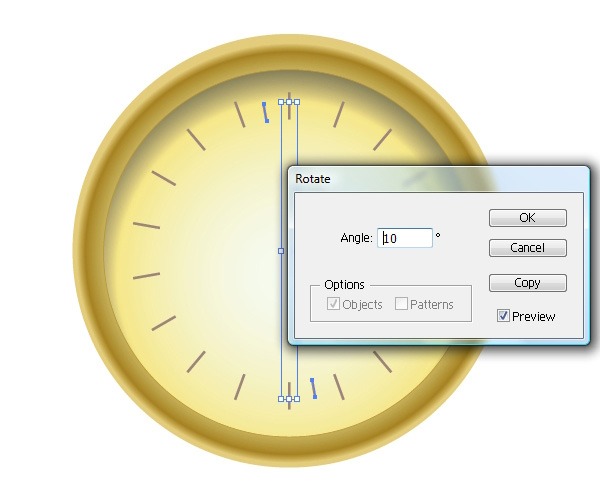
Select both lines and then group them (Ctrl/Cmd + G). Then go to Object > Transform > Rotate. Set the Angle to 20o (as we’ve calculated).
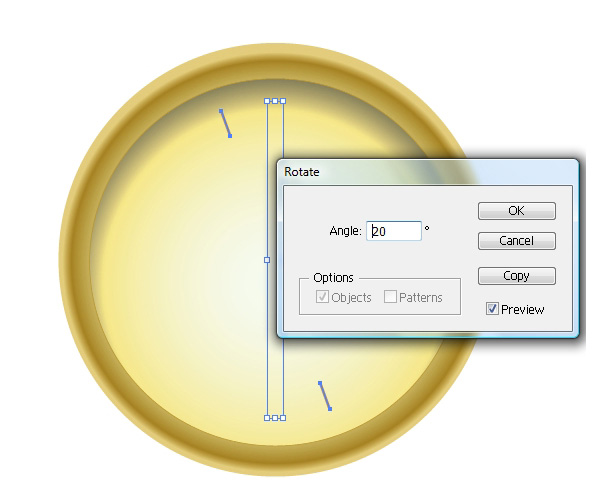
Hit the Copy button in the Rotate dialog window, which will create a copy of the two lines, rotated by 20o.
You should have 4 lines after this.
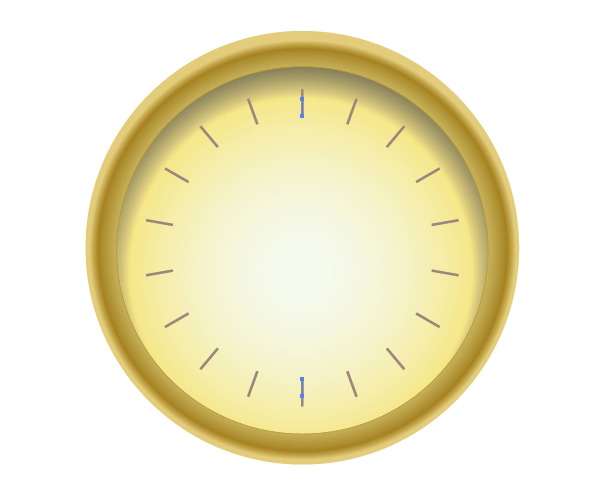
Repeat the rotate transformation by going to Transform > Transform Again (or press Ctrl/Cmd + D) until we complete the entire circle.

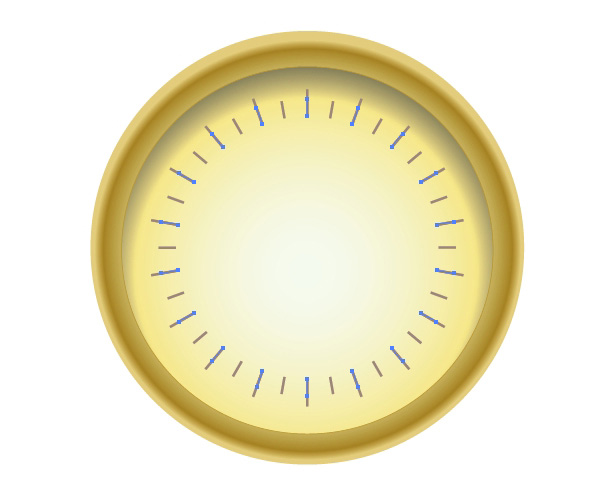
Now let’s make a new set of smaller increments at 10o increments. This time, we’ll need to create 36 increments (360o / 36 = 10o increments).
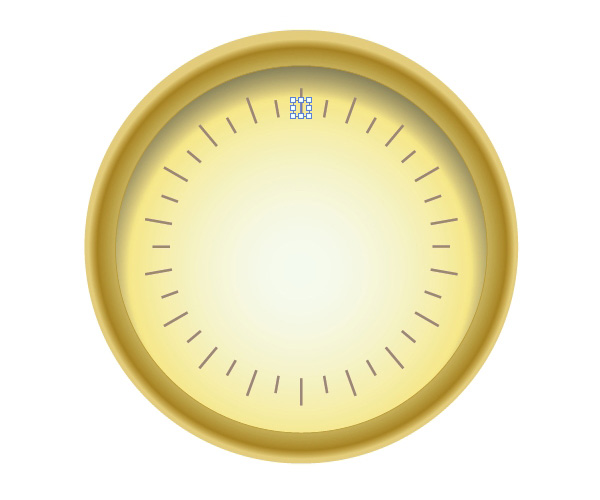
To start, ungroup the first pair of lines we’ve made by selecting their group and then pressing Ctrl/Cmd + Shift + G (shortcut for Object > Ungroup).
Duplicate the top line and scale it down to about 1/3 of its length. Hold down Alt/Opt + Shift, then click and drag the line downwards to duplicate it.
Group the two lines by pressing Ctrl/Cmd + G while they’re both selected.
Then choose Object > Transform > Rotate, setting the Angle to 10o.
Hit the Copy button to create a copy of the two lines rotated by 10o. Press Ctrl/Cmd + D until you’ve completed the entire circle.
Some of the smaller increments are going to overlap the bigger ones. Select all of the lines that overlap with the bigger increments, and then press Delete to remove them.
Now we need even smaller increments.
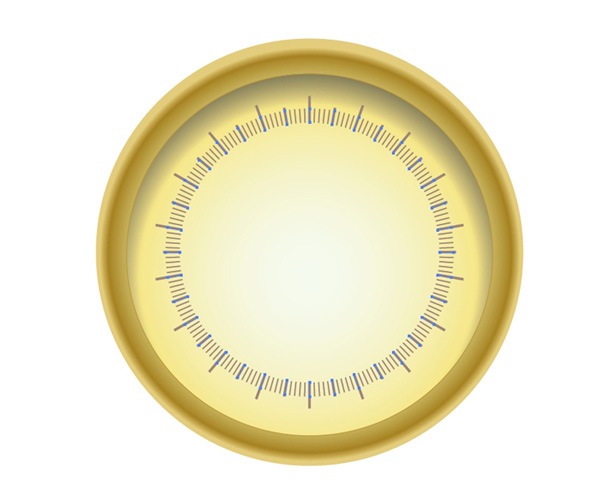
We will create a set of 2o increments. This set of increments will be a bit thinner than the bigger increments. We need 180 of these smaller increments (360o/180 = 2o increments).
Let’s duplicate the biggest increment.
We will have to scale it down even more and change the value for the stroke width to 0.5.
To create them, simply repeat the process we used for the other two sets of increments.
Don’t forget to remove overlapping increments.
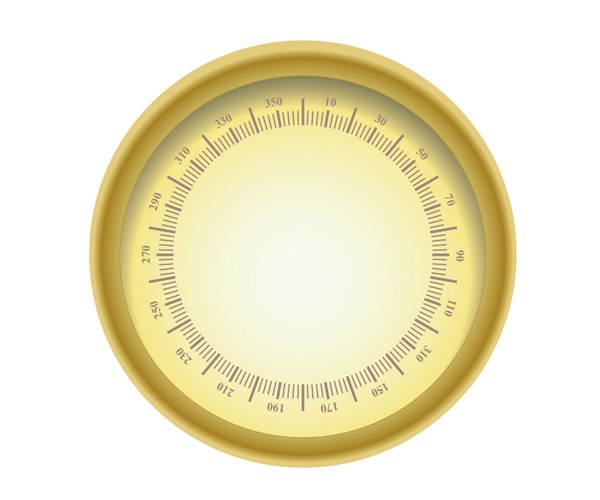
Step 3: Creating Numbers
Let’s create some numbers on the compass face to denote the degrees. We will just create numbers for 10o, 30o, 50o, and so on.
Select the inner circle of the compass housing and then duplicate it. Scale the copy down and remove its Fill and Stroke color.

Grab the Type on a Path Tool from the Tools Panel and click on the circle’s path.
Type the numbers for the medium-sized increments (10o, 30o, etc). Choose a nice font that complements our antiqued, old-world theme; I’ve used Times New Roman.
Step 4: Creating the Compass Needle
Now we need the needle for our compass. It will have a red and blue color scheme.
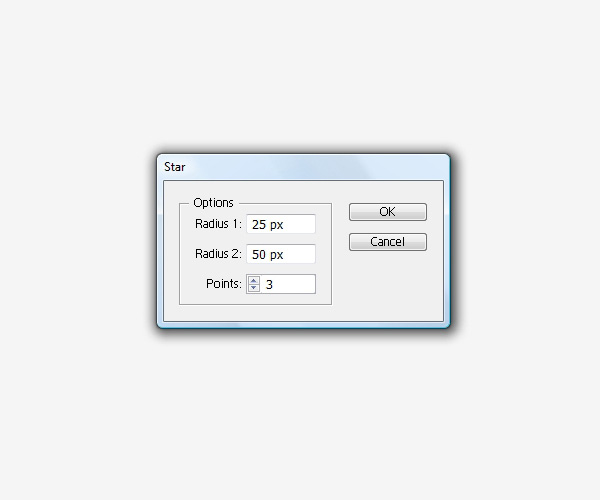
We’ll be using the Star Tool to draw the initial shape.
Grab it and click somewhere on the artboard to bring up the Star dialog window. Set Points to 3 (which will create a triangle) and press OK.
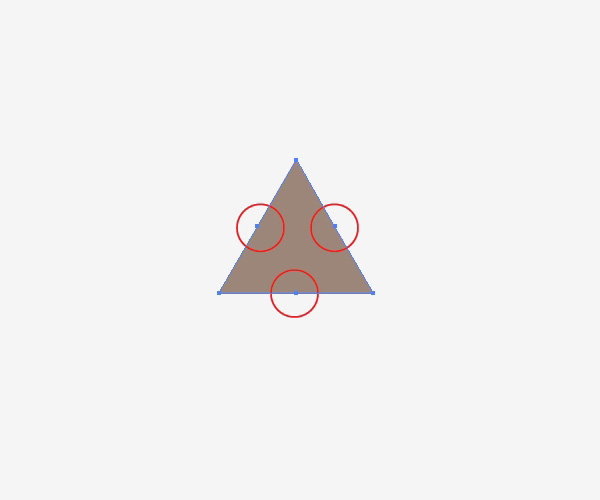
Use the Delete Anchor Point Tool (-) to remove the middle anchor points of the triangle.
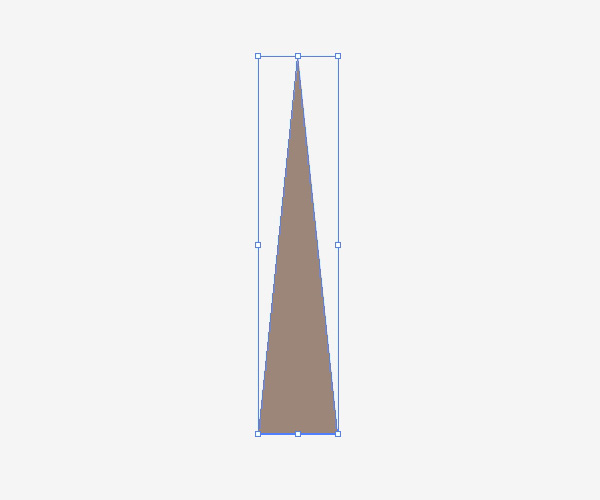
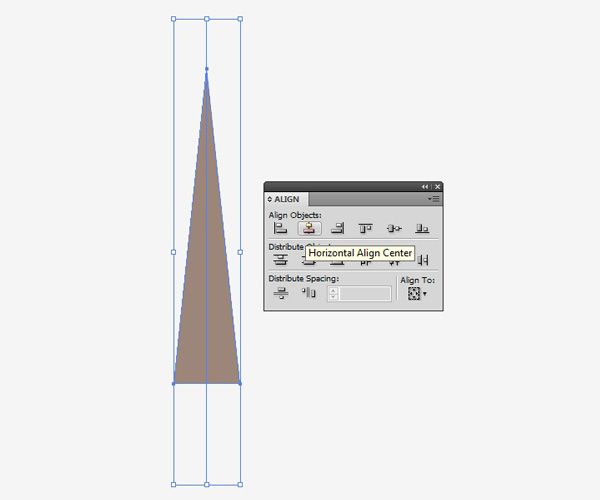
Select the Direct Selection Tool (A), click the top anchor point of the triangle to select it, and, while holding Shift to constrain the adjustment, drag the anchor upwards.
Take the Line Tool (/) and draw a vertical line. Align it with the triangle using the Horizontal Align Center button in the Align Panel.
Hit the Divide button in the Pathfinder Panel to split the needle in half.
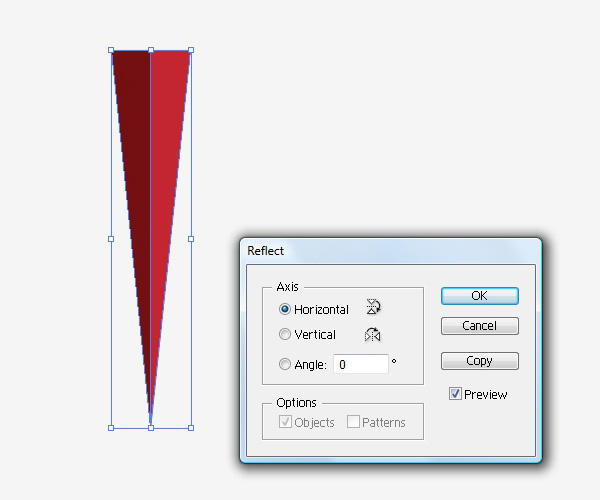
Ungroup the resultant shape. Set the Fill color for the left part to dark red and for the right part, set the Fill color to light red.

Select both parts and go to Object > Transform > Reflect. Select Horizontal Reflect from the dialog window, and then hit the Copy button.
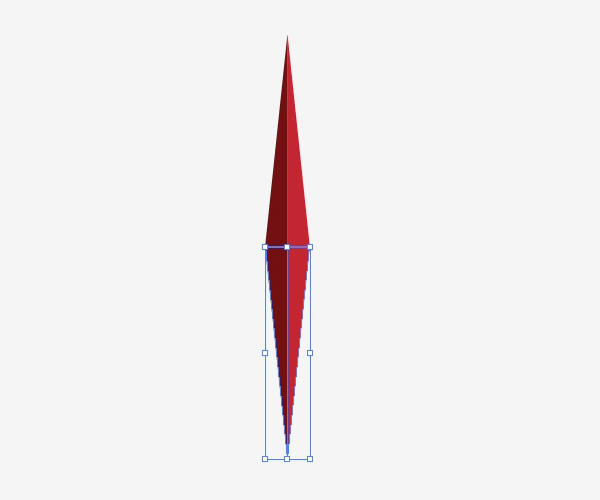
Select both parts, hold down Alt/Option + Shift, then drag downwards to create a copy.
Change the Fill color of the copies to dark blue (left) and light blue (right).

Group all the parts of the needles and then scale the group to fit the compass.
Rotate it a little bit and place it in the middle of the compass.
Duplicate the needles and just move it outside of the artboard as we will use this copy later on.
Step 5: Create the Needle Holder
Next, we will create the piece that holds down the needles; it will be placed right at the center of the needles. With the Ellipse Tool (L), create two small circles on top of each other. Apply the same radial gradient we used for the compass’s housing.
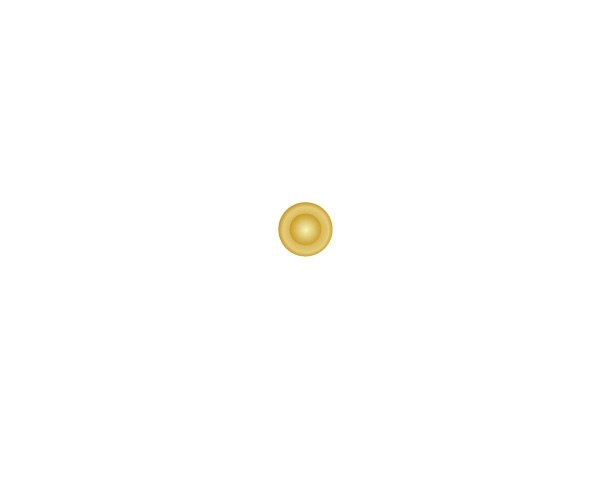
Place it at the center of the needles.
Step 6: Create the Compass Rose
Let’s create a compass rose (also known as a wind rose).
Use the copy of the needle we created earlier as a starting point.
First, we will remove the lower part of the needle.

Let’s change the Fill colors of the parts. The colors I have used are #9B8579 and #C2B59B.
Select the Direct Selection Tool (A) from the Tools Panel and select the two anchor points at the bottom center of the object.
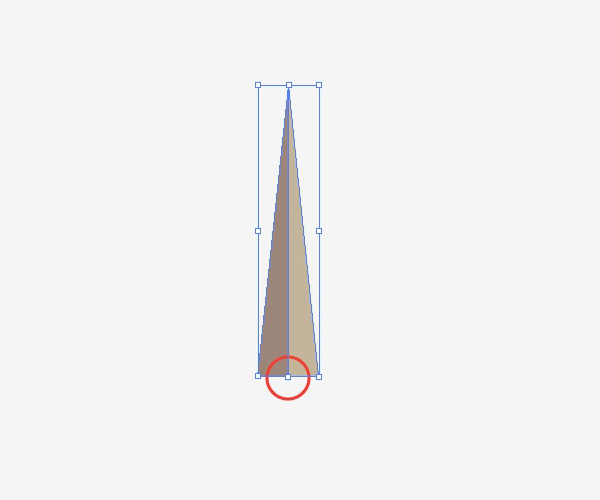
Hold down Shift, then click and drag the anchor points downwards.
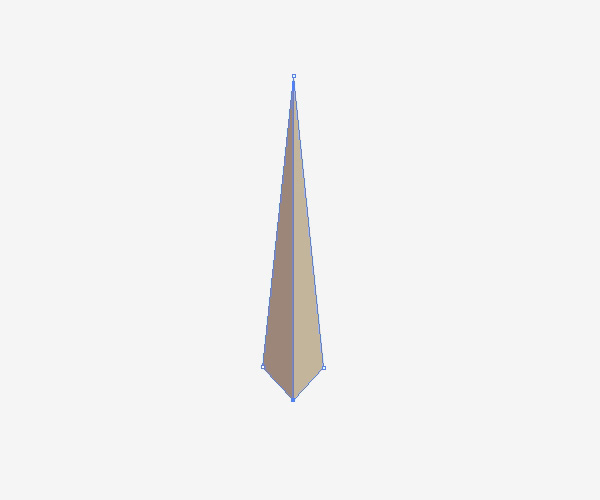
Go to Object > Transform > Reflect, choose Horizontal for the Axis option and then hit the Copy button.
Hold down Alt/Option + Shift and then drag the copy downwards.

Select both of the objects and group them (Ctrl/Cmd + G). Go Object > Transform > Rotate, set Angle to 90o, then press Copy.

Select all the objects and group them (Ctrl/Cmd + G).
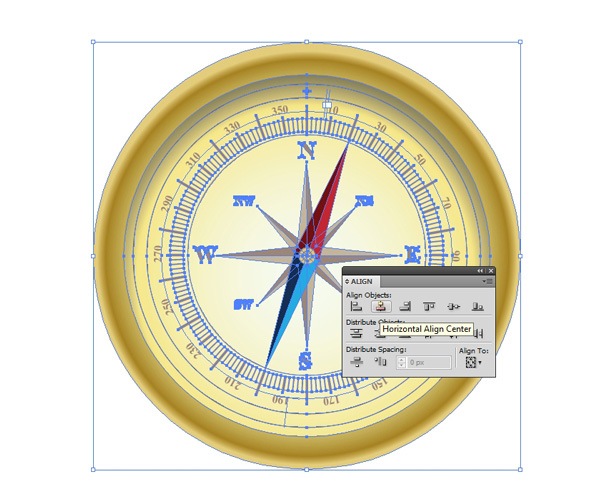
Duplicate the group and rotate the duplicate by 45o and also scale it down. Then, place it under the needle.
We also need to add N, S, E, and W markings on our compass rose. Duplicate the inner circle of the compass housing a few times, remove the Fill color and add a Stroke color.
Scale down each copy differently.

Group all elements we’ve created so far (Ctrl/Cmd + G).
Step 7: Create a Diamond-like Pattern around the Compass Face
Grab the Rectangle Tool (M) and create a tiny rectangle. Rotate it by 45o and place it on the compass. Align the rectangle with the compass using the Horizontal Align Center button under the Align Panel.
Hold down Alt/Opt and then click-and-drag the rectangle downwards.
Go to Object > Transform > Rotate.
Set the Angle to 20o. Repeat the rotate transformation by pressing Ctrl/Cmd + D until we complete the whole circle.
Step 8: Creating a Glass Reflection
Every compass needs a glass cover. To simulate that look, we have to create a window reflection.
Duplicate the inner circle of the compass and scale it down a bit.
Bring it to the top of the layer stack by going to Object > Arrange > Bring to Front.

Using the Direct Selection Tool (A), remove the anchor points that are highlighted below.
Take the Pen Tool (P) and draw the shape shown below.
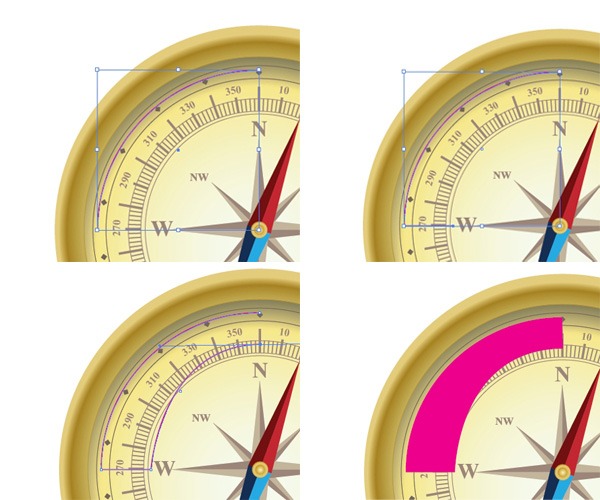
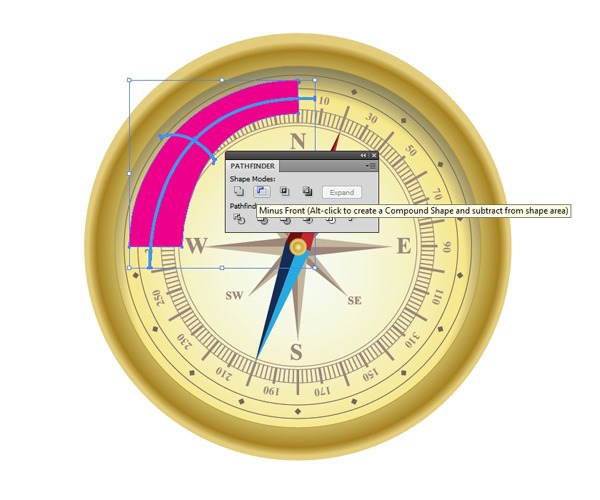
Next, use the Pen Tool to draw two curved paths across the pink object we drew just previously.
Select both paths and choose Object > Expand. Hold Shift and click on the pink object to select it and the paths, then in the Pathfinder Panel, hit the Minus Front button.
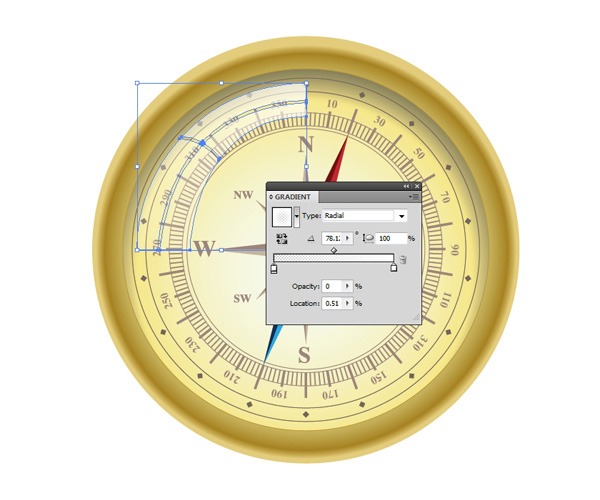
Change the Fill of the resultant object to a radial gradient (transparent-to-white).
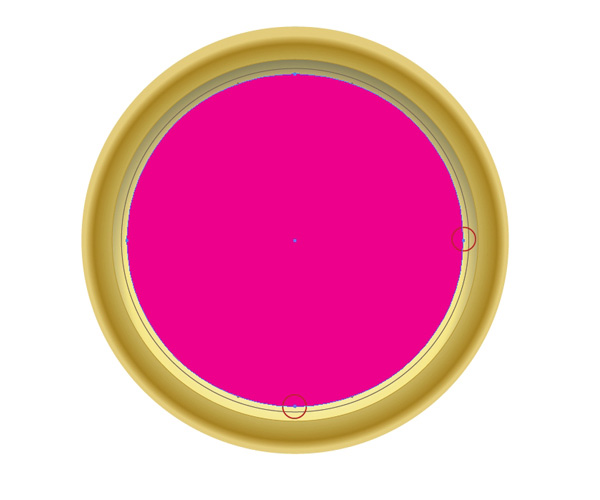
Step 9: Add a Light Reflection on the Metal Housing
There is one more thing we can do to get the details right. Duplicate the biggest circle twice.
Move one of the copies downwards.
With both copies selected, click on the Minus Front button in the Pathfinder Panel.
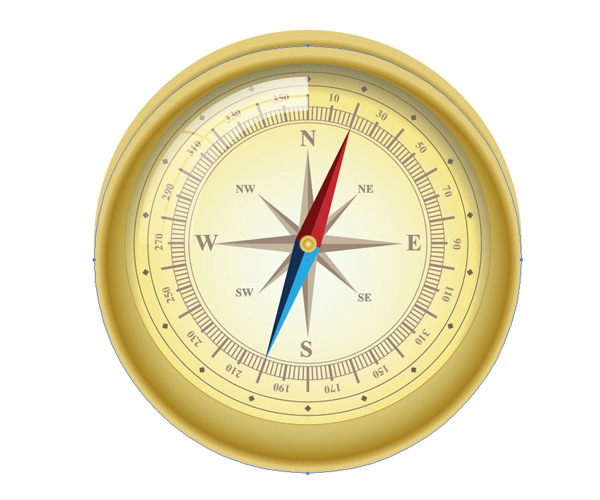
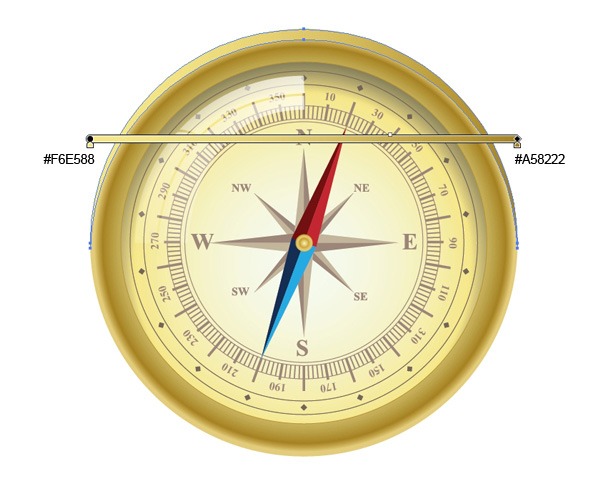
Apply the linear gradient shown below to simulate a light reflection on the metal housing.
Tutorial Summary
And we are done! We created a seemingly complex vector illustration using simple techniques and tools that even those just starting out with Illustrator can do. Experiment with the final result by using different gradients, colors and shapes.
Here’s a challenge: Try to create a silver/stainless steel version of the compass (and then post your work in the comments below).
I hope you had fun with this tutorial as much as I’ve had creating it for you.
Thank you!
compass_illustrator (ZIP, 0.99 MB)
-
 Trevin serves as the VP of Marketing at WebFX. He has worked on over 450 marketing campaigns and has been building websites for over 25 years. His work has been featured by Search Engine Land, USA Today, Fast Company and Inc.
 -

WebFX is a full-service marketing agency with 1,100+ client reviews and a 4.9-star rating on Clutch! Find out how our expert team and revenue-accelerating tech can drive results for you! Learn more
Make estimating web design costs easy
Website design costs can be tricky to nail down. Get an instant estimate for a custom web design with our free website design cost calculator!
Try Our Free Web Design Cost Calculator
Table of Contents
- Preview
- Step 2: Creating the Compass Increments
- Step 3: Creating Numbers
- Step 4: Creating the Compass Needle
- Step 5: Create the Needle Holder
- Step 6: Create the Compass Rose
- Step 7: Create a Diamond-like Pattern around the Compass Face
- Step 8: Creating a Glass Reflection
- Step 9: Add a Light Reflection on the Metal Housing
- Tutorial Summary
Share this article


Web Design Calculator
Use our free tool to get a free, instant quote in under 60 seconds.
View Web Design Calculator
Make estimating web design costs easy
Website design costs can be tricky to nail down. Get an instant estimate for a custom web design with our free website design cost calculator!
Try Our Free Web Design Cost Calculator