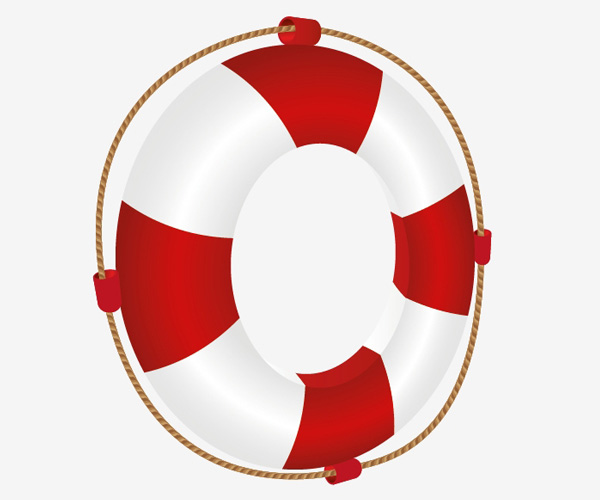
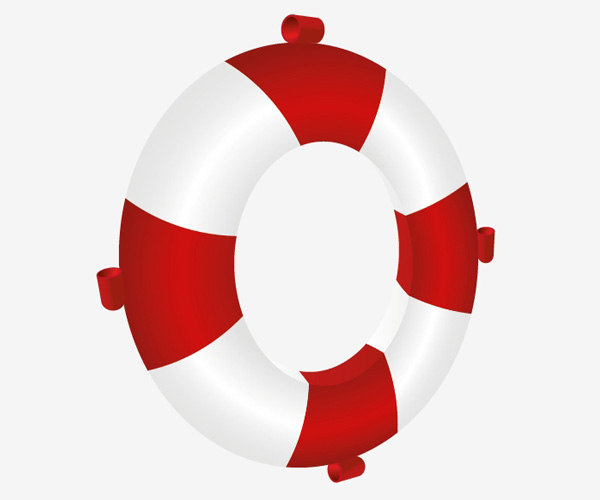
Preview
Step 1: Creating the Illustrator Artboard
We will start by setting up our Illustrator document. It should be 500x500px in size. 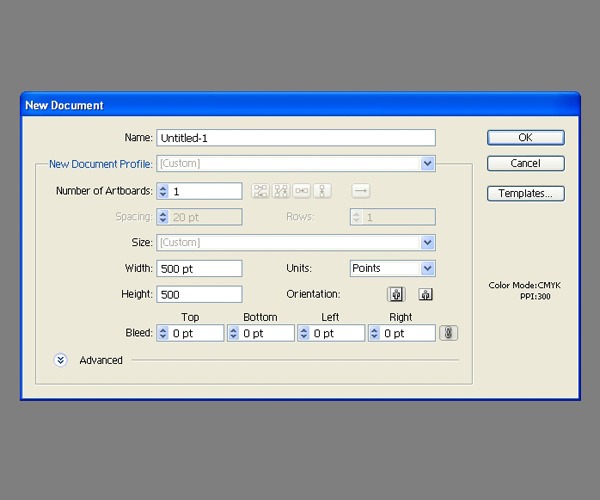
Step 2: Creating the Shape of the Lifesaver
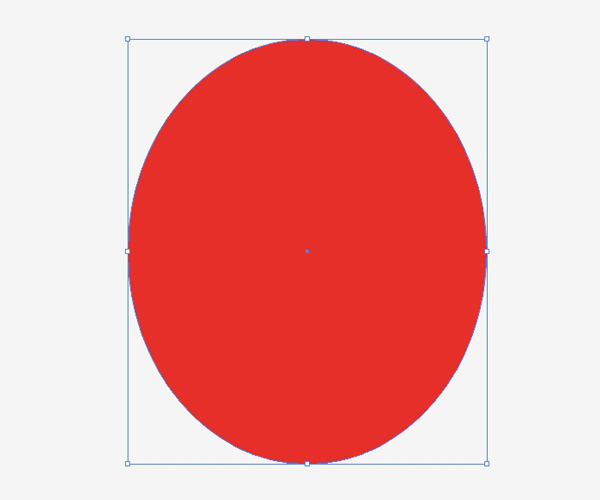
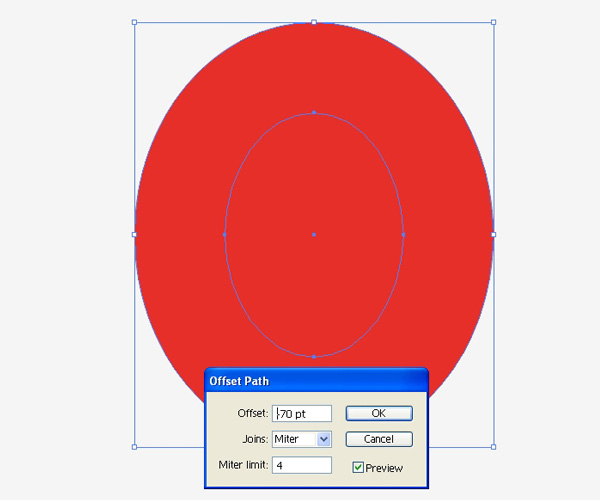
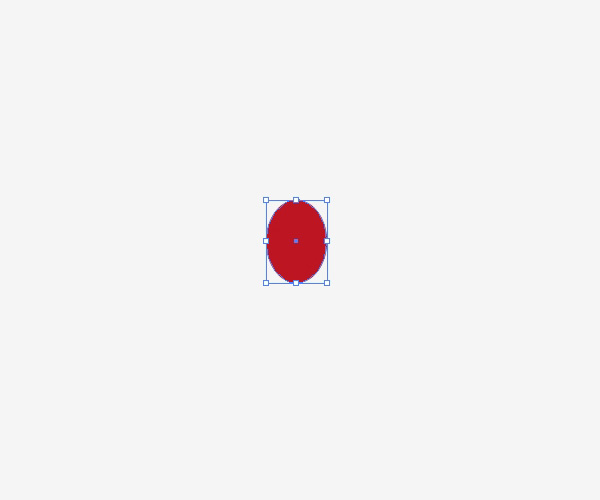
Grab the Ellipse Tool (L) from the Tools Panel and create the ellipse shown below.
 Let’s make a hole in the ellipse. Select it with the Selection Tool (V) and then go to Object > Path > Offset Path. Set the value for Offset to -70pt.
 Since we are observing the lifesaver from a specific angle, we have to make sure that we create the proper perspective for our illustration. Select the smaller ellipse we’ve just created and move it a little bit towards the right side.
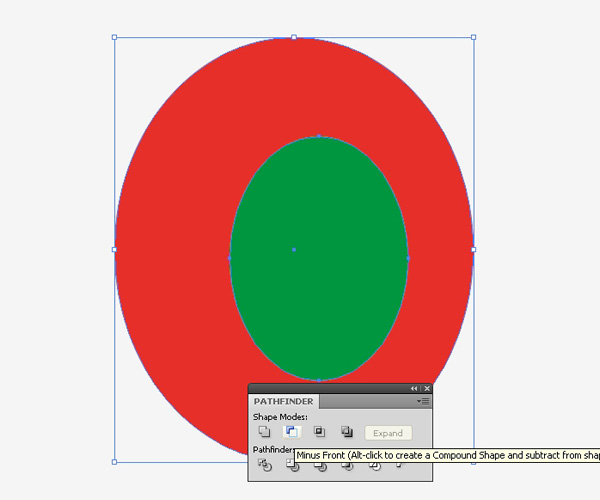
 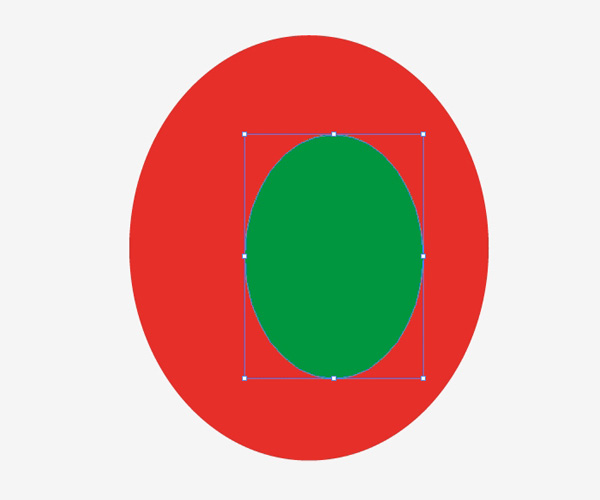 Select both ellipses and then, in the Pathfinder Panel, hit the Minus Front button to create the hole.
 The next thing we have to create is the back side of the lifesaver. The viewer will be observing the lifesaver from the left side, so that means they will be able to see a little bit of the back side of the lifesaver as well. To start, duplicate our ellipse shape by copying it (Ctrl/Cmd + C) and then pasting it in front (Ctrl/Cmd + F).
Select the duplicate and move it leftward and upward. 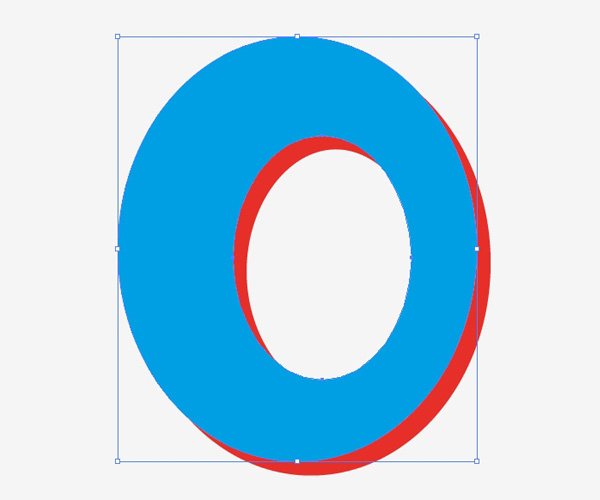 Now we need to remove an area of the copy we’ve just created. Select the Rectangle Tool (M) and then create a rectangle (as shown below).
 Select the rectangle and the blue ring, then press the Minus Front button in the Pathfinder Panel.
 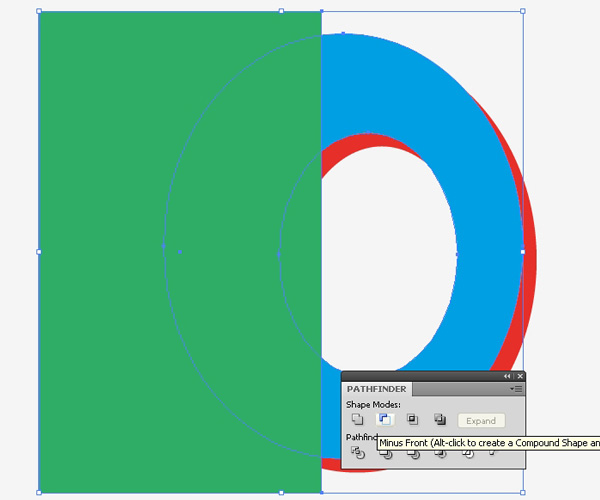 We have to repeat the process for the upper part of the lifesaver. To see how much of the blue ring you have to remove, send it behind the red ring (Ctrl/Cmd + [).
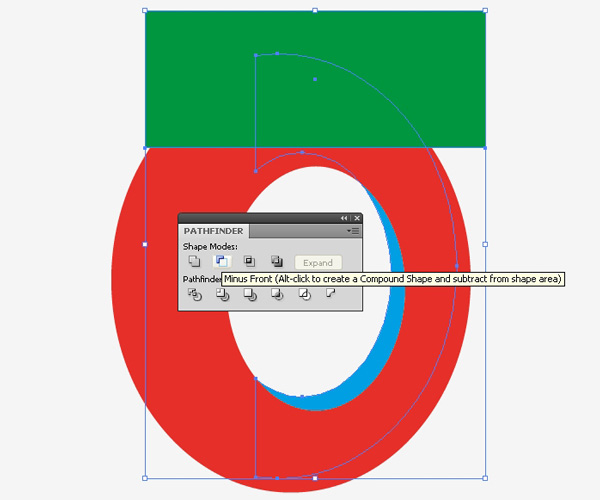
 Let’s remove the top of the blue shape. Grab the Rectangle Tool and create another rectangle. Select the rectangle and the blue ring and then press the Minus Front button in the Pathfinder Panel.
 You should end up with something like this:
Step 3: Dividing the Lifesaver
Now it’s time to divide the lifesaver into smaller parts. We need to create four red and four white parts. Later we will apply color gradients to these parts.
To divide the lifesaver into eight sections, we will use the Arc Tool. Just create a curved path with the Arc Tool as shown below. 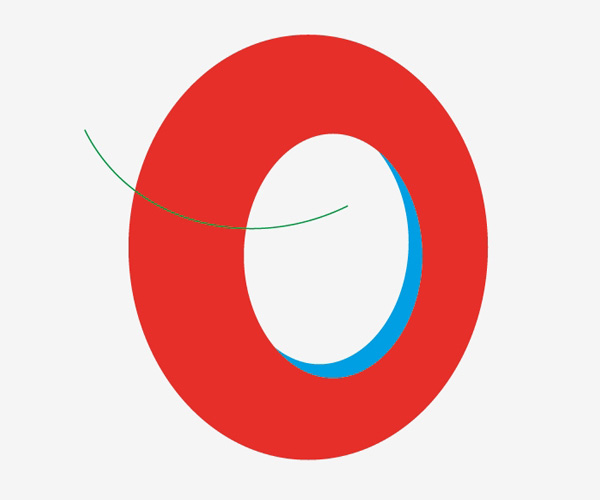 Continue making curved paths until you have all of the paths we’ll need to divide out the lifesaver into eight parts.
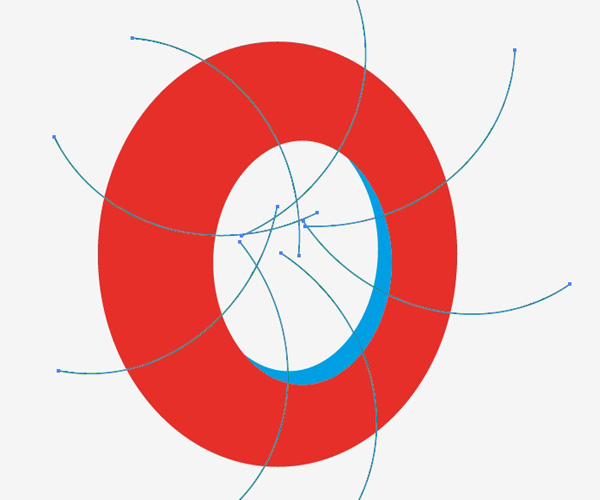 Group the curved paths together (Ctrl/Cmd + G) and, while holding Shift, select the red ring of the lifesaver as well. Afterwards, press the Minus Front button in the Pathfinder Panel.
 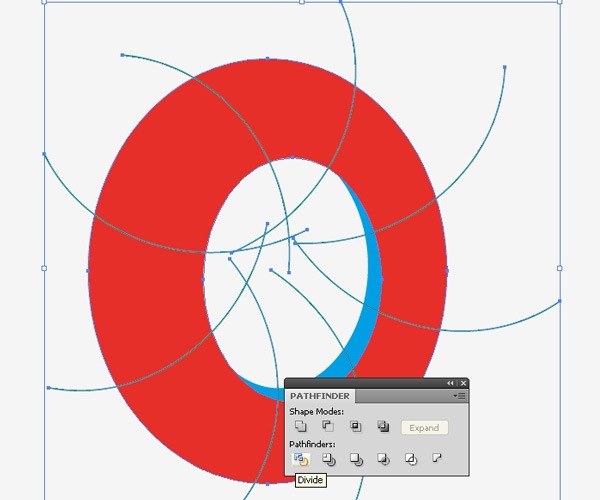 Ungroup the shape (Shift + Ctrl/Cmd + G).
Select all the parts from the middle part of the ring and delete them. 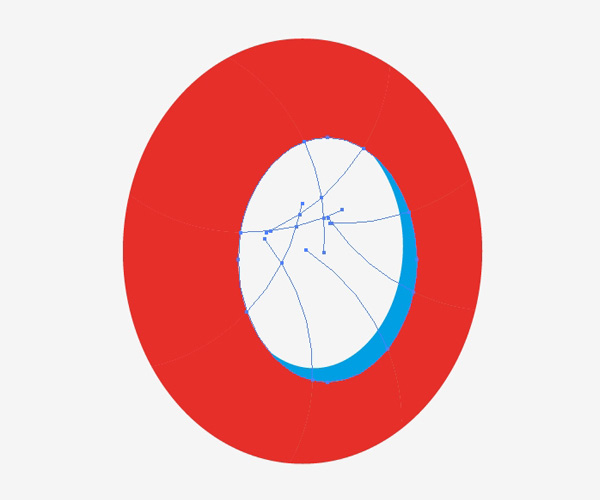
Step 4: Applying Color Gradients
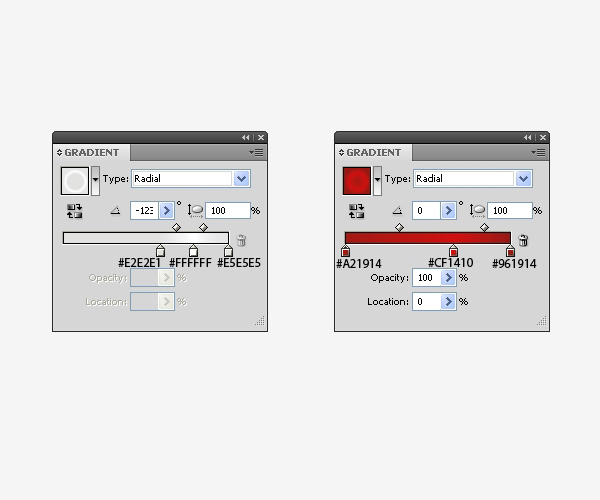
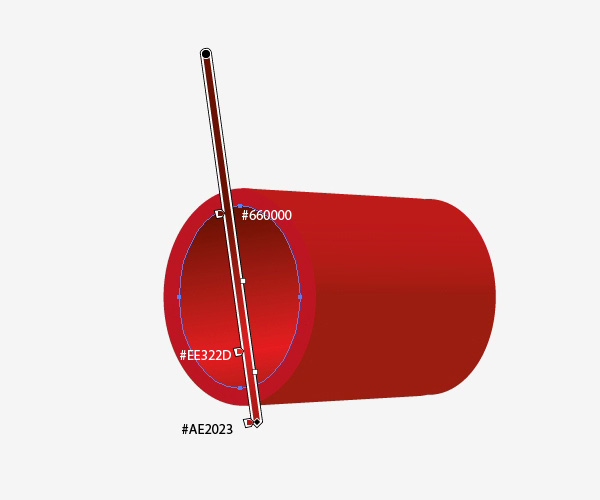
We’ll try to simulate a plastic surface appearance for our lifesaver by using color gradients. For this step, we’ll be using radial gradients with three colors.

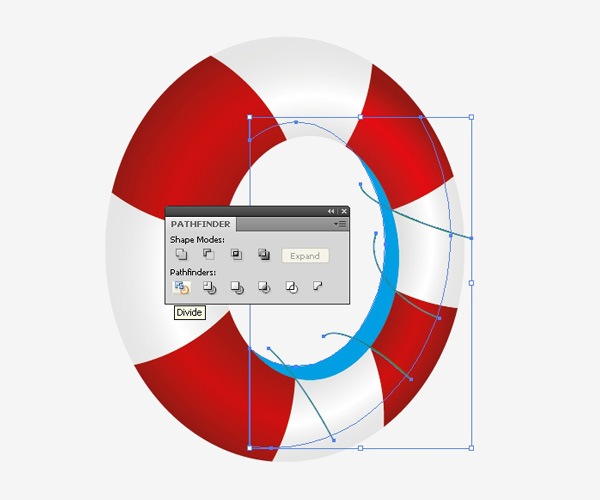
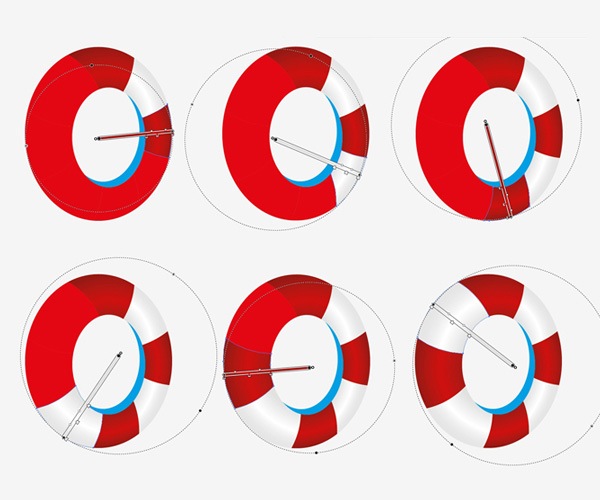 We have to do the same thing for the back side of the lifesaver. Grab the Arc Tool again and create curved paths for it. Select those paths and the blue part of the lifesaver and then press the Divide button in the Pathfinder Panel, just like we did for the front side of the lifesaver.
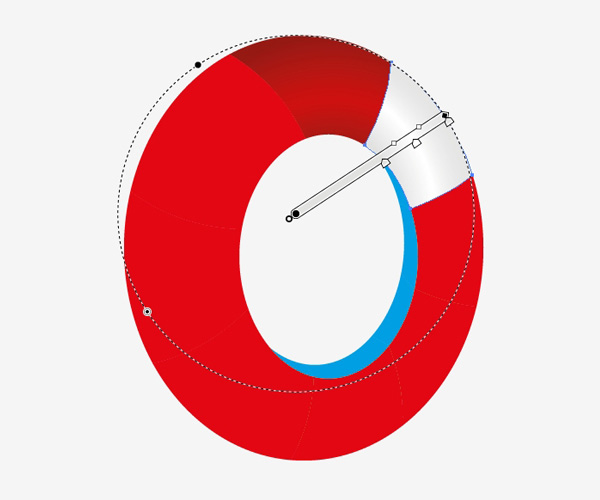
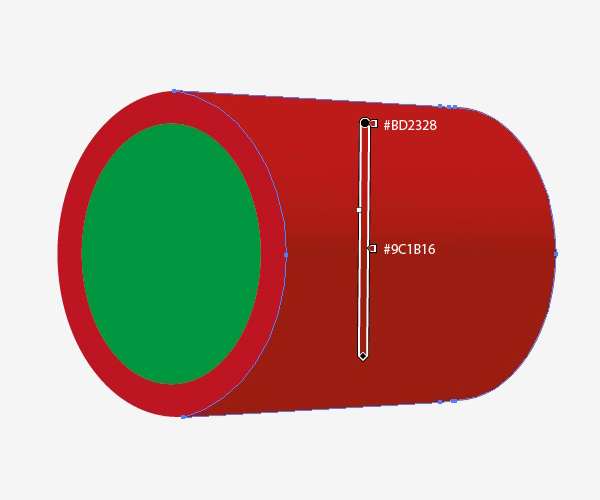
 Ungroup the shape we’ve just created and apply linear gradients to each part.
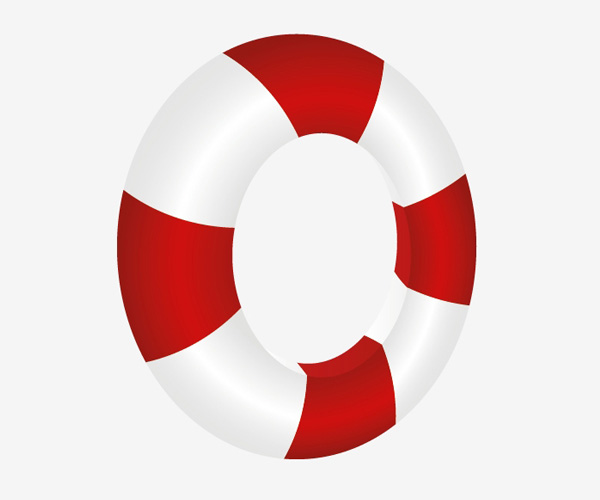
Step 5: Creating the Rope Holders
Next, we will create rings that will hold the rope that we’ll make later on around the lifesaver. Use the Ellipse Tool (L) to make a small ellipse.
 Go to Object Path > Offset Path. Set the value for the Offset to -5.
 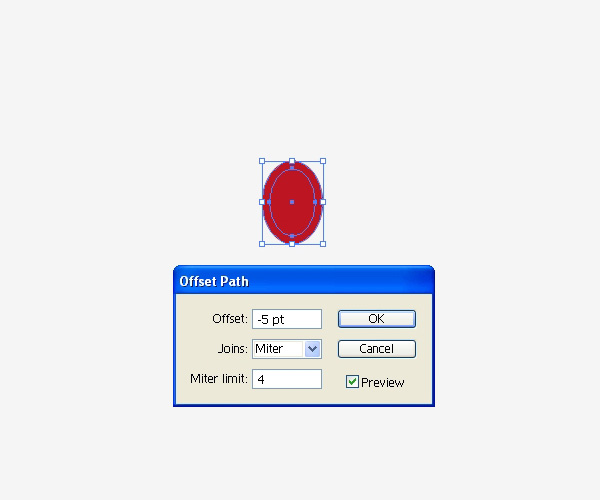 Use the Rounded Rectangle Tool to create a rounded rectangle that matches up with the ellipse. Send the rounded rectangle back behind the ellipse (Shift + Ctrl/Cmd + [).
 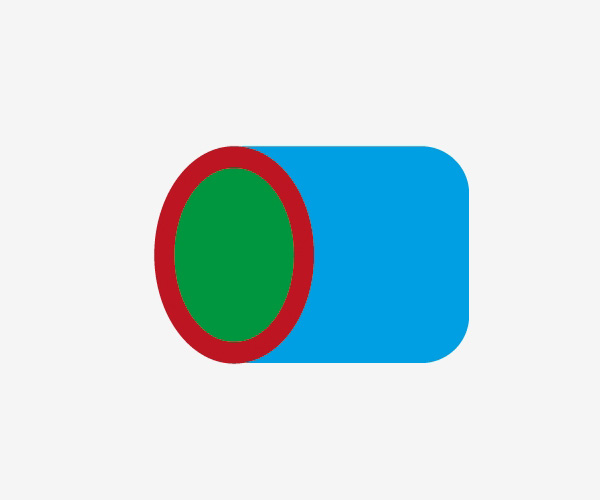 To be consistent with the orientation of the lifesaver, we have to use Envelope Distort on the rope holder.
Select the blue rounded rectangle and then go to Object > Envelope Distort > Make with Warp. 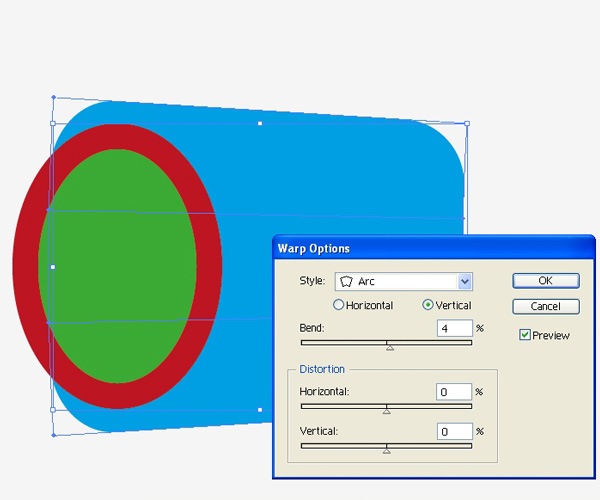 We have to perform some adjustments until we are satisfied with the result. Try scaling up and down and adjusting anchor points until you get something like this:
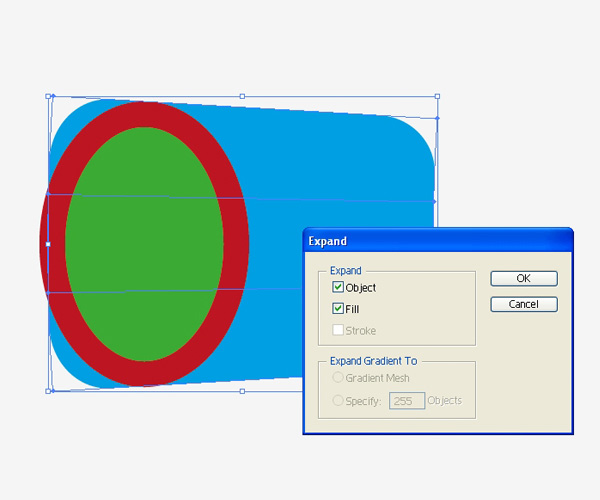
 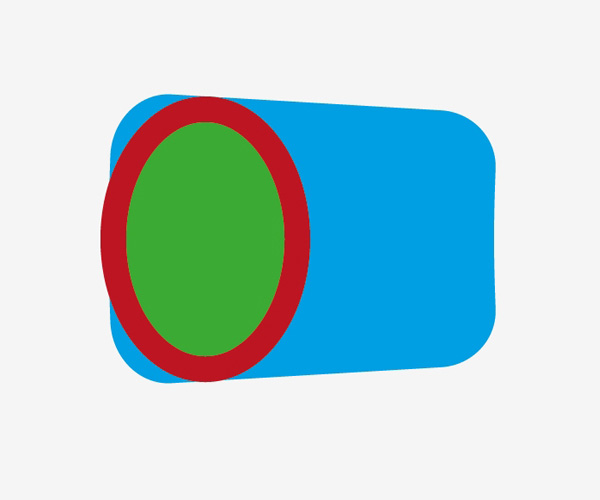 Once done, go to Object > Expand so that we can make further edits on the rounded rectangle.
 Duplicate the red ellipse. Select the duplicate copy and the blue rectangle, and then press the Minus Front button in the Pathfinder Panel.
 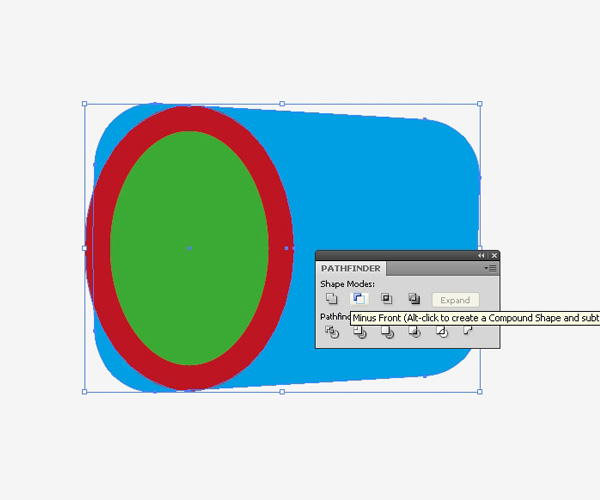 Ungroup (Shift + Ctrl/Cmd + G) the new shape and delete the parts we don’t need.
Create a copy of the smaller ellipse, move it to the right, and then adjust its position to match up with the right side of the rounded rectangle. 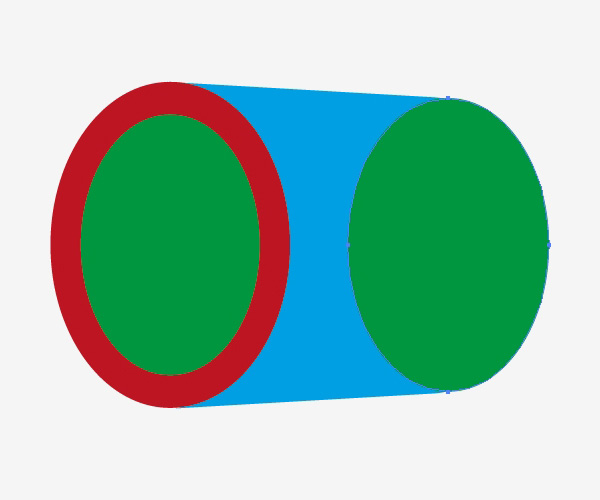 Select the rounded rectangle and the ellipse, then, in the Pathfinder Panel, hit the Unite button.
 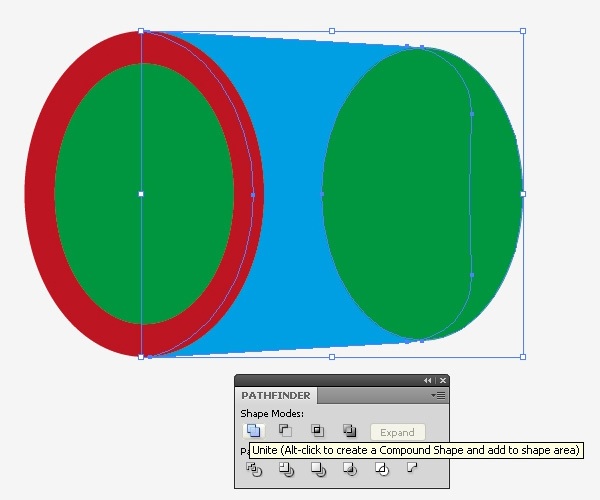 You should end up with something like this:
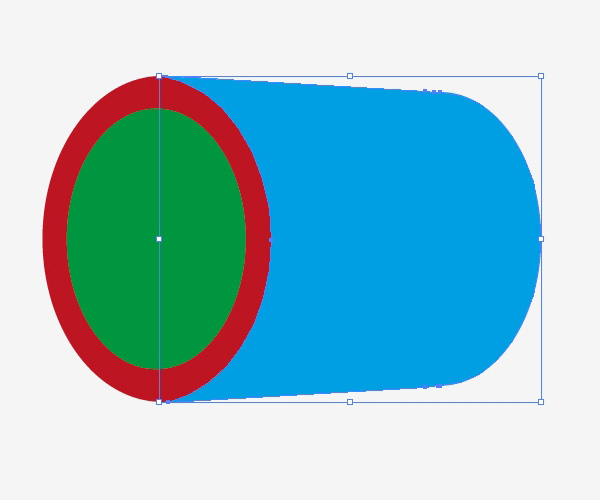
Step 6: Applying Gradients to the Rope Holder
Now it’s time to apply gradients to the rope holder.
 Place the rope holder at the top of the lifesaver.
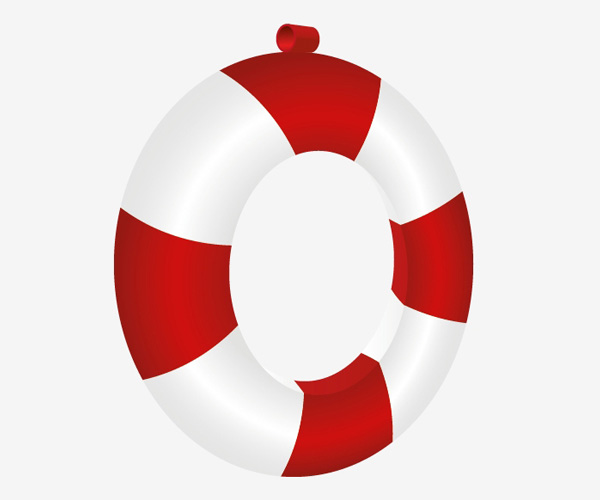
Step 7: Create More Rope Holders
Make three copies of the rope holder and place them all around the lifesaver. Change the size and the angle of the rope holders as needed; place them in the same perspective as the lifesaver.
Step 8: Creating the Rope
In order to make a rope around the lifesaver, we have to create an art brush. First, we’ll create a shape that will be the basis of our art brush. Use the Pen Tool (P) to draw the shape below.
Set the Fill color to a light tan brown (#CA9E67).  Duplicate the shape, move the duplicate copy to the right, and then change its Fill color to a slightly darker brown (#B17F4A).
 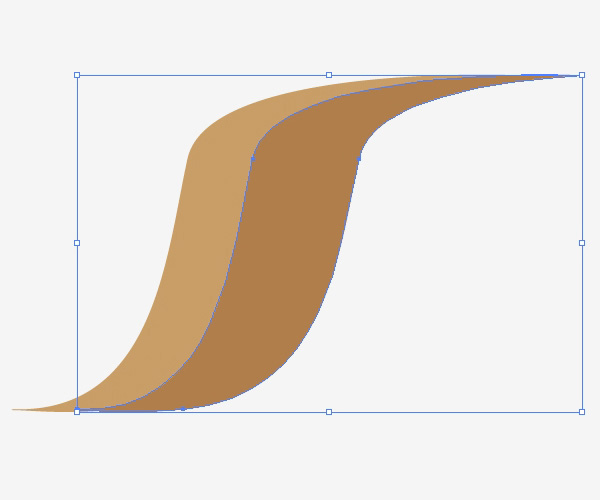 Repeat the previous process, but this time, set the Fill color to an even darker brown ( #936037).
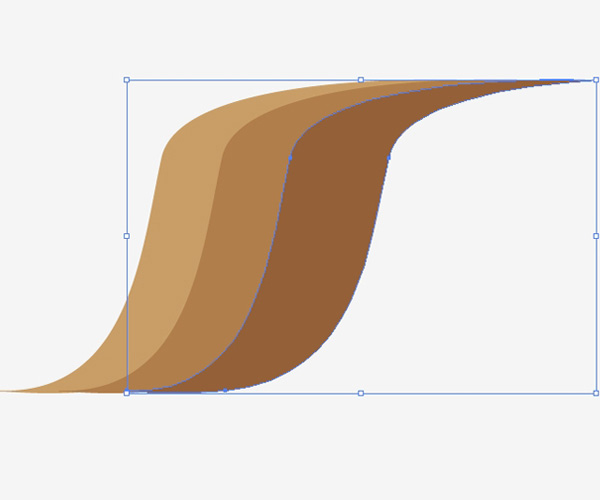 Select all three shapes and group them (Ctrl/Cmd + G). Duplicate the group and then move the copy to the right.
  Duplicate the group until you end up with a long rope.
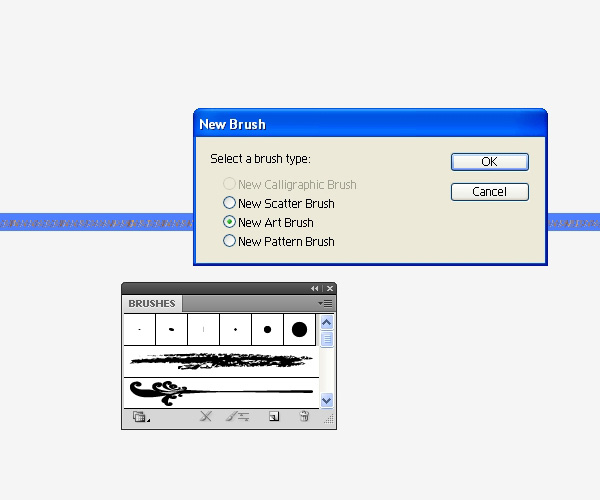
 Grab the rope and then drag it into the Brushes Panel (Window > Brushes). When you drop the rope in the Brushes Panel, the New Brush dialog window will appear. In the dialog window, choose the New Art Brush option.
 Use the Pen Tool to draw a path around the lifesaver. Make sure that the path is overlapping the rope holders.
 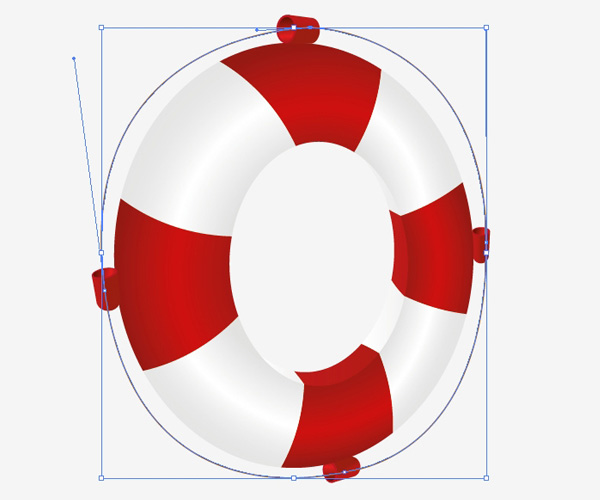 Apply the brush we’ve just created and adjust the anchor points of the path (if needed).
You should end up with something like this: 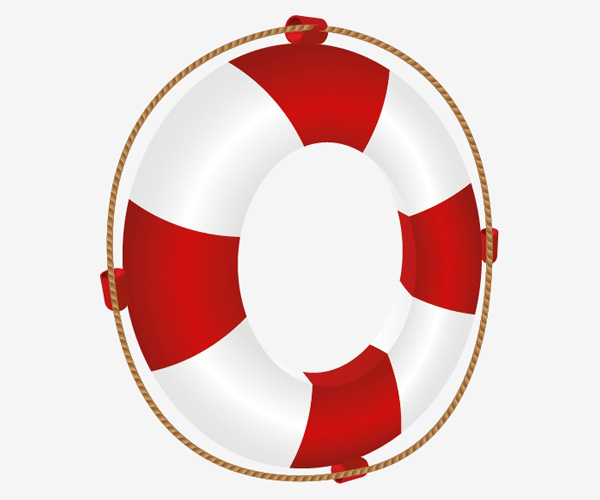 Now we have to hide parts of the rope that are by the rope holders to make it look like it’s going through them. This is quite simple to achieve. Select the larger ellipse and the body of the rope holder.
Duplicate them both. Press the Unite button in the Pathfinder Panel. Now, duplicate the smaller ellipse.
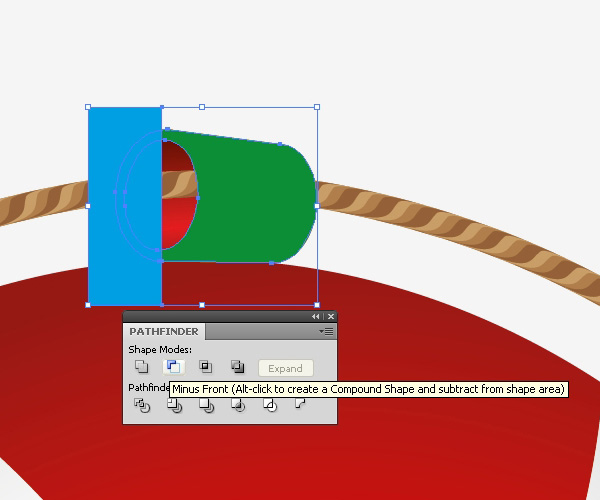
Select the shape and the copy we’ve just made and then press the Minus Front button in the Pathfinder Panel. You should end up with something like this: 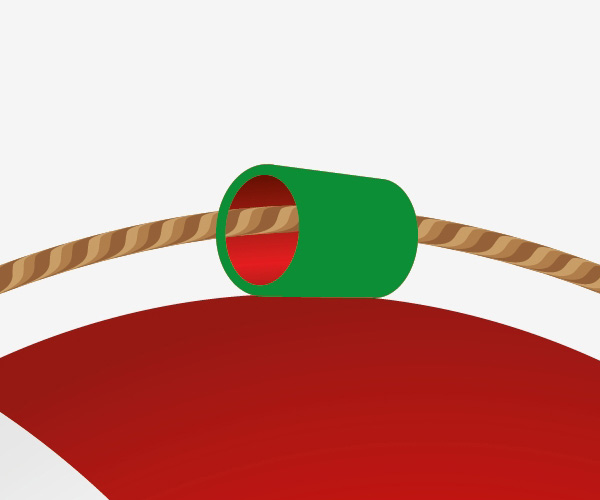 Grab the Rectangle Tool (M) from the Tools Panel and create the rectangle shown below. Select both shapes (the green one and the blue one ) and, under the Pathfinder Panel, hit the Minus Front button.
 All we have to do now is apply the linear gradient to the new shape.
 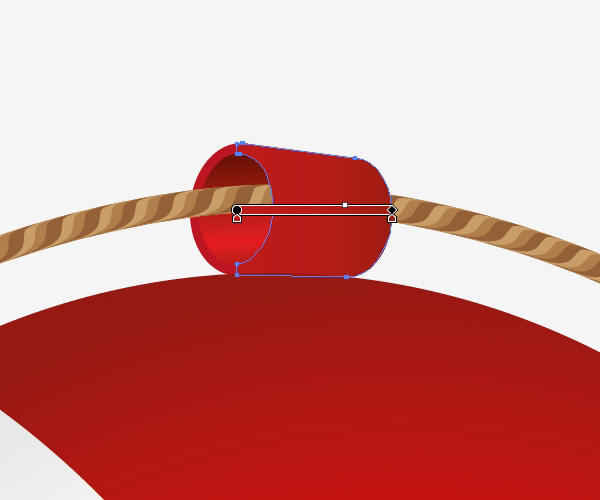 Repeat the process for the other rope holders.
  Finished!
Tutorial Summary
In this tutorial, we had an opportunity to practice the use of gradients and to combine different shapes and forms using the Pathfinder Panel. We also learned how to make and use an art brush. Art brushes are an amazing Illustrator feature that can be used in plenty of ways.
Thank you for following along with my tutorial!
Download Source Files
- lifesaver_illustrator (ZIP, 1.14 MB)
-
 Trevin serves as the VP of Marketing at WebFX. He has worked on over 450 marketing campaigns and has been building websites for over 25 years. His work has been featured by Search Engine Land, USA Today, Fast Company and Inc.
 -

WebFX is a full-service marketing agency with 1,100+ client reviews and a 4.9-star rating on Clutch! Find out how our expert team and revenue-accelerating tech can drive results for you! Learn more
Make estimating web design costs easy
Website design costs can be tricky to nail down. Get an instant estimate for a custom web design with our free website design cost calculator!
Try Our Free Web Design Cost Calculator
Table of Contents
- Preview
- Step 1: Creating the Illustrator Artboard
- Step 2: Creating the Shape of the Lifesaver
- Step 3: Dividing the Lifesaver
- Step 4: Applying Color Gradients
- Step 5: Creating the Rope Holders
- Step 6: Applying Gradients to the Rope Holder
- Step 7: Create More Rope Holders
- Step 8: Creating the Rope
- Tutorial Summary
- Download Source Files
Share this article


Web Design Calculator
Use our free tool to get a free, instant quote in under 60 seconds.
View Web Design Calculator
Make estimating web design costs easy
Website design costs can be tricky to nail down. Get an instant estimate for a custom web design with our free website design cost calculator!
Try Our Free Web Design Cost Calculator