Preview
Click on the image to see the image in full scale. 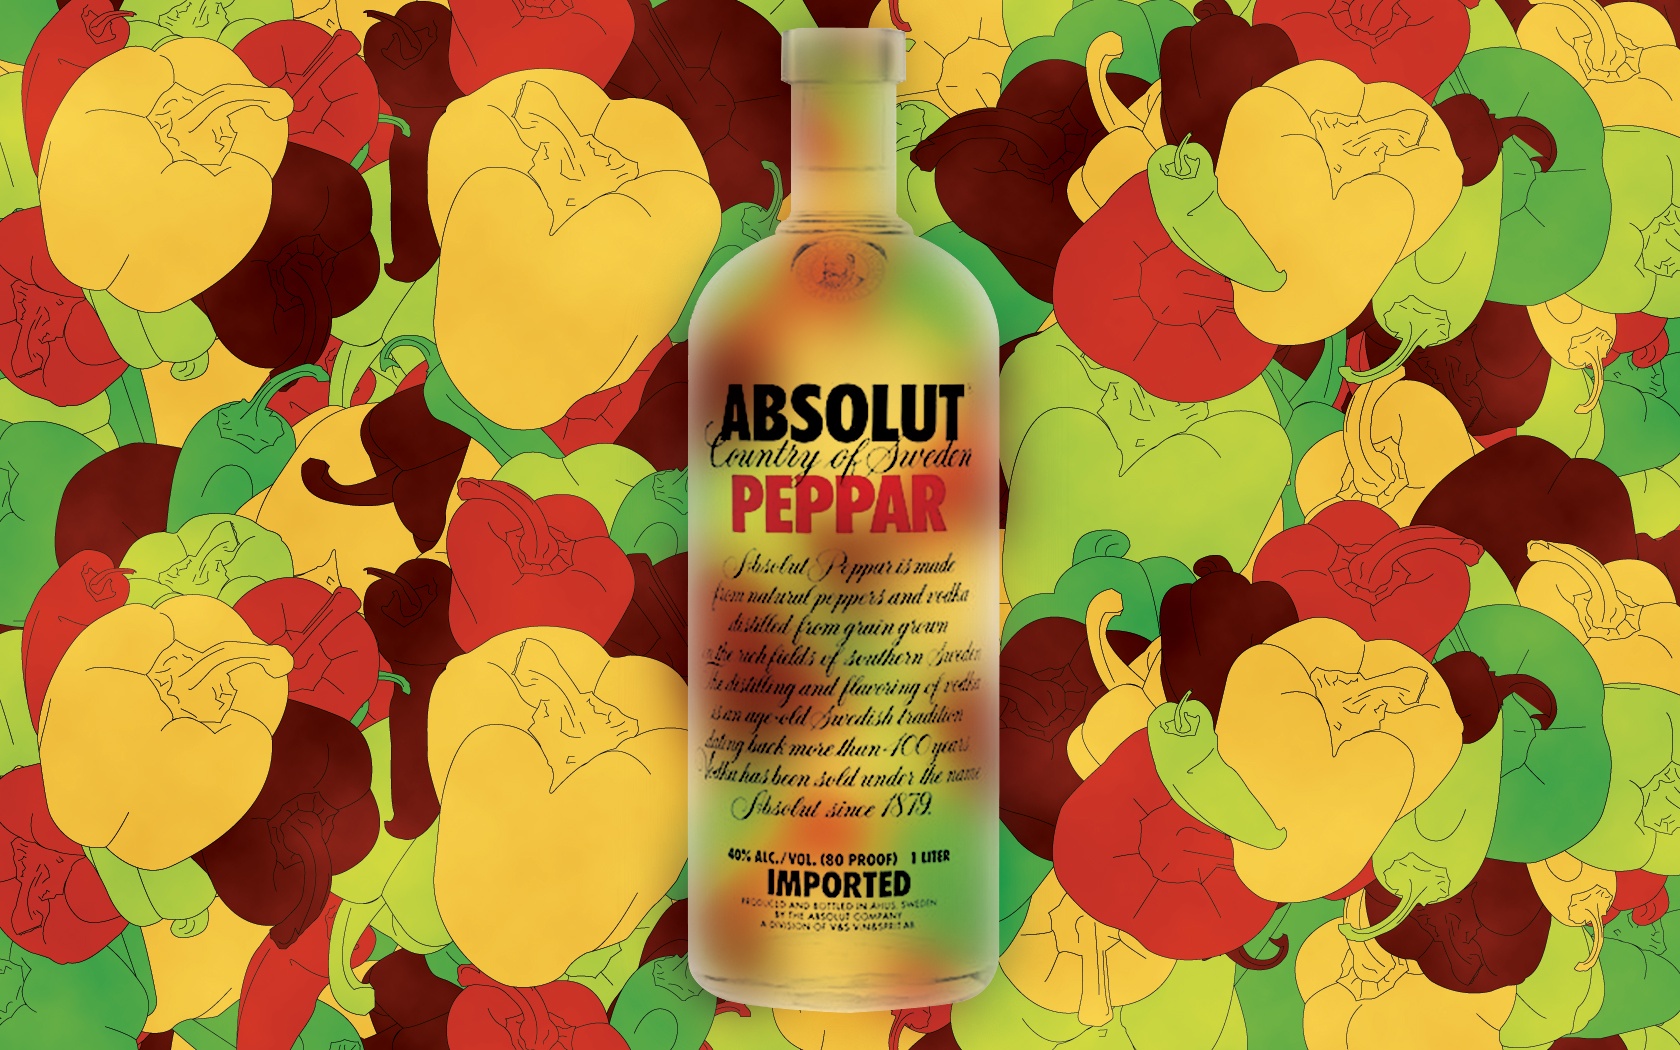
Tutorial Resources
- Vectors: peppers.ai
- Stock Image: vodka_bottle.psd
Step 1: Generating a Color Scheme Using kuler
To start things off, I am going to pick out a nice color scheme to use for the design. For those of you who aren’t familiar with Adobe kuler, I highly recommend this tool for any project where you need to put together a color scheme, as they have tons of great color schemes to choose from, submitted by users of the site. Let’s go to kuler and browse around the site.
You can browse themes by several categories or you can type in a keyword of your own to find a specific theme. After searching for a few minutes, I have decided to use a color theme called Peppers from Mexico that consists mainly of warm colors.  The hexadecimal color codes (from left to right) are as follows:
- #F3C44A
- #671809
- #CC371E
- #63AD35
- #B7CF48
Step 2: Peppers!
Next, we want fire up Adobe Illustrator. Grab the peppers.ai vectors I’ve listed in the Tutorial Resources section above. The package will contain an Illustrator file (AI) with about ten different vectors of various peppers from different angles.
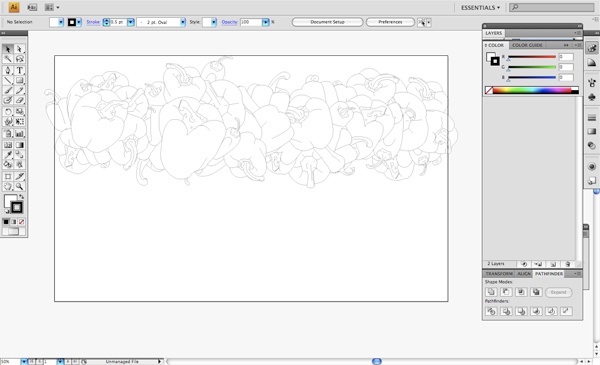
We want to open this file and take a look at the line art that we will be using to create our pattern. The idea here is that we want variation — we don’t want two or three shapes repeated over and over. 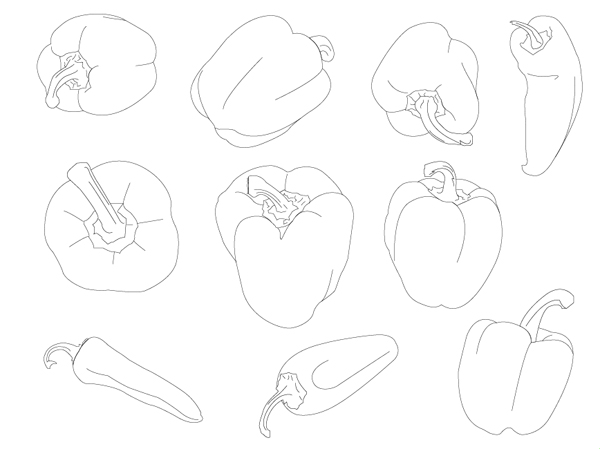
Step 3: Saving Your Swatches
Create a new document in Illustrator and set the dimensions of the artboard to 1680×1050 pixels.
In this document, create a small square with the Rectangle Tool (M) and fill it with the first color (#F3C44A) in our selected color theme from kuler. Select the filled square and press Cmd/Ctrl + C to copy it followed by Cmd/Ctrl + F to Paste in Front. Move this square down so it’s underneath the first box and fill with the second color (#671809).
Repeat this process for the remaining three colors (#CC371E, #63AD35, and #B7CF48). 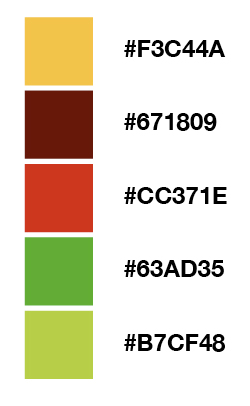 If you don’t have the Swatches Panel displayed, go to Window > Swatches. From here, what we want to do is select, one by one, the boxes we drew using the Selection Tool (V).
Selecting a square with the Selection Tool will automatically switch the Foreground Color displayed in the Tools Panel (towards the bottom) to the selected object’s current color. Click and drag the Foreground Color from the Tools Panel to the Swatches Panel to save it as a swatch. 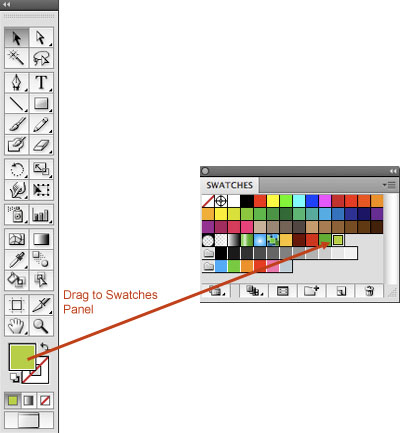 Click on each of the remaining squares and drag their color into the Swatches Panel until you have all five of the colors in the panel.
It is now safe to delete the five squares from the artboard since we have them saved in our Swatches Panel now. Select all five of the colors in the panel by holding down Shift, clicking on the first color, and then clicking on the last color. Once you have done that, click on the New Color Group button (it looks like a folder icon) in Swatches Panel to create a new color group.
Name this group “Pattern Colors” and then click OK. 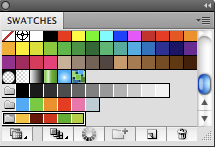 By the way, you could also download the color theme file (.ase) from kuler and import it in Adobe Illustrator, however, I wanted to cover my personal process of putting together a color scheme and saving it as a color group. If you’d like to learn how to import a kuler theme into applications like Illustrator and Photoshop, see this FAQ on using kuler colors.
Step 4: Pepperation
Thus far, we have picked out a color scheme and saved each of these colors in Illustrator as a color group. We also have ten vector illustrations that we are going to be using to create our pattern. These preliminary steps are absolutely necessary and will help our pattern look more cohesive.
From here, we are going to begin to bring our vector peppers into the artboard and start arranging them in a couple of different ways before actually introducing any of the colors. Before moving on, I would recommend saving this file (you can name it whatever you would like); the important thing is that we are saving frequently as we work through the design so that we don’t lose our work accidentally. Go to (or open) the peppers.ai document.
Select all of its contents by pressing Cmd/Ctrl + A (shortcut for Select > All) followed by Cmd/Ctrl + C to copy. Go back to our main document and paste all of the peppers into it. Now we can close the peppers.ai document since we have everything we need from it.
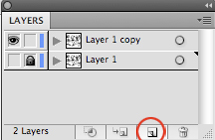
In the Layers Panel, select the layer that contains all of the peppers. Drag the layer down to the New Layer icon at the bottom of the Panel to duplicate it. Turn off and lock the original layer so that we can work from this duplicate; it’s always good to have a back up!
Step 5: Putting the Pieces Together
Next, we are going to begin to put together a few different mini-patterns using various combinations of the pepper vectors. For this step, you should experiment with resizing, flipping, and arranging the peppers in different ways to create a few separate groups. 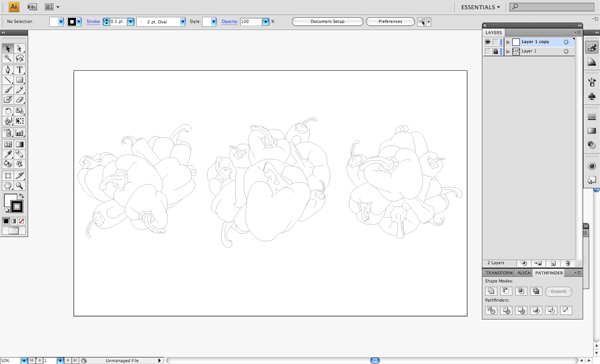 Continue to do this in order to create more variation using the vector objects.
We want some of the peppers to be larger, while others smaller. Just keep in mind that our goal is to mix it up as much as possible. 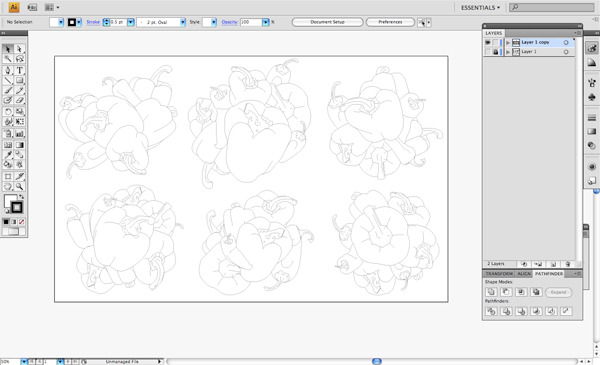 Having played with this for a bit, you should now have at least five or six smaller, mini-patterns that can be used to create a larger, cohesive pattern.
Step 6: Overlapping Patterns
Now that we have several smaller patterns, we want to bring them together and overlap them so that we have almost a row or a complete section. Select each group and send some to the back (Object > Arrange > Send to Back), while bringing others forward (Object > Arrange > Send to Front). It’s alright — in fact, desired — if some parts of the pattern goes off the edges of the artboard because we don’t want to have them stopping abruptly with gaps around the edges when we repeat the pattern.
 Select the entire row, copy it (Cmd/Ctrl + C) and paste it in front (Cmd/Ctrl + F). Next, choose Object > Transform > Reflect. We want to reflect this group of objects horizontally as well as vertically before sending it to the back (Shift + Cmd/Ctrl + [) and moving it up above our first row of our pepper pattern.
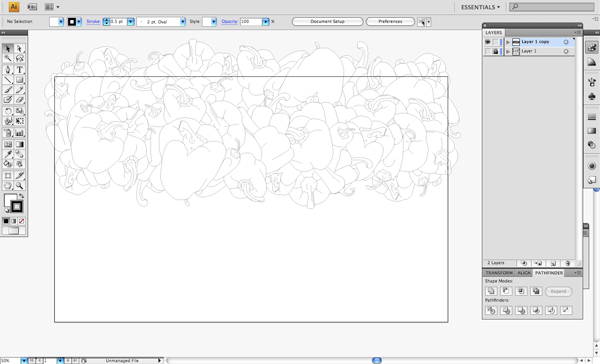 Next, we can select and copy this whole section before pasting it in front once again. Move the selection down to begin filling in some of the spaces below our original sections. If some of the shapes look a bit off, then what we can do is select them, rotate them, or send them to the front (Shift + Ctrl/Cmd + ]).
After tweaking and arranging our objects, you will see that we now have a pattern that covers our entire artboard and extends past the artboard’s edges. 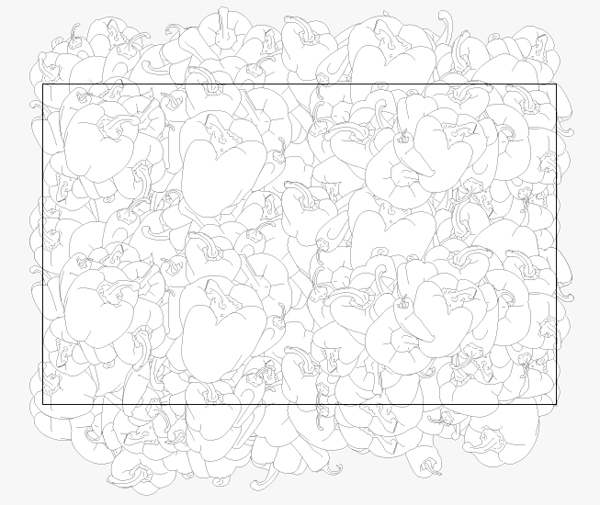
Step 7: Let The Coloring Begin!
We have set up a nice-looking pattern, and we already have our swatches set up with a nice palette of warm colors. The next step is where we will begin to merge these two design elements together.
Begin by selecting some of the peppers individually and filling them with the colors in our color group. As we begin this process, try to set the colors so that no two shapes that are next to each other have the same fill color. 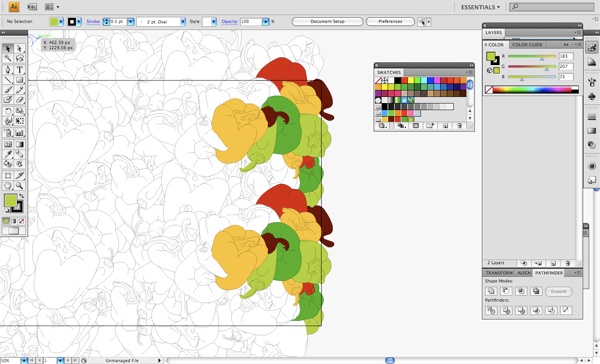 Continue this process, gradually filling in the shapes as you go along, trying to ensure that the same two colors aren’t adjacent to one another.
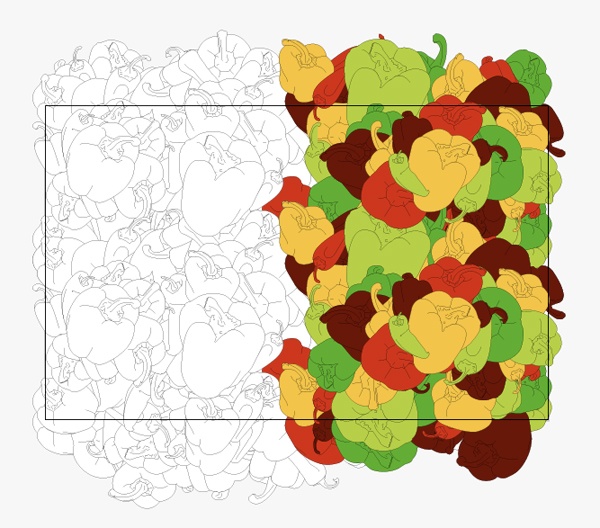
Step 8: Complete the Coloring
After spending some time filling in the shapes with color, you may notice that when filling certain areas, there may be a few gaps. To fill them in, select any of the pepper shapes and send them to the back by choosing Object > Arrange > Send to Back (Shift + Cmd/Ctrl + [). 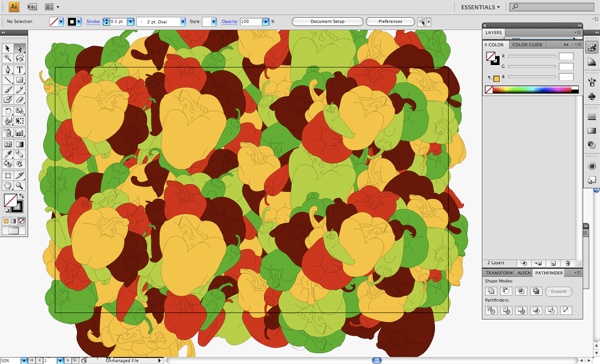
Step 9: Jump to Photoshop
We’re done with our Illustrator work.
What we want to do now is select all the objects (Cmd/Ctrl + A) and then group them together (Cmd/Ctrl + G). Next, copy this group (Cmd/Ctrl + C), open up Photoshop, create a new document that is the same size as our Illustrator artboard (1680x1050px) and then paste the group (Ctrl/Cmd + V) as a smart object into Photoshop.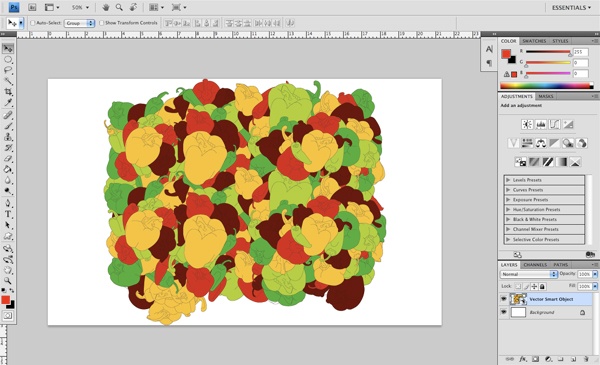 We can now save our work and close out of Illustrator as we will be doing the remainder of our work in Photoshop.
Step 10: Covering the Canvas
Use Free Transform (Ctrl/Cmd + T) while holding both the Opt/Alt + Shift keys, grab a transform control at a corner and then drag it outwards to enlarge our pattern until it covers the canvas.
Accept the transformation by pressing the Enter key. 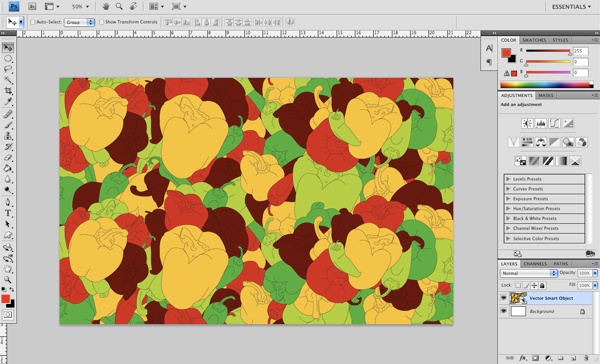
Step 11: Fresh Produce
Create a new layer above our smart object and set the Foreground and Background colors to default by pressing D. Next, go to the Filter > Render > Clouds.
Change the Blend Mode of this layer to Overlay and lower its Opacity to 50%. 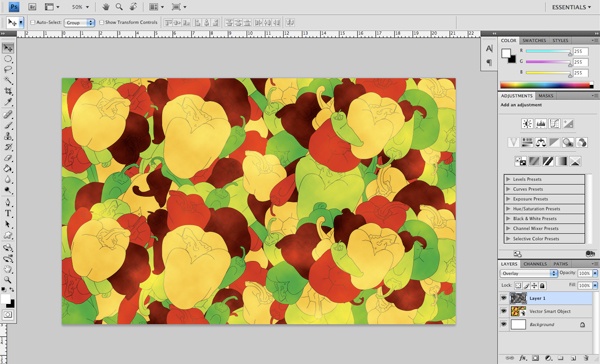 After that, add a Levels adjustment layer by clicking on the Create new fill or adjustment layer button at the bottom of the Layers Panel (it looks like a half-black, half-white circle icon) then choosing Levels from the menu that appears.
 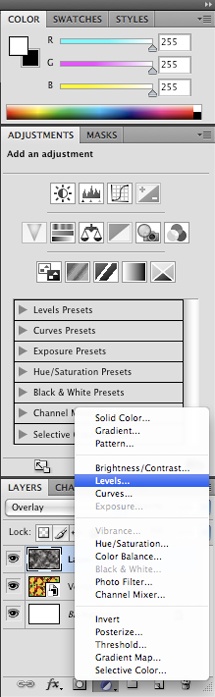 Once the histogram panel appears (where we adjust our levels), move the middle slider to the right until it is set to 0.84.
 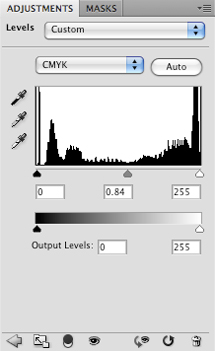 We have now added some additional texture and darkened up the image a bit to bring more contrast into the pattern. This creates more visual interest and adds some depth to our work.
Step 12: Absolutely Hot
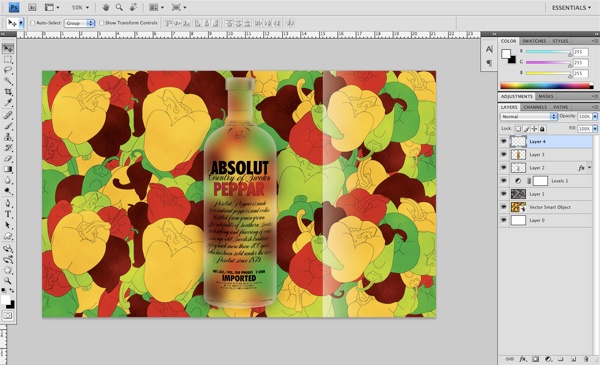
It’s time to import the centerpiece of the design: the Absolut Peppar bottle.
About time, right? I’ve provided a stock image for you contained in a PSD file (for convenience) that is listed in the Tutorial Resources section called vodka_bottle.psd. Download the file and open it in Photoshop.
Copy the bottle from the vodka_bottle.psd file and paste it in our main canvas. Use Free Transform (Cmd/Ctrl + T) while holding down the Shift key (to scale the image proportionally) to enlarge the bottle. Scale it up so that it’s about the same size as shown in the image below: 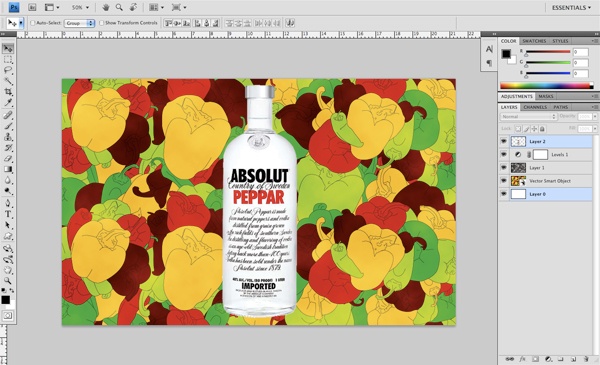 We also need to center the bottle on our canvas.
First, make sure that the active layer is the bottle’s layer. Then place a selection around the canvas by choosing Select > All (Cmd/Ctrl + A). Next, go to Layers > Align Layers To Selection > Horizontal Centers.
To center it vertically, go to Layers > Align Layers To Selection > Vertical Centers.
Step 13: Make the Bottle Transparent
Because the vodka bottle is transparent, it looks odd that the bottle has a white background when our backdrop is a colorful pepper. We need to fix that issue.
Hold down Cmd/Ctrl and click on the bottle layer to place a selection around the bottle; you should see the “marching ants” (as I like to call them) around the bottle. 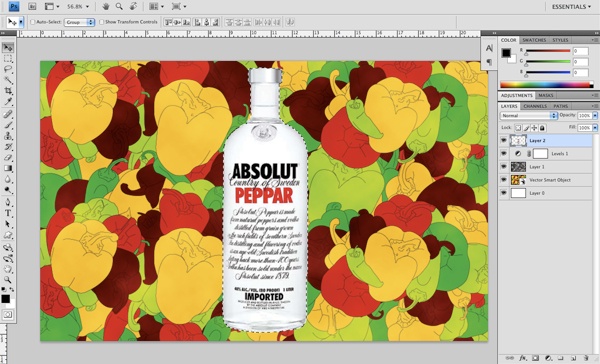 While this selection is still active, click on the pattern layer and press Cmd/Ctrl + J; this will duplicate the pattern layer, but only the area within the selection. Drag this new layer to the top of the Layers Panel.
Change the Blend Mode of the layer to Multiply. 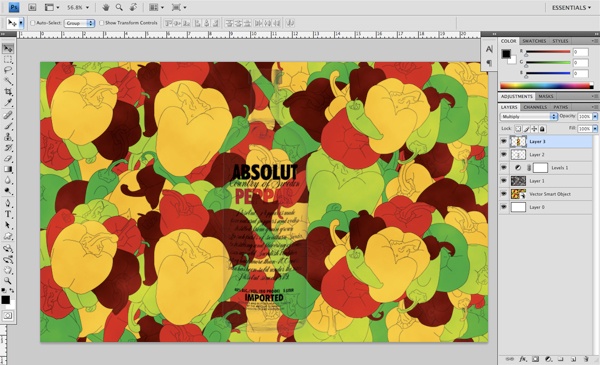
Step 14: Apply a Gaussian Blur
We now need to apply the Gaussian Blur filter to the layer we just created; do that now by choosing Filter > Blur > Gaussian Blur. 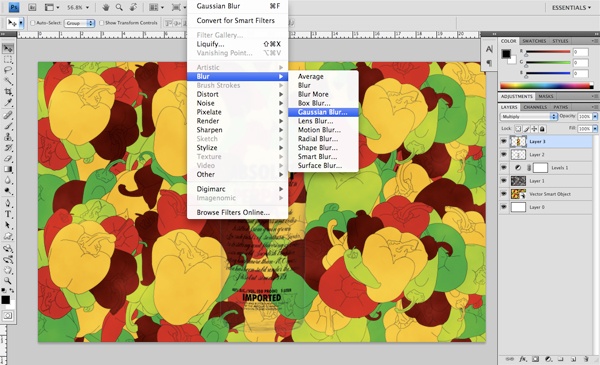 Once the Gaussian Blur dialog window appears, set the Radius to 25px and simply click OK to apply the filter.
Step 15: Glow Me Away!
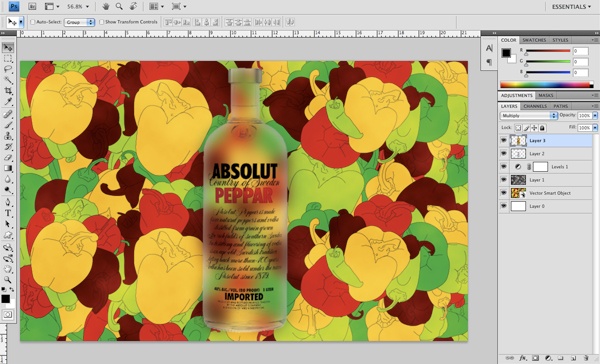
Double-click the original bottle layer to bring up the Layer Style dialog window. Give the layer an Inner Glow with the following settings: 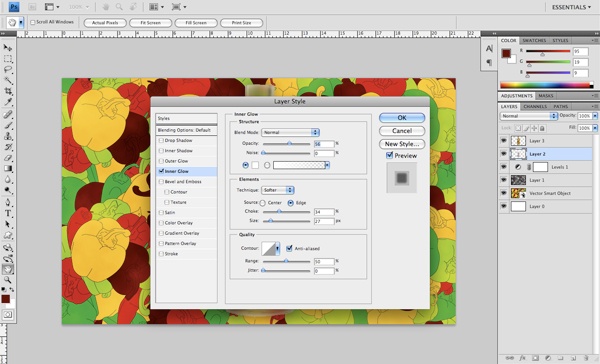
Step 16: Rays of Light
Create a new layer on top of all the current layers. Use the Rectangular Marquee Tool (M) to draw a tall rectangle that spans from the top to the bottom of the canvas.
With the selection still active, press G to switch to the Gradient Tool. Change the tool’s options so that you’ll have a Linear Gradient fading from solid white to completely transparent. Create the gradient inside the selection by clicking on its left and dragging towards its right.
 Use Free Transform (Cmd/Ctrl + T) while pressing Option/Alt, grab the center-top or center-bottom transform control and drag upward/downward so that the gradient extends outside of the canvas (shown below).
 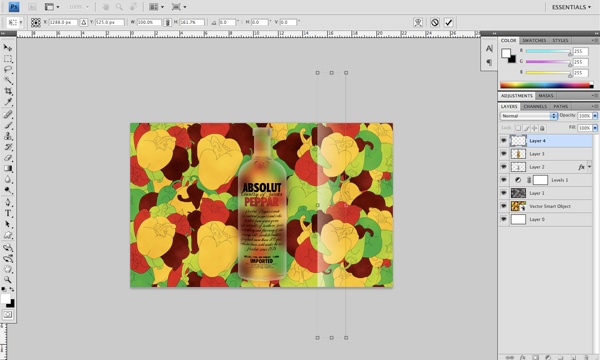 Still using Free Transform, rotate the gradient while holding down Shift so that it matches the angle of the image below.
 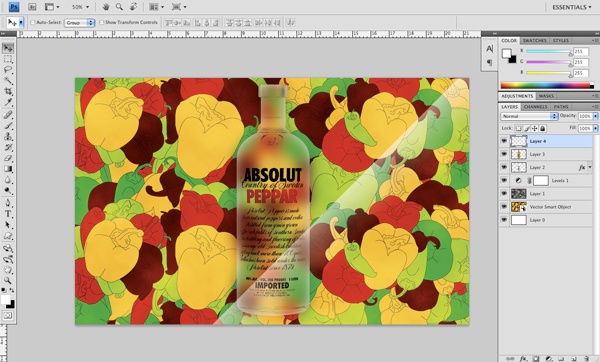 Duplicate this layer by pressing Cmd/Ctrl + J.
Move the duplicated gradient to the left of the original gradient. Do this three or four more times to create a few diagonals. 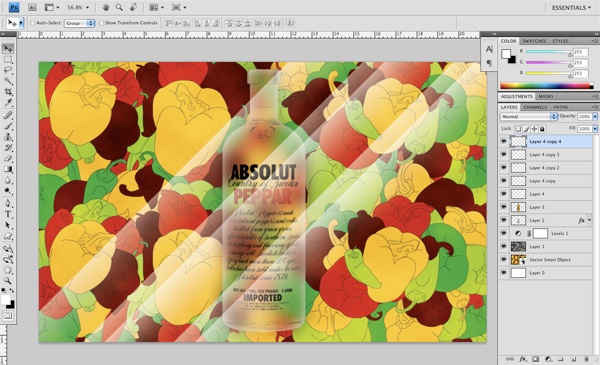 In the Layers Panel, select all the diagonal gradient layers.
Merge them into one layer by pressing Cmd/Ctrl + E. Change the Blend Mode of the merged layer to Overlay.
Step 17: Blended and Blurred
On the merged layer with the diagonal gradients, apply a Gaussian Blur filter with Radius at 25px.
Then reduce the Opacity of this layer to 75%. This process will blur the lines to create a more subtle light streak effect that will make the colors really jump out from the piece. 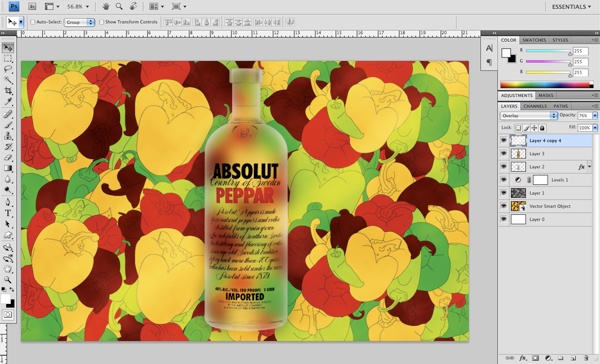
Step 18: Light in a Bottle
Hold down Cmd/Ctrl and click on the original bottle layer again to place a selection around it.
Keep the selection active, but switch to the top layer containing the diagonal gradients. Click on the Add layer mask icon at the bottom of the Layers Panel to mask out the light streaks so that they are only within the shape of the bottle. 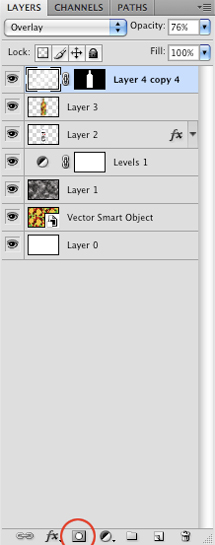 This gives the bottle an extra bit of brightness and is, in my opinion, a nice finishing touch for our piece.
Tutorial Summary
In this graphic design tutorial, we used Adobe Illustrator and Adobe Photoshop to compose a vibrant and lively scene with an Absolut Vodka bottle as the centerpiece. We created a color group using a premade color theme from Adobe kuler (a handy site), designed a background with peppers, used an adjustment layer to punch up the color, and made the vodka bottle look as if it was transparent using a simple technique that involved the Gradient Tool. I hope you enjoyed the tutorial and I’d love to hear your thoughts and read your questions in the comments.
Download Source Files
- vibrant_spicy_bottle (ZIP, 9.38 MB)
-
 Trevin serves as the VP of Marketing at WebFX. He has worked on over 450 marketing campaigns and has been building websites for over 25 years. His work has been featured by Search Engine Land, USA Today, Fast Company and Inc.
 -

WebFX is a full-service marketing agency with 1,100+ client reviews and a 4.9-star rating on Clutch! Find out how our expert team and revenue-accelerating tech can drive results for you! Learn more
Make estimating web design costs easy
Website design costs can be tricky to nail down. Get an instant estimate for a custom web design with our free website design cost calculator!
Try Our Free Web Design Cost Calculator
Table of Contents
- Preview
- Tutorial Resources
- Step 1: Generating a Color Scheme Using kuler
- Step 2: Peppers!
- Step 3: Saving Your Swatches
- Step 4: Pepperation
- Step 5: Putting the Pieces Together
- Step 6: Overlapping Patterns
- Step 7: Let The Coloring Begin!
- Step 8: Complete the Coloring
- Step 9: Jump to Photoshop
- Step 10: Covering the Canvas
- Step 11: Fresh Produce
- Step 12: Absolutely Hot
- Step 13: Make the Bottle Transparent
- Step 14: Apply a Gaussian Blur
- Step 15: Glow Me Away!
- Step 16: Rays of Light
- Step 17: Blended and Blurred
- Step 18: Light in a Bottle
- Tutorial Summary
- Download Source Files
Share this article


Web Design Calculator
Use our free tool to get a free, instant quote in under 60 seconds.
View Web Design Calculator
Make estimating web design costs easy
Website design costs can be tricky to nail down. Get an instant estimate for a custom web design with our free website design cost calculator!
Try Our Free Web Design Cost Calculator