Martech Resources: Learn the Basics of Martech


Microsoft Dynamics 365 Marketing Automation Services That Drive Real ROI
ServicesGet expert Microsoft Dynamics 365 marketing automation services from WebFX. We handle implementation, integration, and optimization so you can drive better ROI.
Artificial Intelligence Marketing
LearnLearn how artificial intelligence marketing helps businesses automate tasks, personalize experiences, and optimize campaigns. Get use cases and benefits.
AI Servicebot Solutions
ServicesAutomate customer support with AI servicebot solutions from WebFX. Deploy AI-powered chatbots with CRM integrations, workflow automation and 24/7 support.
AI Pricing
PricingHow much does AI cost? On average, companies spend $100 - $5,000 per month in 2026. Learn more about AI pricing here!
AI Solutions
ServicesOur AI experts can help your business automate tasks and implement AI into your workflows to save time and generate revenue. Learn more!
CRM Integration Services
ServicesImprove performance across sales, marketing, and support with WebFX, a CRM integration agency that can connect your CRM to 1200+ platforms. Learn more now!
Explore one of these categories to go more in-depth on a specific martech topic or keep reading for our beginner’s guide to martech, complete with additional marketing technology resources.


Learn about marketing tools

Learn about martech for SMBs

Learn about martech for B2B companies

Learn about martech for B2C companies

Learn about martech for ecommerce companies

Learn about martech for enterprise companies
Learn more about the basics of martech
Martech basics resources
- What Is Martech? Why Marketing Technology Matters
- 10 Clever Marketing Automation Examples Businesses Should Use
- First-Party Data vs. Third-Party Data & the Difference
Learn more about the importance of martech
Martech benefits resources
- Why is Marketing Automation Important?
- 5 Benefits of Using Customer Relationship Management (CRM)
- 9 Benefits of Marketing Automation You Need to Know
Learn more about martech stacks
Martech stack resources
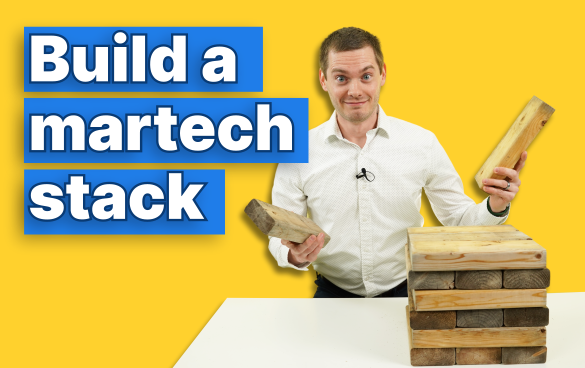
- How to Build a Martech Stack: 6 Essential Steps
- 3 Amazing Marketing Automation Strategies
- 5 Tips for Using Artificial Intelligence (AI) Marketing
- How to Easily Integrate Automation Into Your Marketing Strategy
Learn more about martech tools
Wondering what tools you should include in your martech stack? Check out the following resources to learn about your many martech tool options and get the information you need to choose the right ones for your business’s needs.
Martech tool resources
- Best Online Marketing Tools [11+ Top Tools for Marketing]
- The 7 Best Digital Marketing Tools for 2026
- Marketing Tools for Small Businesses: 8 Revenue-Driving Tools for 2026
- Marketing ROI Tools: 8 ROI Marketing Tools for Success – WebFX
- 11 Marketing Automation Tools to Improve Your Marketing
- 8 Essential Google Marketing Tools for Your Business
- 10 Paid & Free Email Marketing Tools You’ll Save Time With
- What Is a Data Management Platform (DMP)?
- CRM Management: What Is It and How Does It Work?
- What Is a Cloud Data Warehouse and How Does It Work?
- Need an Executive Dashboard? This Marketing Dashboard Has It All
- What Is Adtech, and Why Does It Matter for Advertising? | WebFX
- Is Google Analytics Free? (5 Compelling Reasons to Use GA)
- Google Analytics 360 vs. Free Google Analytics
- Everything You Need to Know About Call Tracking
- Sales Automation Support: Drive Sales with Automation Services
- 6 Project Management Tools for Every Business
- 15 Sales Enablement Tools to Boost Your Strategy
- The All-Encompassing Guide to Chatbots
- Chatbots vs. Live Chat: Which Should Win Over Your Business?
- Blockchain Technology: What Is It and How Can You Use It
- What Is HubSpot? (And What You Can Do With It)
- 5 Advantages and 3 Disadvantages of Using Marketo
- How to Choose Among Marketo, Salesforce, and Pardot
- How to Use iBeacons for Your Local Business
- Maximize Digital Marketing Efforts with NetSuite
- Maximize Digital Marketing Efforts With SAP ERP
- Maximize Digital Marketing Efforts with Syteline
- Maximize Digital Marketing Efforts With Brightpearl
- Maximize Digital Marketing Efforts With SYSPRO ERP
- Maximize Digital Marketing Efforts With Kinetic
- Maximize Digital Marketing Efforts With Sage ERP
- Maximize Digital Marketing Efforts With Macola
- Maximize Digital Marketing Efforts With Infor
- Maximize Digital Marketing Efforts With IFS Applications ERP
What are martech services?
When you invest in martech, you want to make sure you’re getting the most from your investment. A martech company can help you accomplish that. Marketing technology companies provide services such as:
- Helping you choose the right martech tools
- Helping to implement martech
- Offering access to martech tools
- Providing tech-enabled marketing services
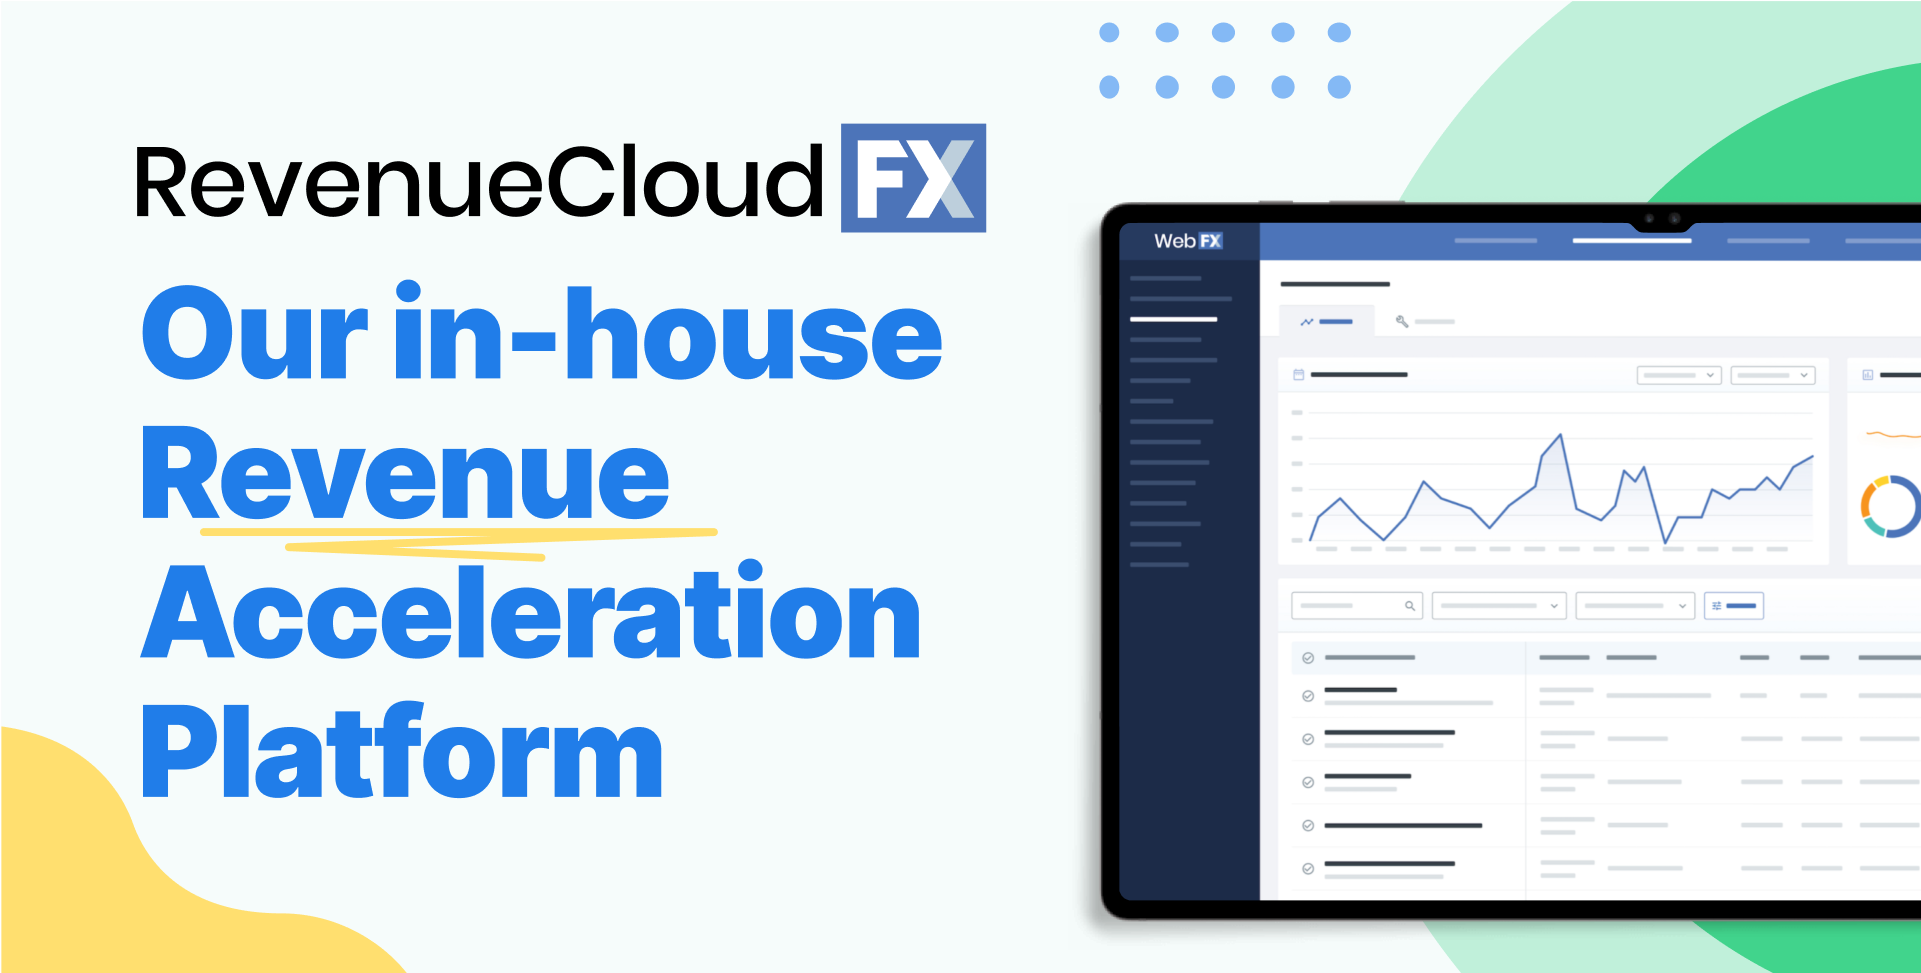
At WebFX, we’re up to date on all the latest martech trends. We offer martech consulting, martech implementation, and tech-enabled marketing services. We’ve also created a proprietary digital marketing platform called RevenueCloudFX that includes numerous valuable tools and uses billions of data points and artificial intelligence to enhance your marketing campaigns.
Learn more about martech services
Martech services resources
- What Do Marketing Automation Agencies Do?
- Marketing Automation Services | Meet RevenueCloudFX
- Your Lead Management Solution | RevenueCloudFX Software from WebFX
- AI Solutions: Turbocharge Marketing Results with AI Services
- Data Warehouse & ETL Pipeline Services
- Big Data Consulting Services
- Marketing Technology Agency: Meet WebFX
- The Best BigQuery Consulting Agency | Get Started With Google Cloud
- How Much Does Martech Cost?
- How Much Do Tech-Enabled Services Cost?
- AI Pricing | How Much Does Artificial Intelligence Cost?
- Marketing Automation Pricing