
Many powerful open source projects have Node.js as a dependency, so often times you’ll need to set it up on your web server.
But what if you wanted to develop and test your Node-dependent projects in your Windows PC before putting it up on the server?
Setting up Node.js locally is quite simple. In this tutorial, I’ll walk you through the following:
- Installing Node.js
- Running a Node app in your browser
- Installing Node packaged modules via npm
- Uninstalling Node
A note on nomenclature: The official name of the project is Node.js or node.js, and many people refer to it simply as Node or node. Throughout the tutorial, these terms will be used interchangeably.
Installation
Node has a Windows and Mac installer, as well as binaries for Linux users. We’ll be going over how to install Node on Windows, but the general process is the same regardless of which operating system and OS version you’re using.
To start, head over to the Downloads page of Node.js.
Click on the installer you would like to download and install. For this tutorial, we’re using the 64-bit Windows Installer, but you should use the most appropriate version for your set-up.

Click on the installer file from your computer to open up the Node.js Setup Wizard.
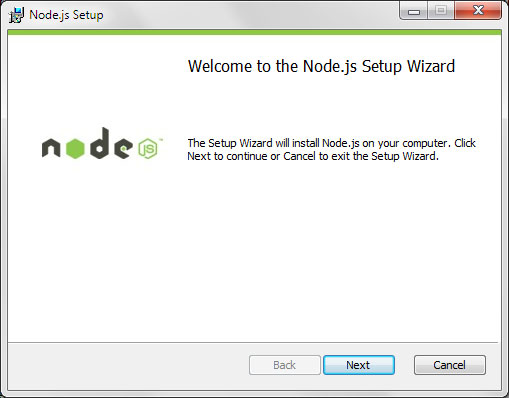
Just go through the Setup Wizard until Node has finished installing.
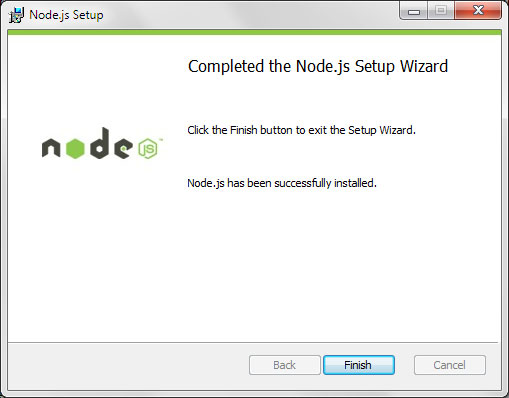
I promise you, that’s it: You’re done installing Node.js as well as npm. (The latter is installed with Node.js by default.)
Running a Node App
After installing the Node.js platform, the next thing you will want to do is run a Node app from your computer.
We’ll create a simple app for demonstration purposes.
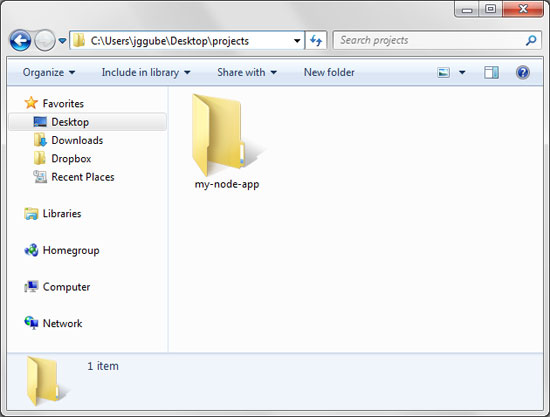
First, create a folder for your app. For my setup, I have a folder named projects in my Desktop folder. Inside the projects folder, I created a subfolder named my-node-app.
Inside the my-node-app folder, create a file called hello-world.js and place the following source code in it:
var http = require('http');

http.createServer(function (request, response) {
 response.writeHead(200, {'Content-Type': 'text/plain'});
 response.end('Hello World\n');
}).listen(3000);

console.log('Server running at http://localhost:3000/');
The above code is a slightly modified version of Node’s web server example, which will create an HTTP web server in our computer.
We’re now ready to run our first Node.js app.
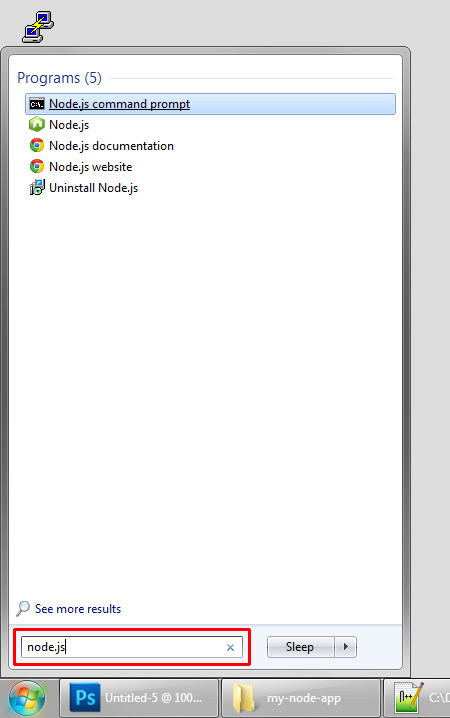
Open the Node.js command prompt, which you can do via the Windows Start menu.
If you can’t find it pinned in your Start menu, just type “node.js” in the Search programs and files input field to find it.
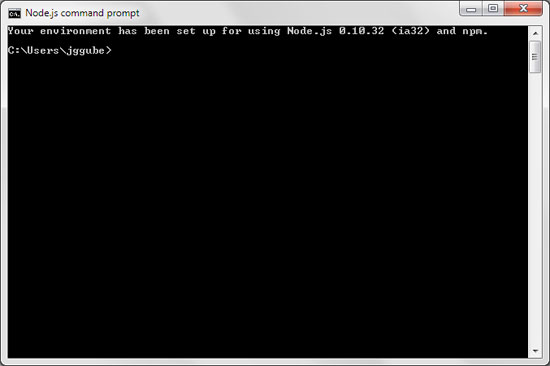
The Node.js command prompt is a command line interface (CLI):
Using the CLI, navigate into your Node project’s folder. The one I set up earlier has this file path: Desktop\projects\my-node-app so to change into my folder, I used the cd (change directory) command like so:
cd Desktop\projects\my-node-app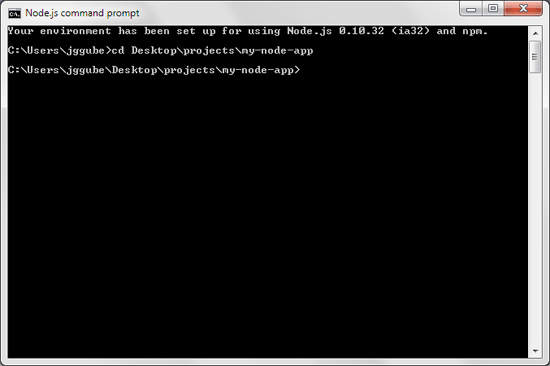
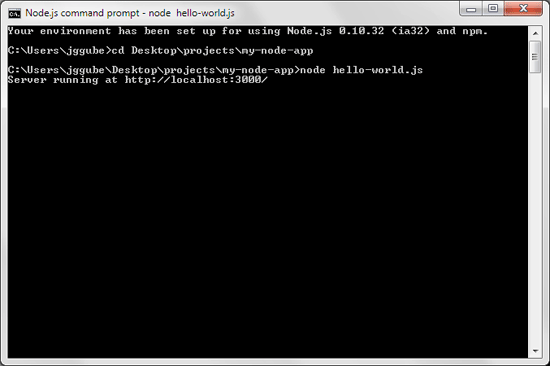
Next, let’s run hello-world.js. Simply type the node command like so:
node hello-world.js
If all went well, we’ll see the text “Server running at http://localhost:3000/” in the command prompt.
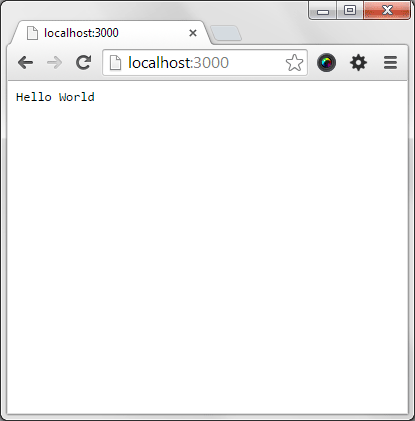
Use your favorite web browser to navigate to this URL:
http://localhost:3000/You should see the text “Hello World” in the browser window, indicating that everything’s good to go.
Installing Node Packages via npm
Packaged modules make Node.js a much more powerful web app development platform.
Think of Node packaged modules as being similar to plugins for jQuery and WordPress, or browser extensions for Chrome, or Gems for Rails; they extend your Node.js installation and/or provide pre-built functionality for your Node.js apps.
npm is the default package manager of Node.js. It’s automatically installed along with Node.js by default.
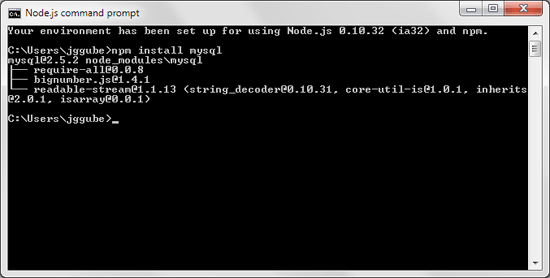
Let’s say we wanted to extend our Node.js installation with a MySQL driver so we can use a database for our app. In the Node.js command prompt, just issue the following command:
npm install mysqlThe above command will download and install the mysql node package from npm.
After the package installation is complete, you’ll see something like this:
To find other node packaged modules you might want to install, head over to the npm website.
Troubleshooting
When you try to install a package, you might encounter an error message like this:
Error: ENOENT, stat 'C:\\Users\your-name\AppData\Roaming\npm'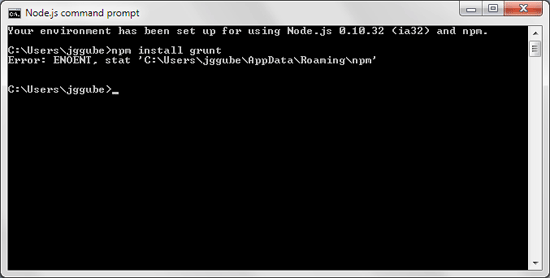
The solution to the issue is to manually create the npm folder in the path that’s being displayed by the error message: Go to your AppData\Roaming folder and simply create a new folder called npm inside of it. Afterwards, issue the npm install command again to complete the installation.
Uninstalling Node
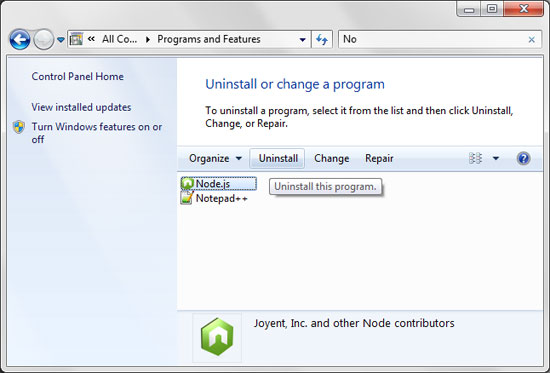
You can uninstall Node.js just like any other software in your computer. Go to Start > Control Panel > Programs and Features and then locate Node.js.
Click on Node.js, press the Uninstall button, and then just follow the prompts in the dialog window that appears.
Related Content
-
 President of WebFX. Bill has over 25 years of experience in the Internet marketing industry specializing in SEO, UX, information architecture, marketing automation and more. William’s background in scientific computing and education from Shippensburg and MIT provided the foundation for MarketingCloudFX and other key research and development projects at WebFX.
 -

WebFX is a full-service marketing agency with 1,100+ client reviews and a 4.9-star rating on Clutch! Find out how our expert team and revenue-accelerating tech can drive results for you! Learn more
Make estimating web design costs easy
Website design costs can be tricky to nail down. Get an instant estimate for a custom web design with our free website design cost calculator!
Try Our Free Web Design Cost Calculator
Share this article


Web Design Calculator
Use our free tool to get a free, instant quote in under 60 seconds.
View Web Design CalculatorMake estimating web design costs easy
Website design costs can be tricky to nail down. Get an instant estimate for a custom web design with our free website design cost calculator!
Try Our Free Web Design Cost Calculator